Street Fighter V Arcade Edition was released on January 18th, 2018, as an update to 2016's Street Fighter V. Its stunning opening movie received critical acclaim and enthusiasm from Street Fighter fans all over the world, but was also a successful project in terms of its smooth production process due to the strong trust built between Shirogumi, creators of the opening movie, and Capcom. Here we discuss the character production and workflow planning of the project.
TEXT_UNIKO
EDIT_Hitomi Komura(CGWORLD)
PHOTO_Mitsuru Hirota
TRANSLATION_Shirogumi Inc./Ben George/Yuki Nishimura
the Japanese version is available from following link.
https://cgworld.jp/interview/201804-sfvae-op2.html
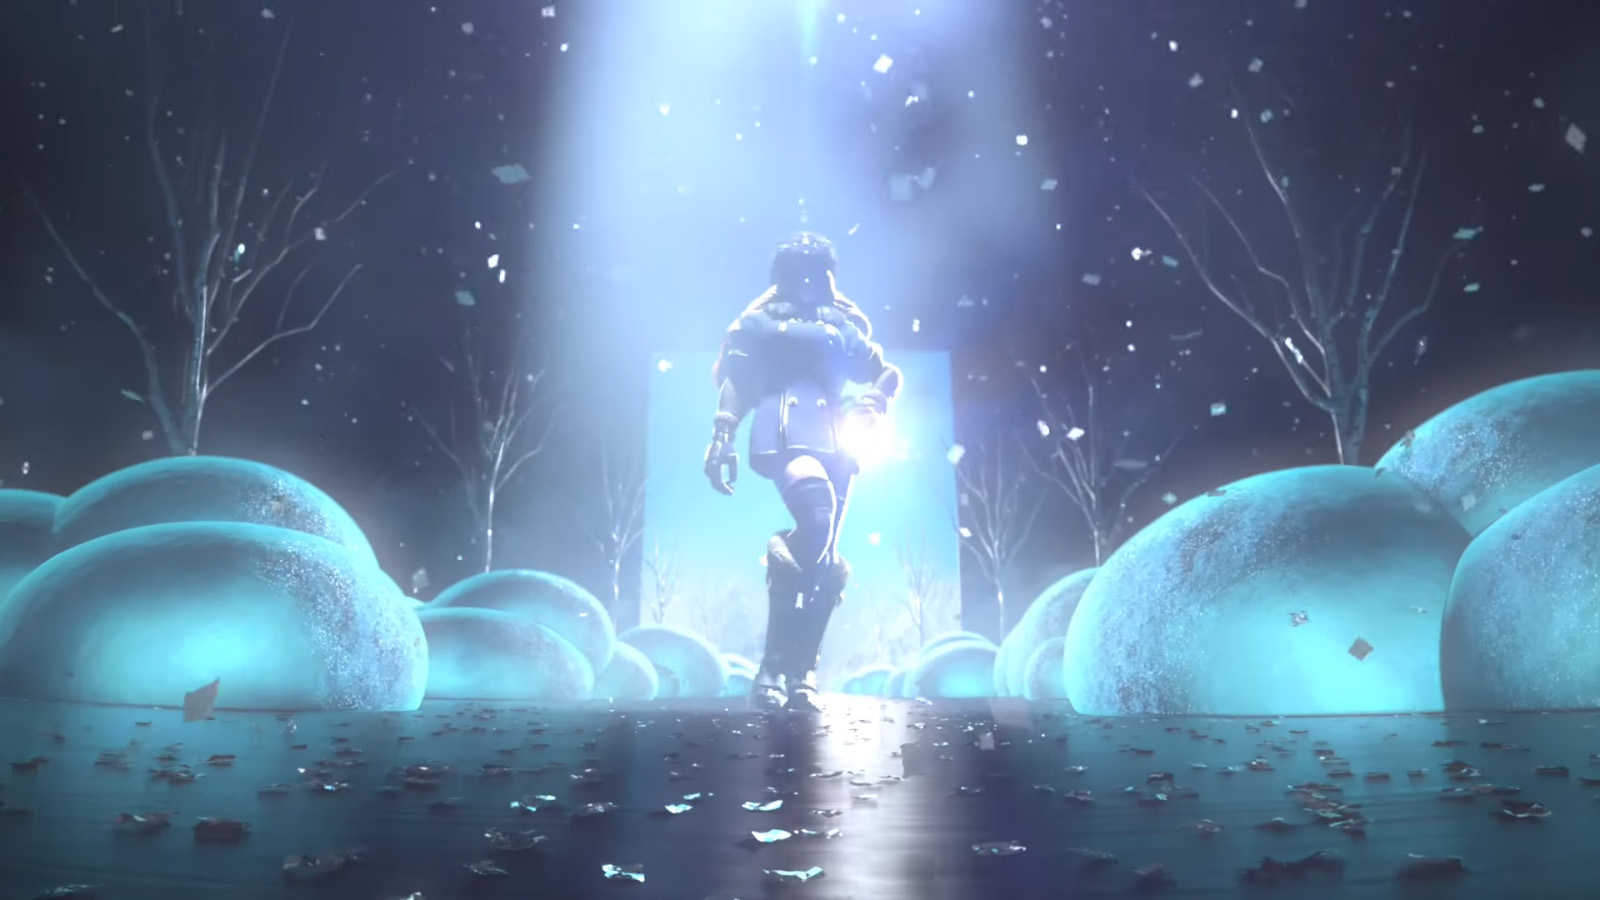
Street Fighter V: Arcade Edition - Cinematic Opening
<1>Adding Realistic Textures to the Character Models while Keeping the Original Style of the Game.
As mentioned in the previous chapter, at first, Capcom requested Shirogumi depict all 34 characters that feature in the game. However, they decided to focus on introducing and enhancing the aesthetics of the new characters and the ones that hadn't appeared in previous opening movies. In the end, they narrowed down the number to 18 characters and production began.
For character production, Shirogumi started with Ryu's look development since he is the main character and would therefore appear most often in the movie. After receiving the in-game models from Capcom, Shirogumi brushed them up to give them a movie-like quality by smoothing the low poly meshes and adjusting the body balances that were especially deformed to suit fighting games. First, they imported the Maya models they had received into 3ds Max, then started adding rich and realistic textures onto them while keeping the "fighting game" aesthetic and polishing the models so that they would look appealing in a high quality movie.
-
-
Hikaru Nirasawa
Visual Effect Designer, Shirogumi Inc.
Hikaru Nirasawa, who was in charge of character production, worked meticulously to perfect the characters' eyeballs. Nirasawa said, "In order to make the characters' eyes reveal their rich textures when exposed to light, I constructed the eyeballs with 3 layers: the white and cornea; the iris; and the lens (colored in black)." First, the team made Ryu's eyeball model. Based on that, they replaced all the other characters' eyeballs, changing the color of the iris depending on the character. As for the characters' hair, they first considered rebuilding it from scratch to make it look realistic; however, they eventually decided to just add extra hair details to the in-game models to create a fusion between the "game" and "real" worlds, based on the original concept where "Ryu's spiritual training world is our real world."
Topic 1;Ryu's Model, a Base for the Characters' LookAs mentioned before, the models provided by Capcom were specially made for fighting games so that, for example, the characters' hands and feet were designed to be bigger than normal to make their actions clearer in battles. Likewise, the character details, such as collars, were exaggerated to stand out from a distance. Therefore, the production team had to readjust the entire balance of the models so they looked natural in the movie. However, it would deviate from the aesthetic of the game if they pursued this realism too far, so it was important for them to seek the best balance between the fighting game style of Street Fighter V and the right amount of richness and realism per character.
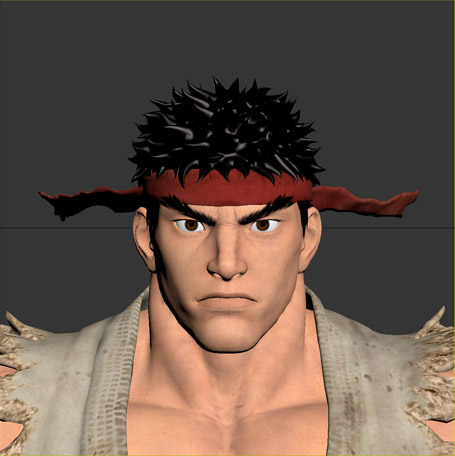
Ryu's Look
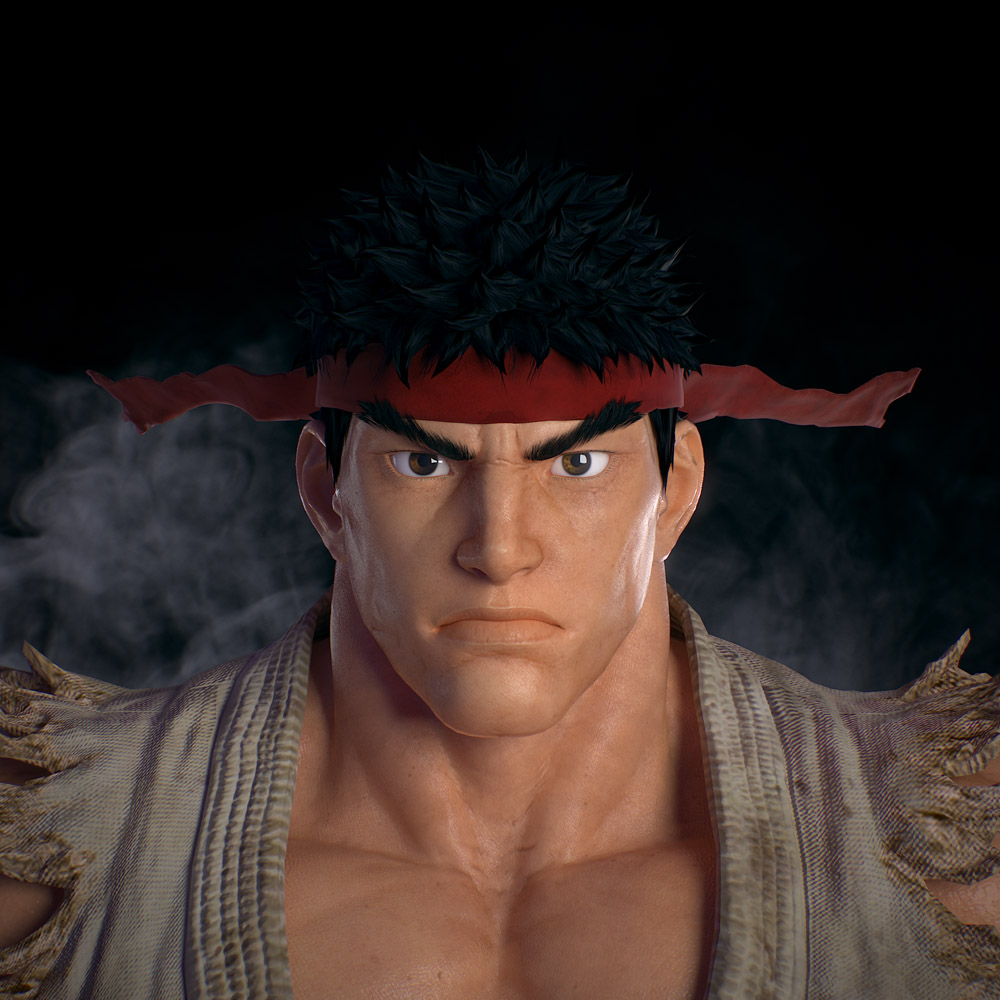
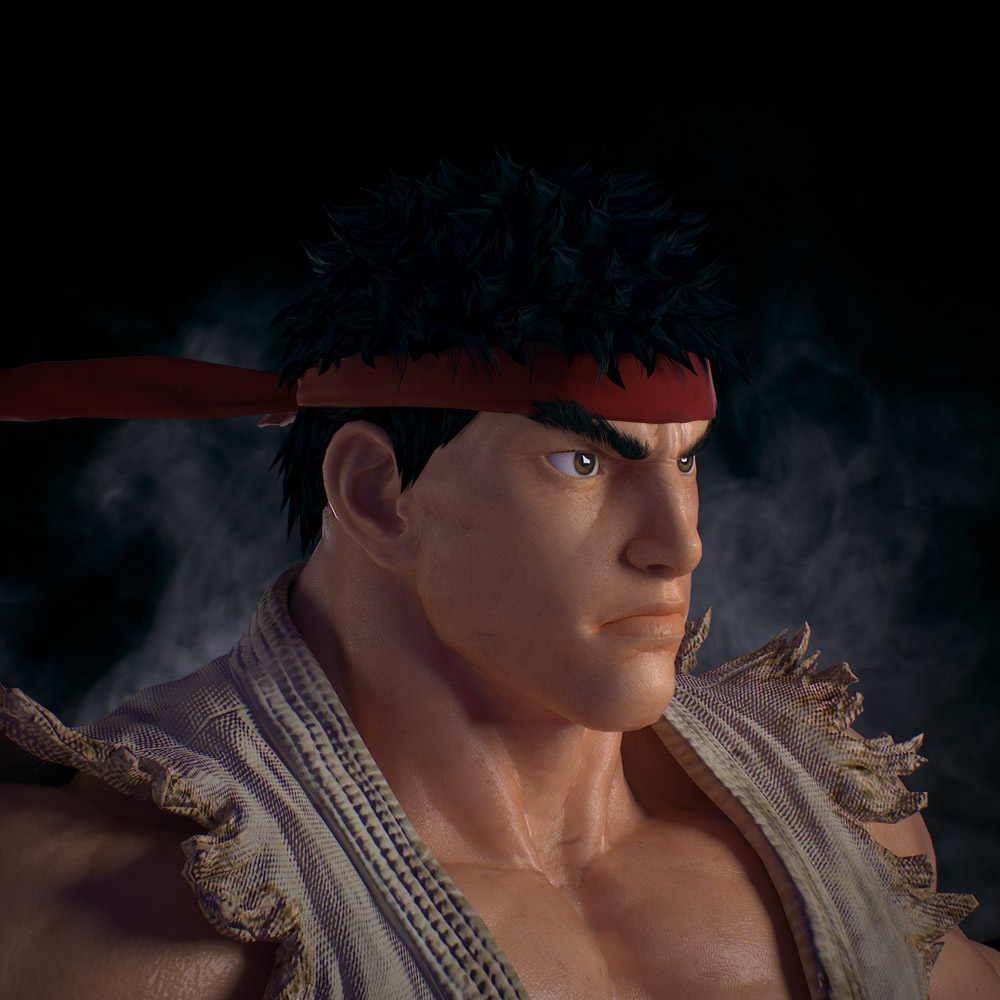

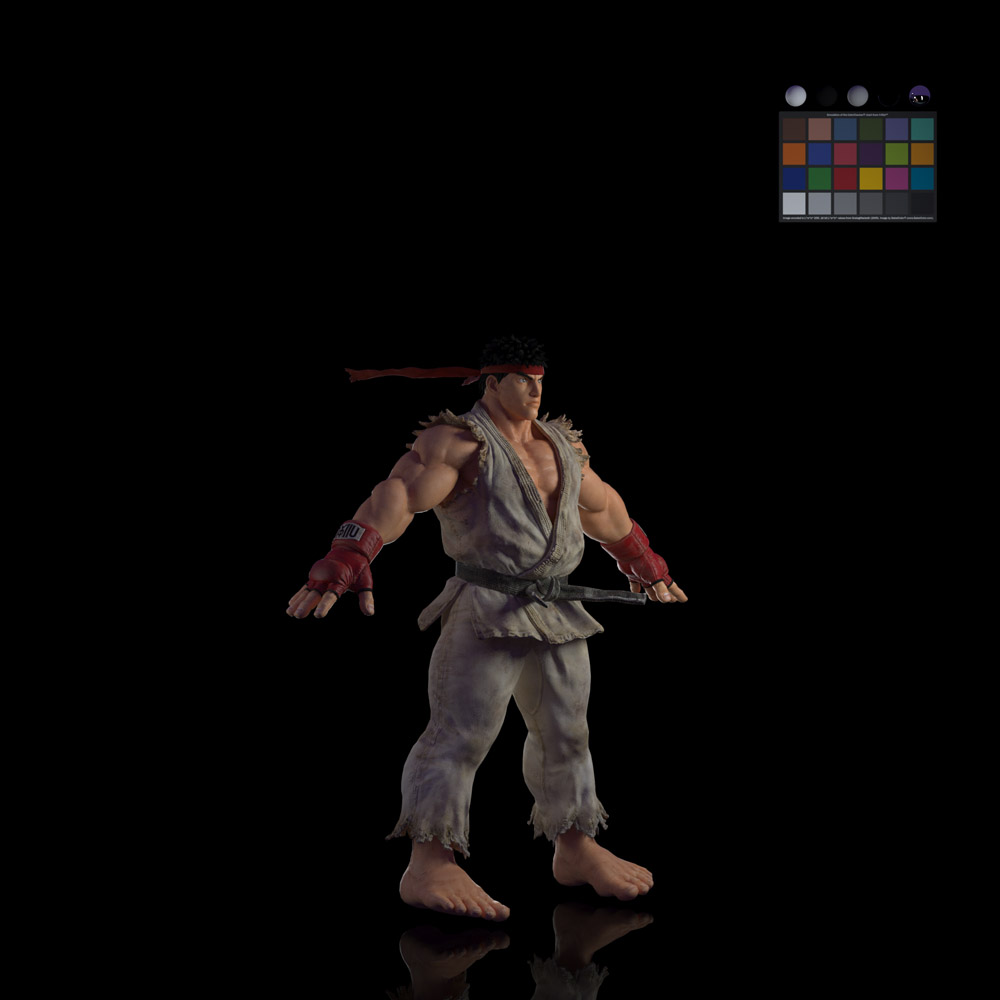
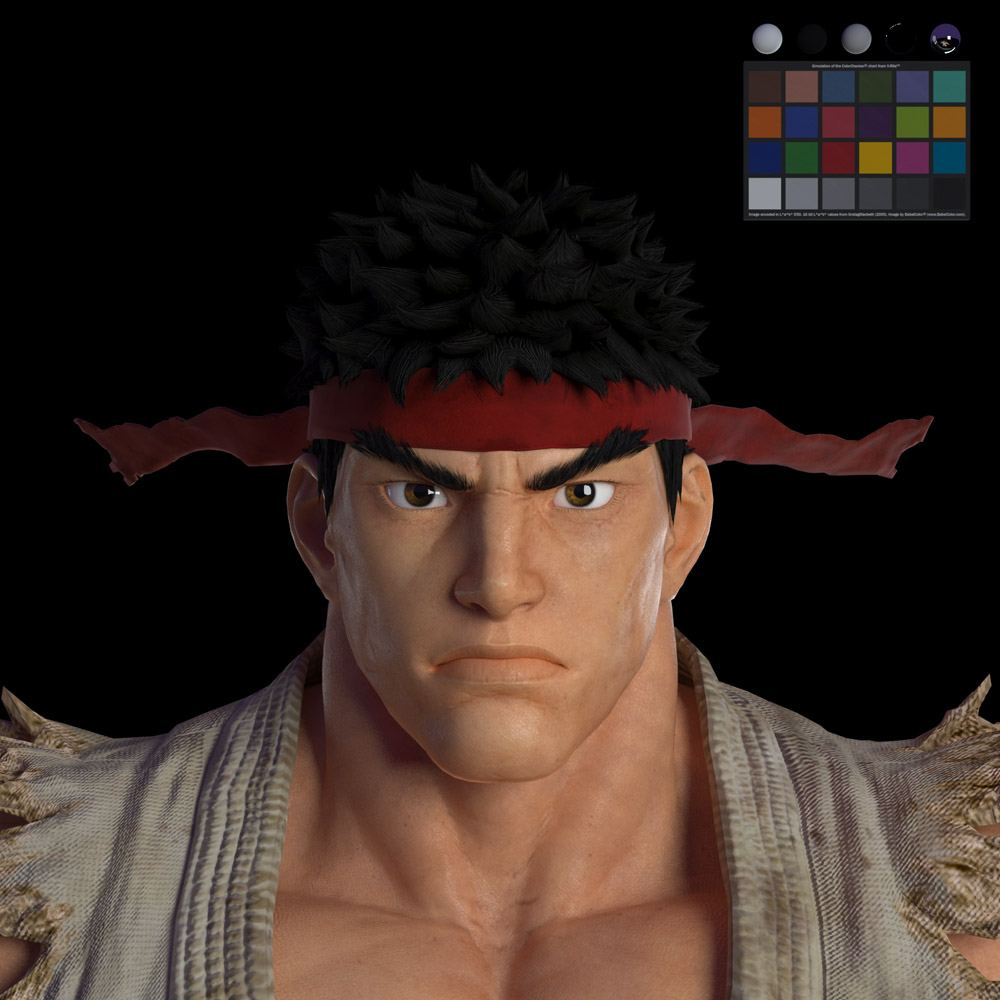
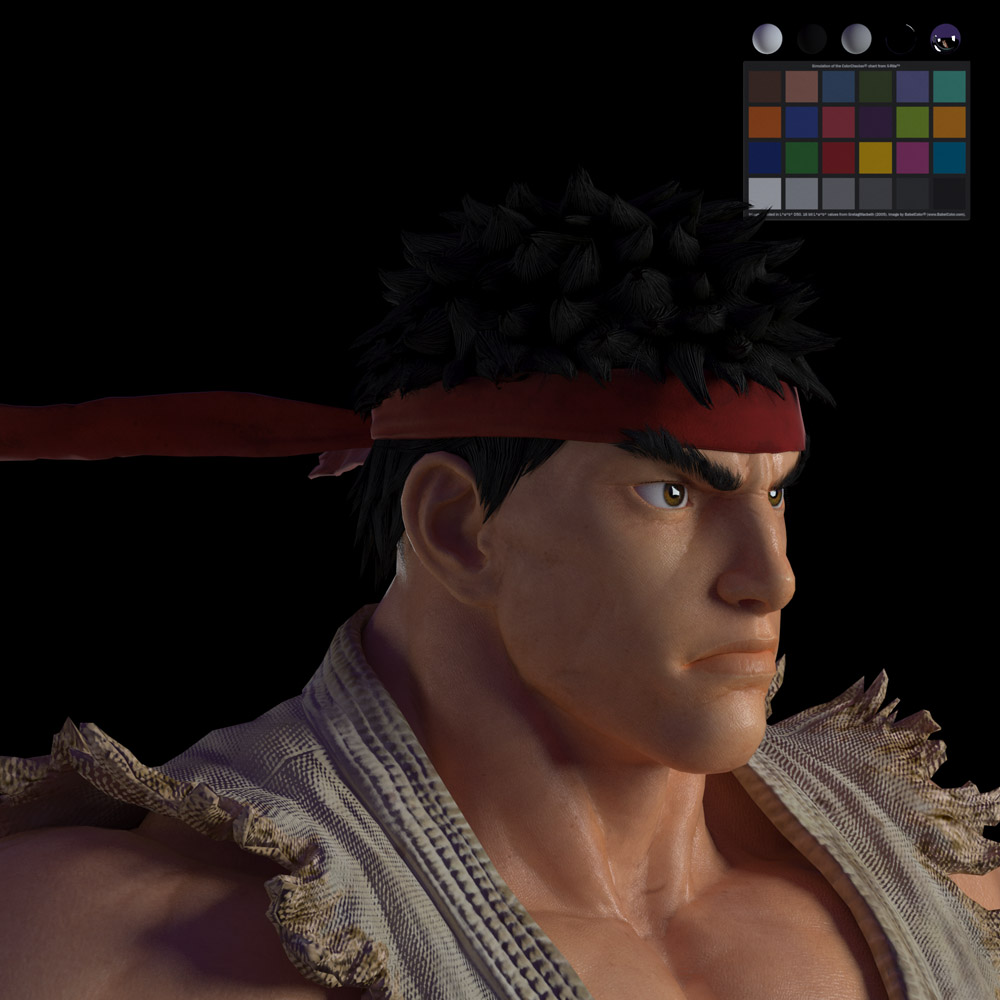
The characters' looks were developed based on the model of Ryu since he would appear most often in the movie. Top: The look submitted to Capcom during the early stages. On receiving the go sign from Capcom, the direction was confirmed. Middle and Bottom: The final look rendered with three-point lighting.
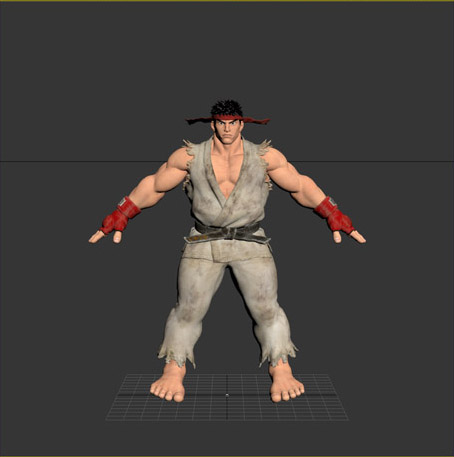
Models and Textures
-
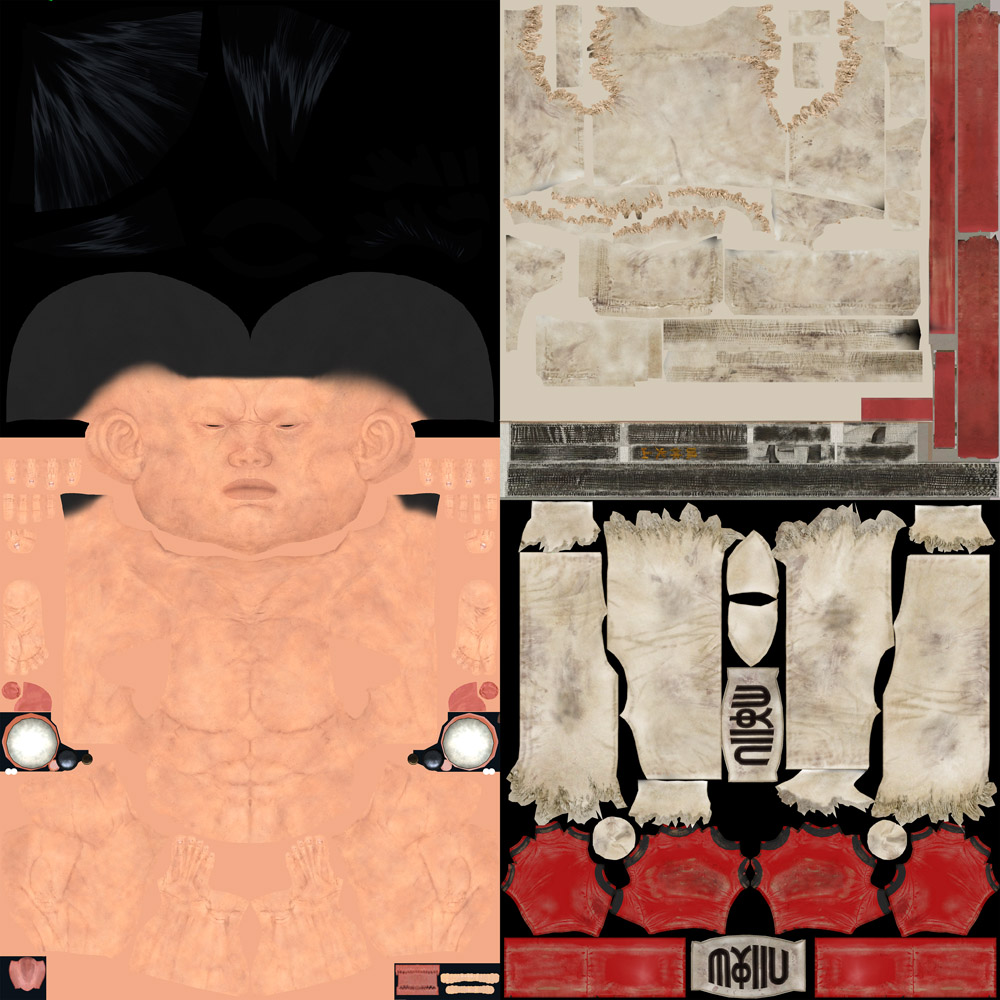
- The diffuse map adjusted especially for the movie. For the characters that had a high enough resolution when rendered for a model check, the main process needed was to add more color tones to the texture map so that they could be rendered well in V-ray. To make these texture maps they used Photoshop, Mari and Substance Painter.

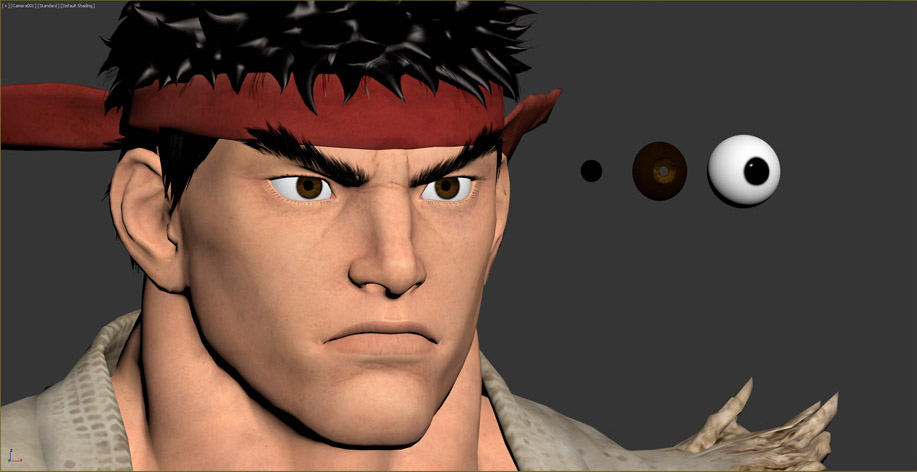
The eyeballs were constructed in three layers from the left: the lens (colored in black); the iris; and the white and cornea. They built Ryu's eyeball as the original model and applied it to the other characters by changing the colors of the irises.
Improving Hair Details

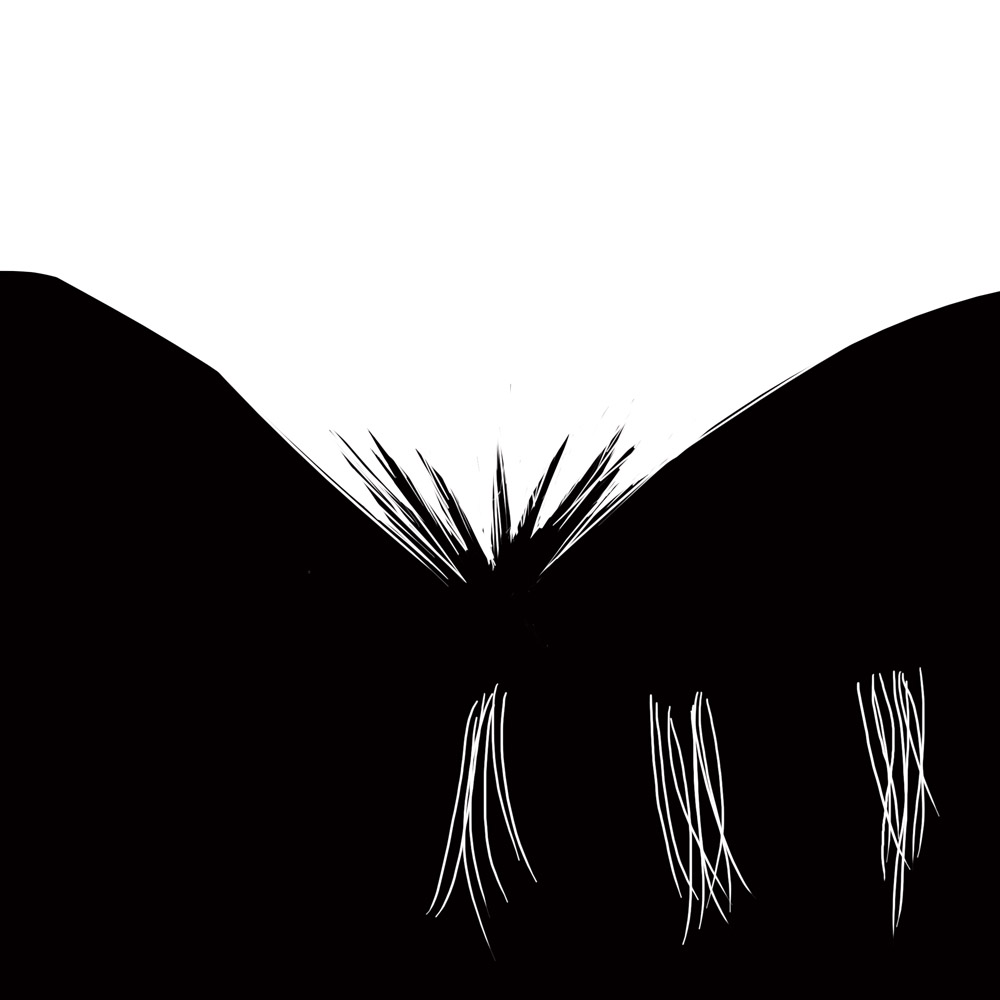
For Ryu's hair, in order to smooth out the low poly in-game model, they added thin hairs made with plane objects to create more natural hair details. Then they used an alpha mask to create a feathered effect on the end of each hair cylinder. Finally they added another layer of hair, made with plane objects again, inside each hair cylinder to retain the original thickness of the hair.
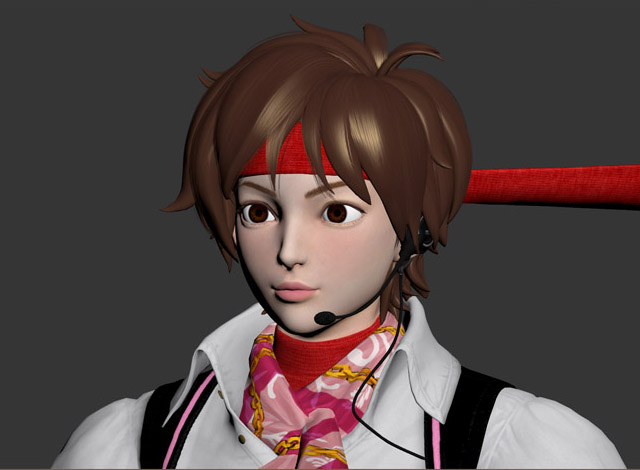
Topic 2;Sakura Has Grown Up from The Previous Series.Nirasawa is a huge fan of the Street Fighter series. He was chosen to be an in-house supervisor of this project because he was deeply familiar with the background stories and particular features of each character. "Talking about Sakura for instance, she has now graduated high school and is working part-time in an arcade. This made it easy to come up with her new visuals, such as her wearing more makeup than before and wearing an intercom headset that she would use at work. It made me realize that the work gets a lot easier when you know the characters intimately and have clear ideas about their visual styles," said Nirasawa. From the warmth produced when the light reflects in a character's eyes to the elegance of their glossy lips, he managed to bring out the characters' charisma using lighting techniques, but at the same time, he succeeded in making them look natural even from the fans' point of view.
Look

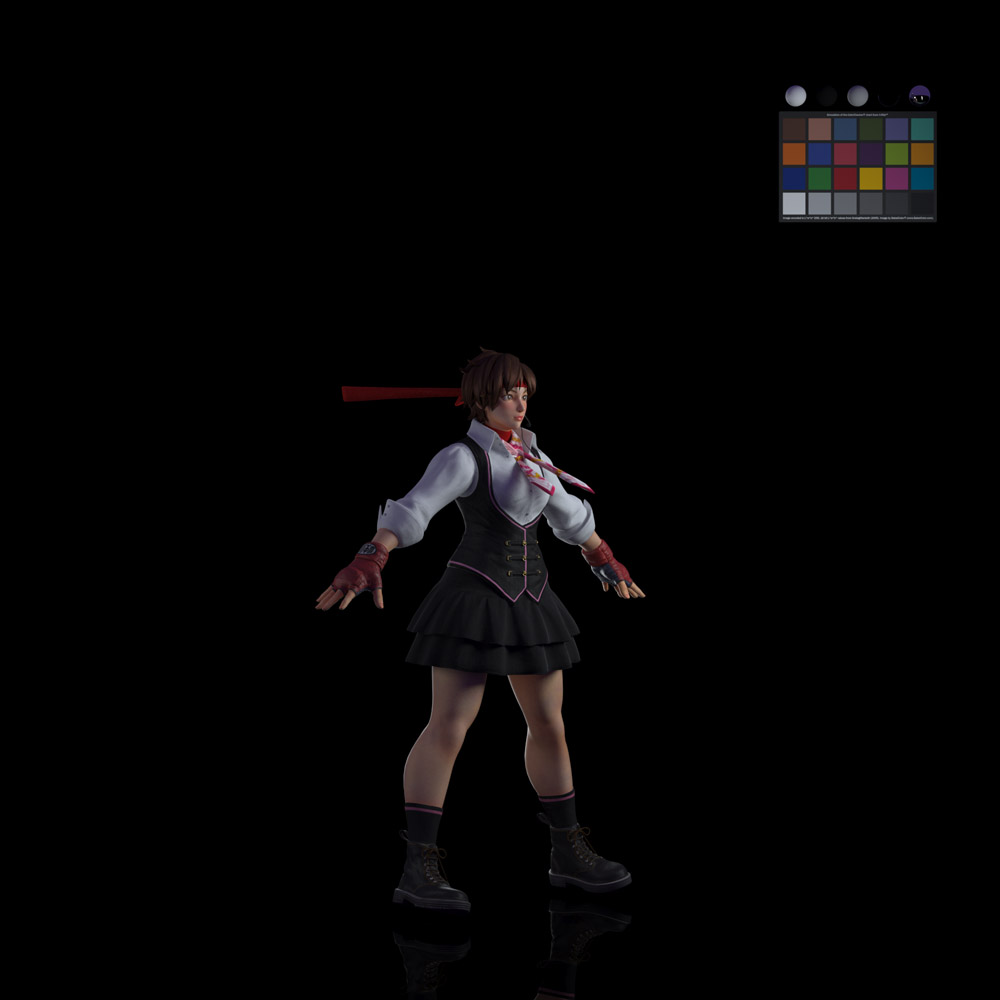
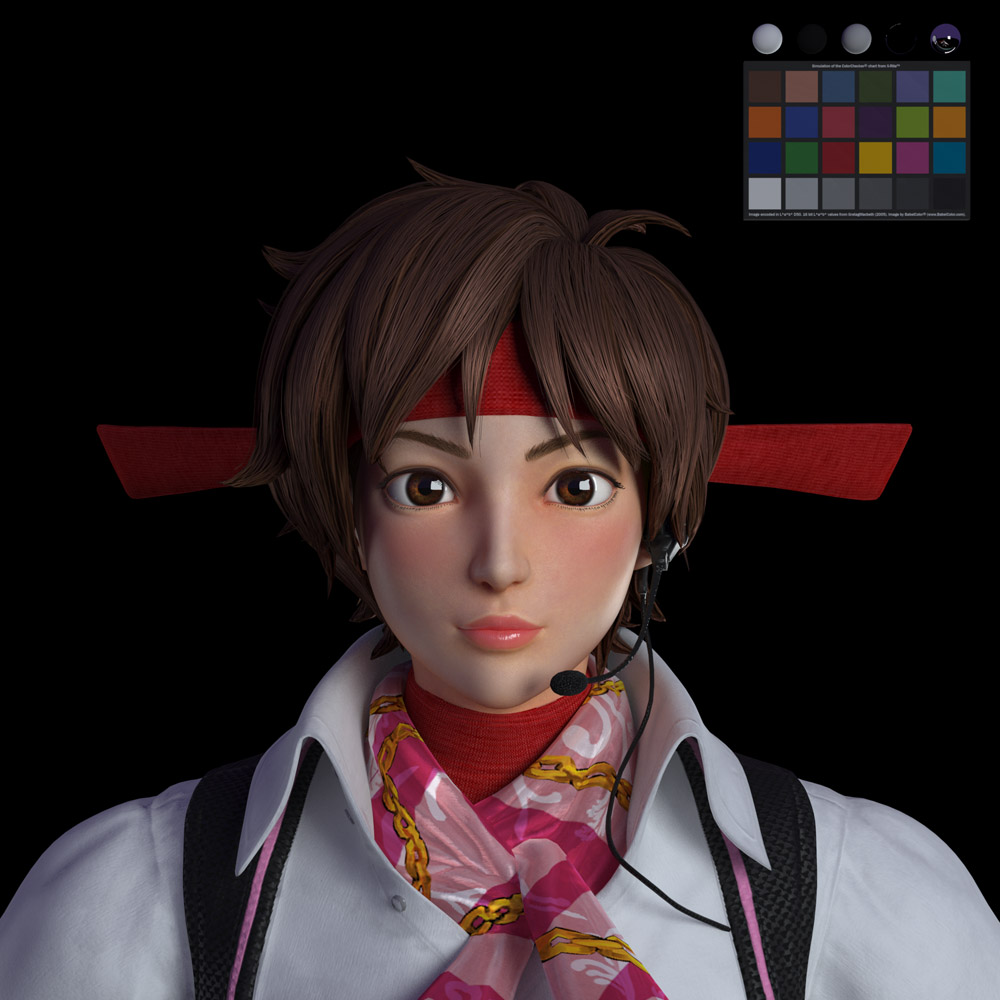

Sakura is more mature than in the previous series; she wears stronger makeup, and also the uniform of the arcade where she works.
Models and Textures
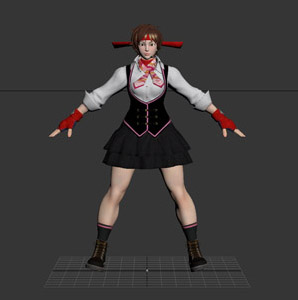
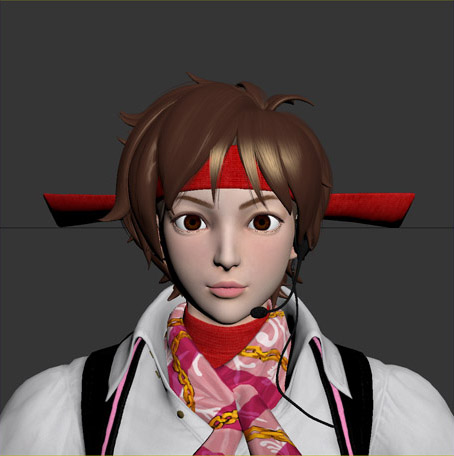
-
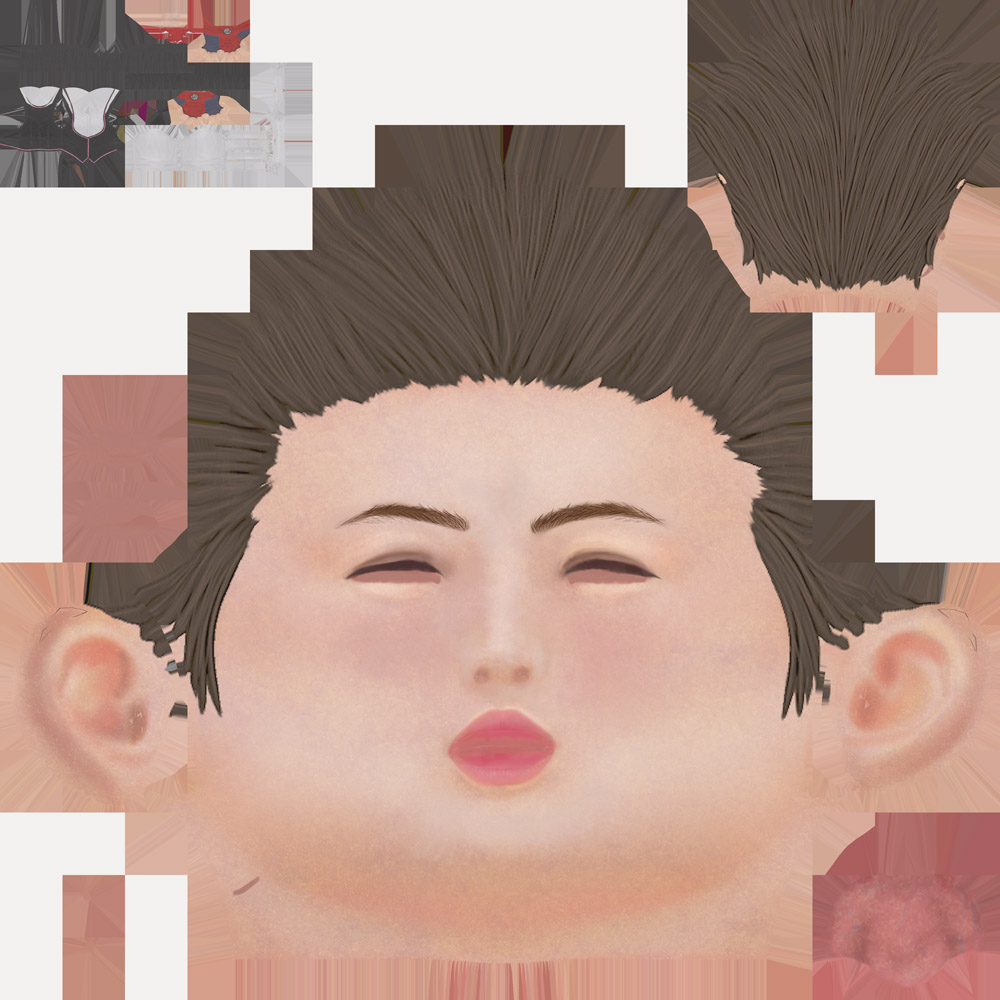
- Sakura's model and her facial diffuse map made especially for the movie. The in-game texture map was 4K size as a whole but the facial part wasn't even 500 pixels, so they prepared a new high-res texture map for the close-up shots. Using the transfer function in Mari, they baked the in-game texture map onto the movie texture map as a base to work from.
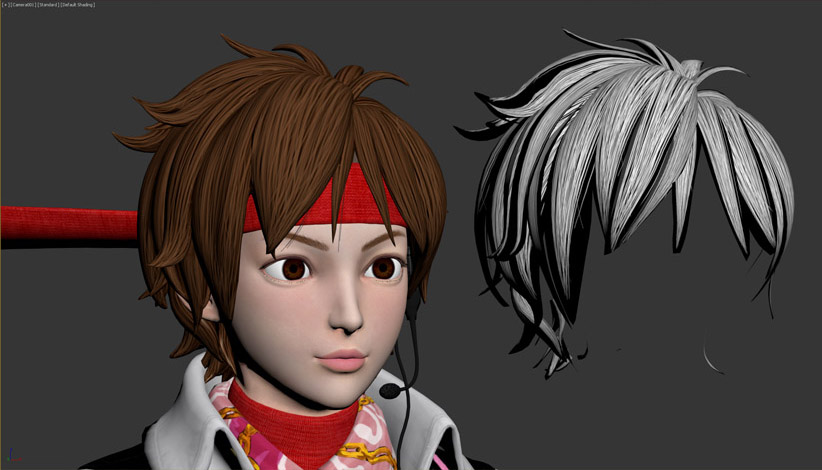
Screenshot from 3ds Max displaying Sakura's model for the movie. The left shows her hair model, made with cylinder objects, with its diffuse map visible, and the right shows the alpha mask which was made on a plane object and applied to the hair model. On the in-game models, characters with comparatively longer hair like Sakura already had hair alpha masks made with plane objects applied to the cylinders of their hair models.
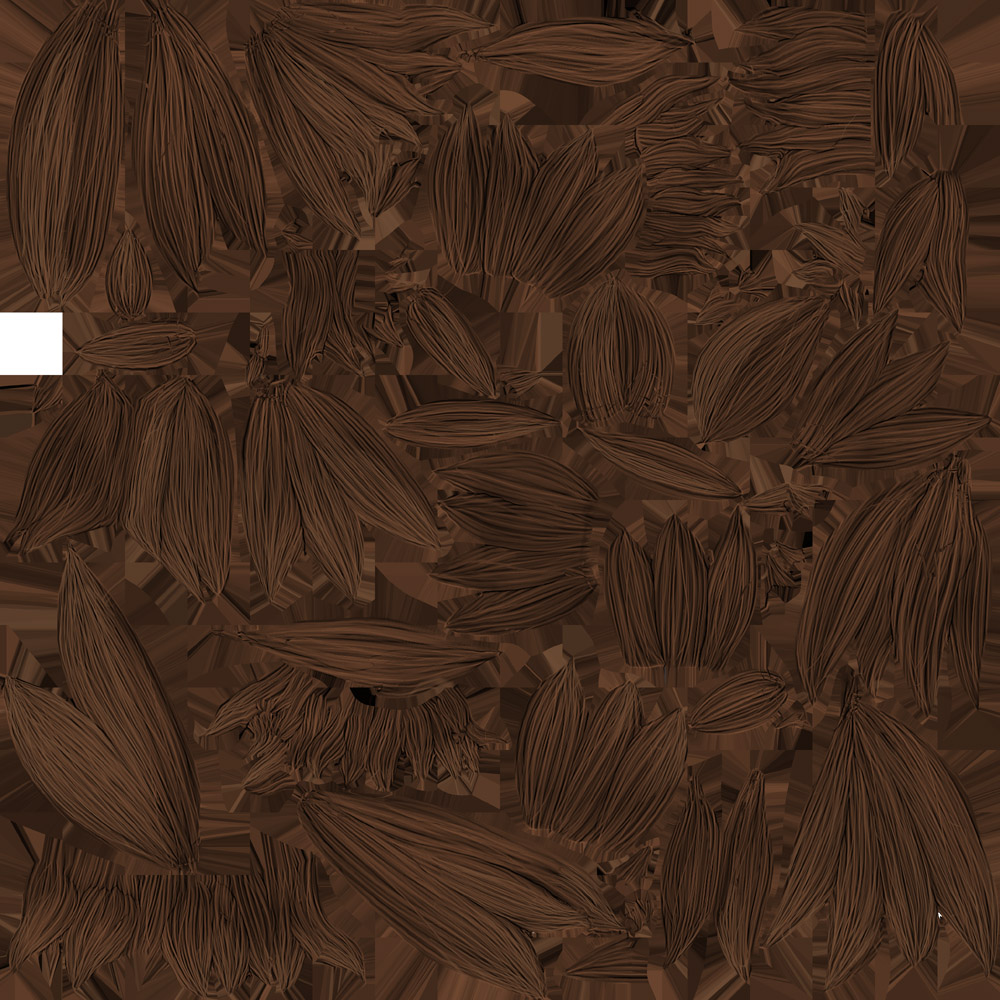
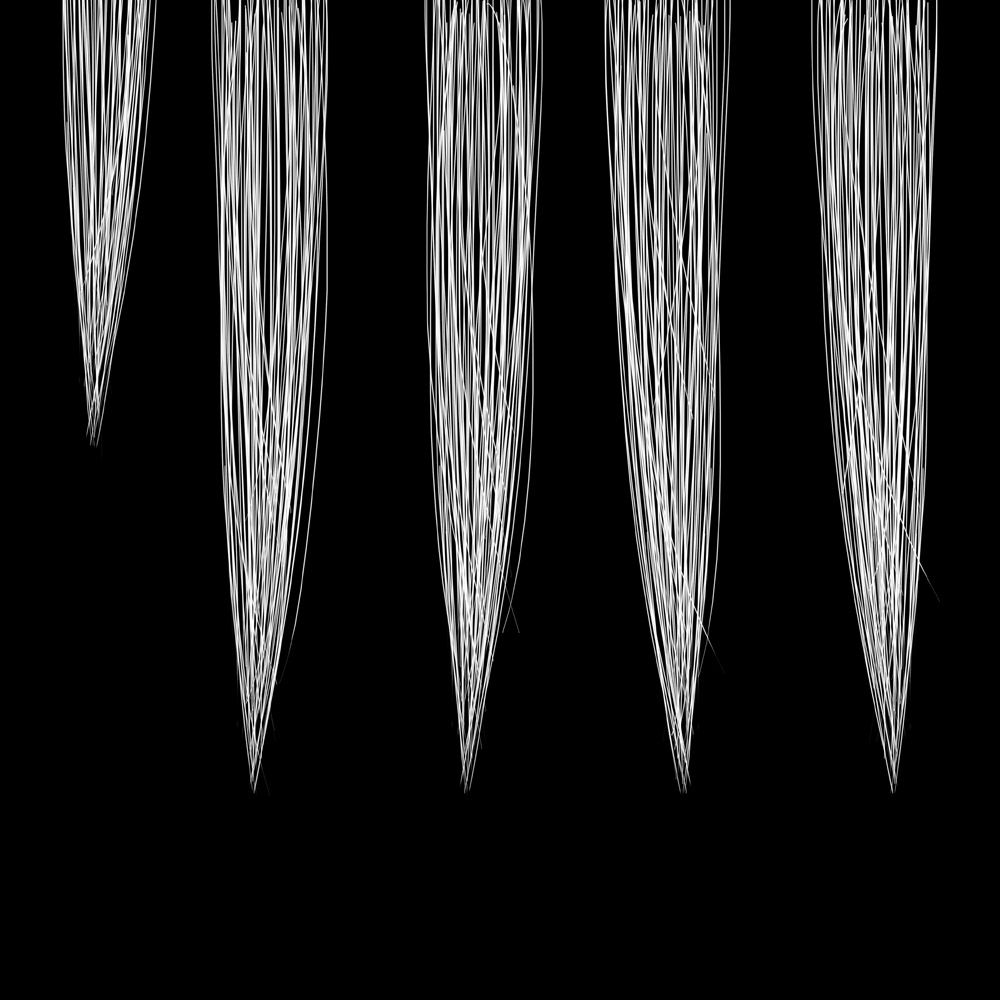
Left: The diffuse map that was given a higher resolution in Mari to be used on the cylinder hair model for the movie. Right: The alpha mask refined by Shirogumi to be applied to the movie model. Its resolution was already at 4K which was high enough to be used.
Eliminating Unnatural Features of In-Game Models
The in-game models had some body parts especially exaggerated so that the characters look more appealing in long-distance shots. The collar of Sakura's shirt was too thick to be used in the movie, so they made it thinner in Morpher Modifier and made sure it was balanced well.
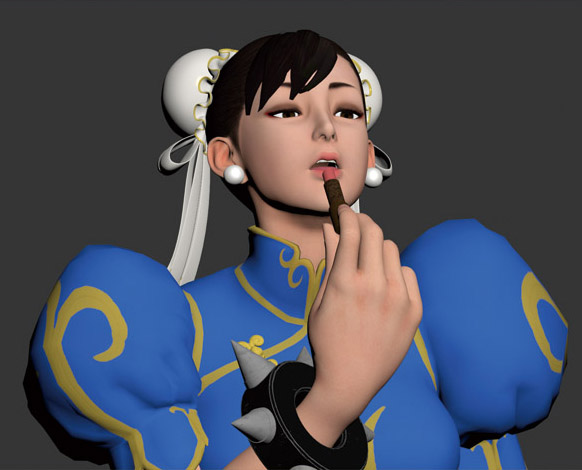
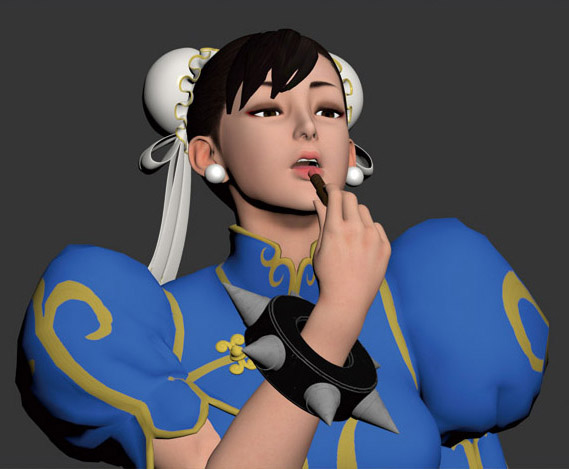
This scene of Chun-Li putting her lipstick on shows such adjustments more obviously. The in-game models are made to have huge hands so that their actions look clearer from a distance, so the team had to adjust the size significantly. The left image shows her hands in their original in-game size, and the right shows those used for the movie after being scaled down 70%.

When scaling the hands and feet, there were problems with the models' proportions when they scaled the CAT rigs up or down directly, so they developed their own in-house custom script to avoid this. The left model shows the results after scaling using their in-house tool and the right shows the results after scaling the CAT rigs directly.
next page:
<2>Establishing the Best Workflow for the Project