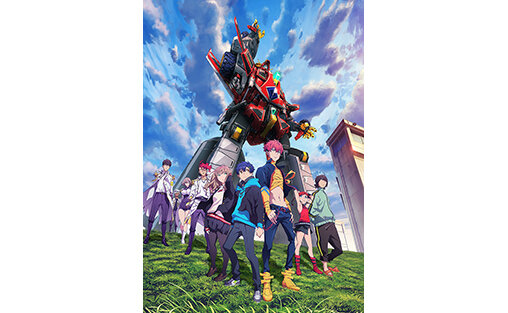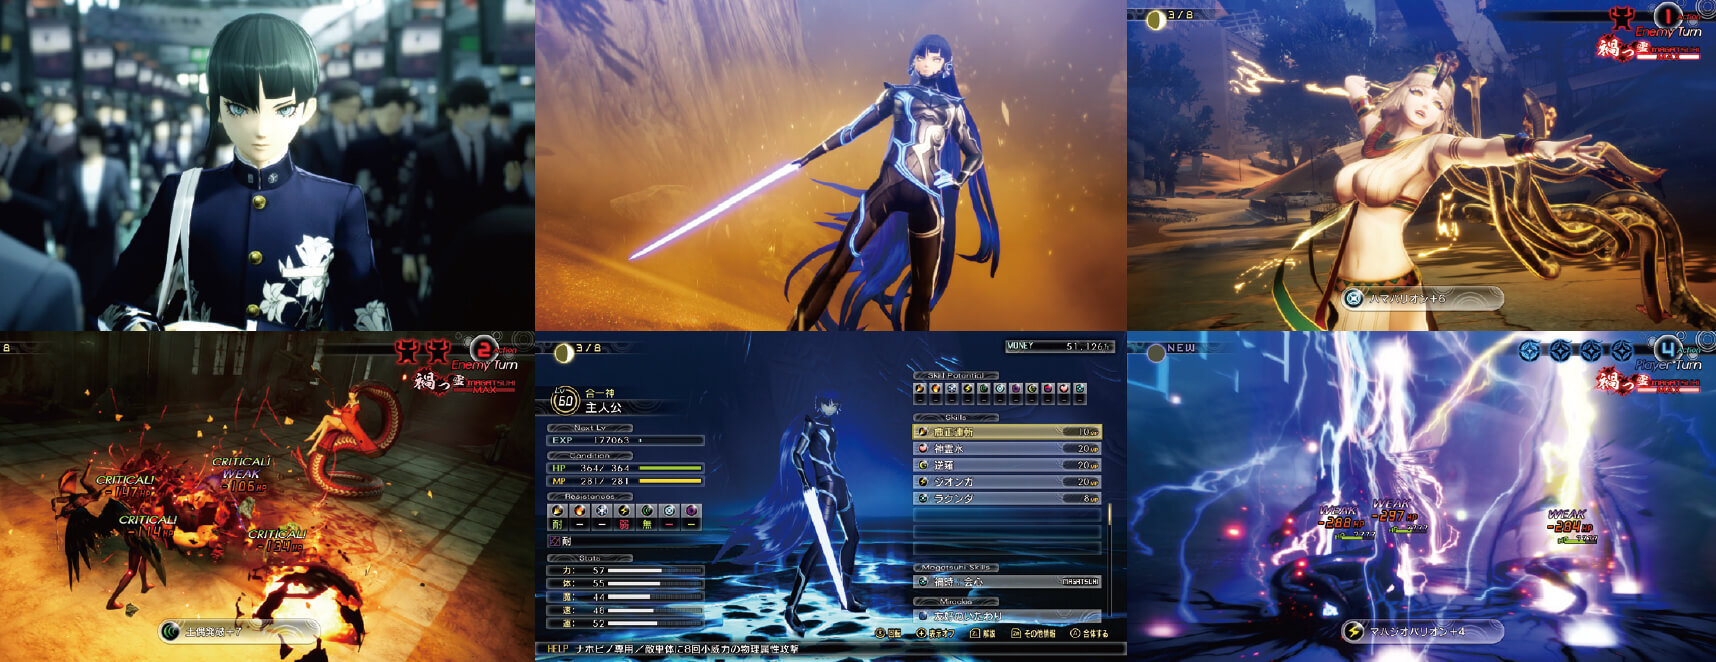
"Shin Megami Tensei V" (Nintendo Switch) is the latest in the "Shin Megami Tensei" series, which boasts strong popularity among game fans. Released last November, this time we focus in particular on the creation of the characters.
From the main characters to the demons, we will show you the making of the characters that Atlus is so particular about.

”Shin Megami Tensei V”
Developer and Publisher: Atlus
Release: on sale
Price: 9,878 yen (standard edition), 16,280 yen (limited first edition), 9,878 yen (DL version)
Platform: Nintendo Switch
Genre: RPG
megaten5.jp
©ATLUS ©SEGA All rights reserved.
Unreal and its logo are Epic's trademarks or registered trademarks in the US and elsewhere. Unreal and its logo are Epic's trademarks or registered trademarks in the US and elsewhere.
The Nintendo Switch logo and Nintendo Switch are trademarks of Nintendo.
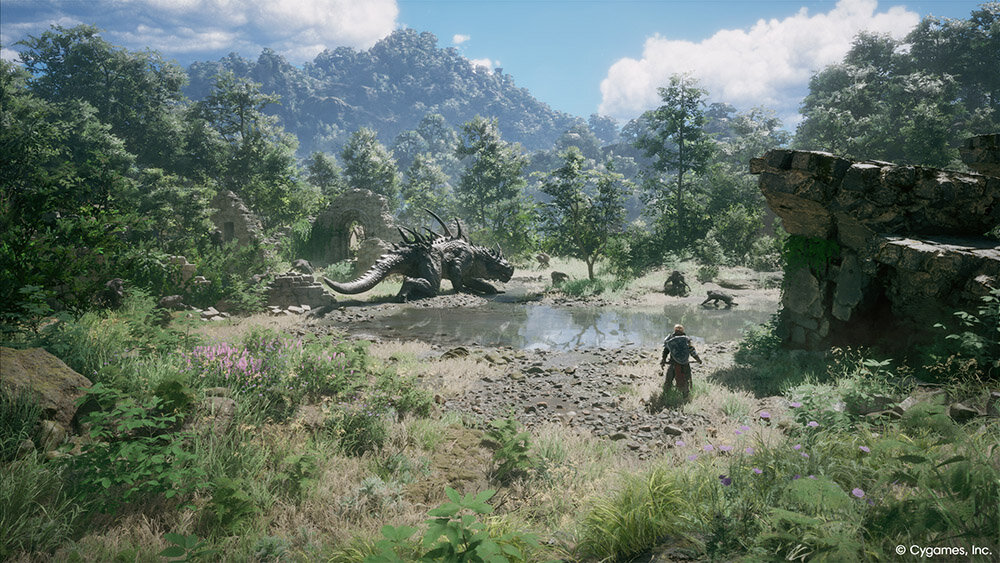
"Megaten" style 3D expression pushed through with UE4.
”Shin Megami Tensei V," the latest version of the popular RPG series that has been supported by many fans since the release of the first "Shin Megami Tensei" in 1992, was released last November, UE4 was adopted as the development environment for this title for Nintendo Switch.
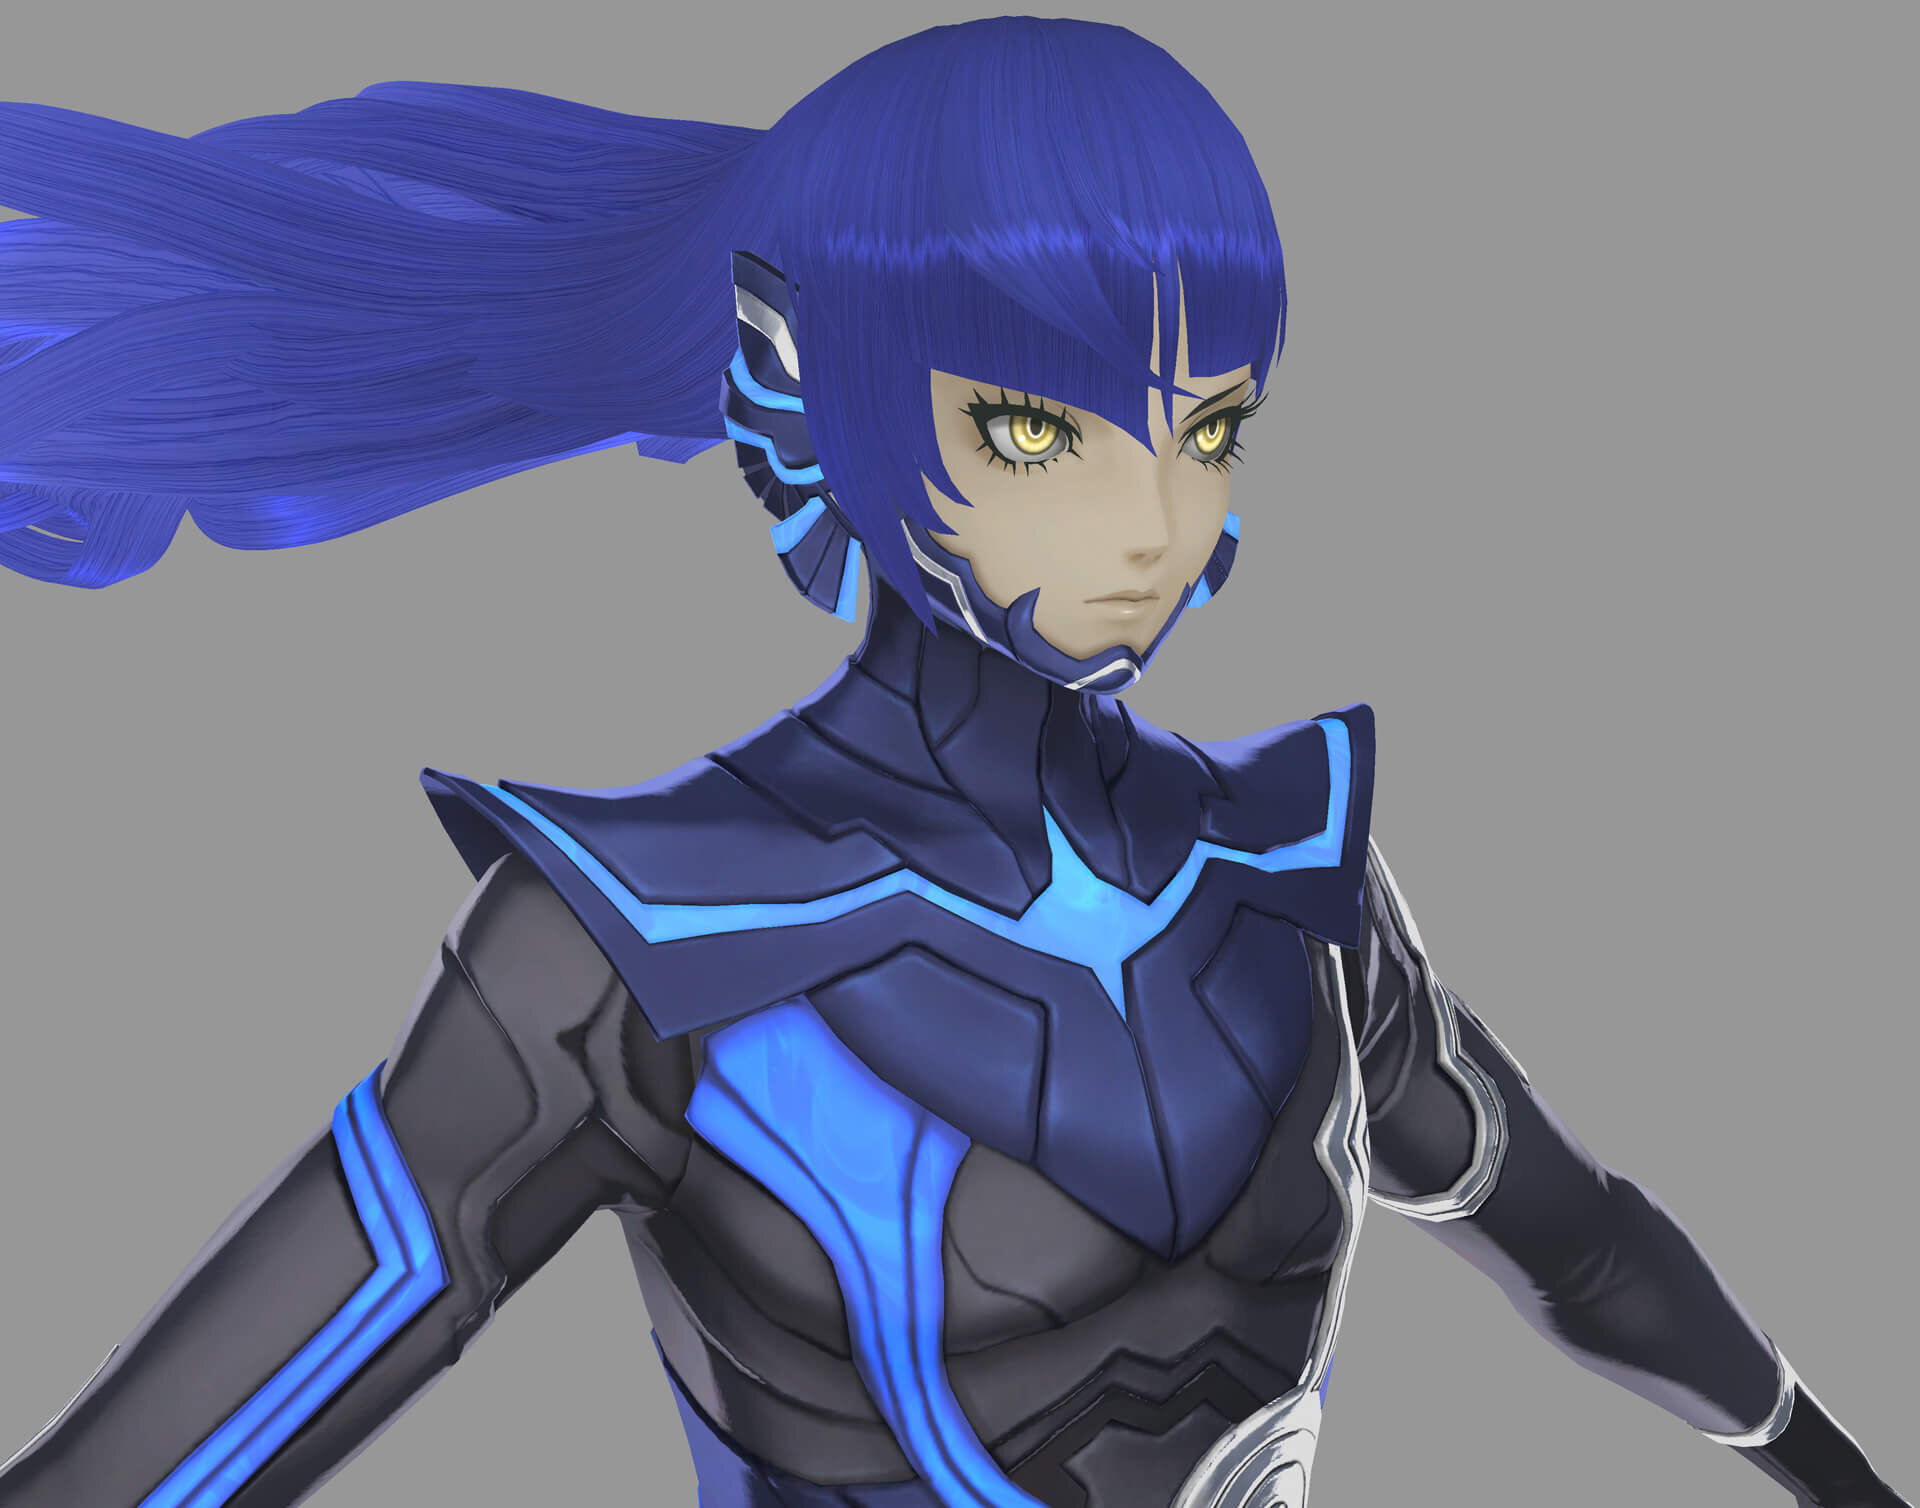
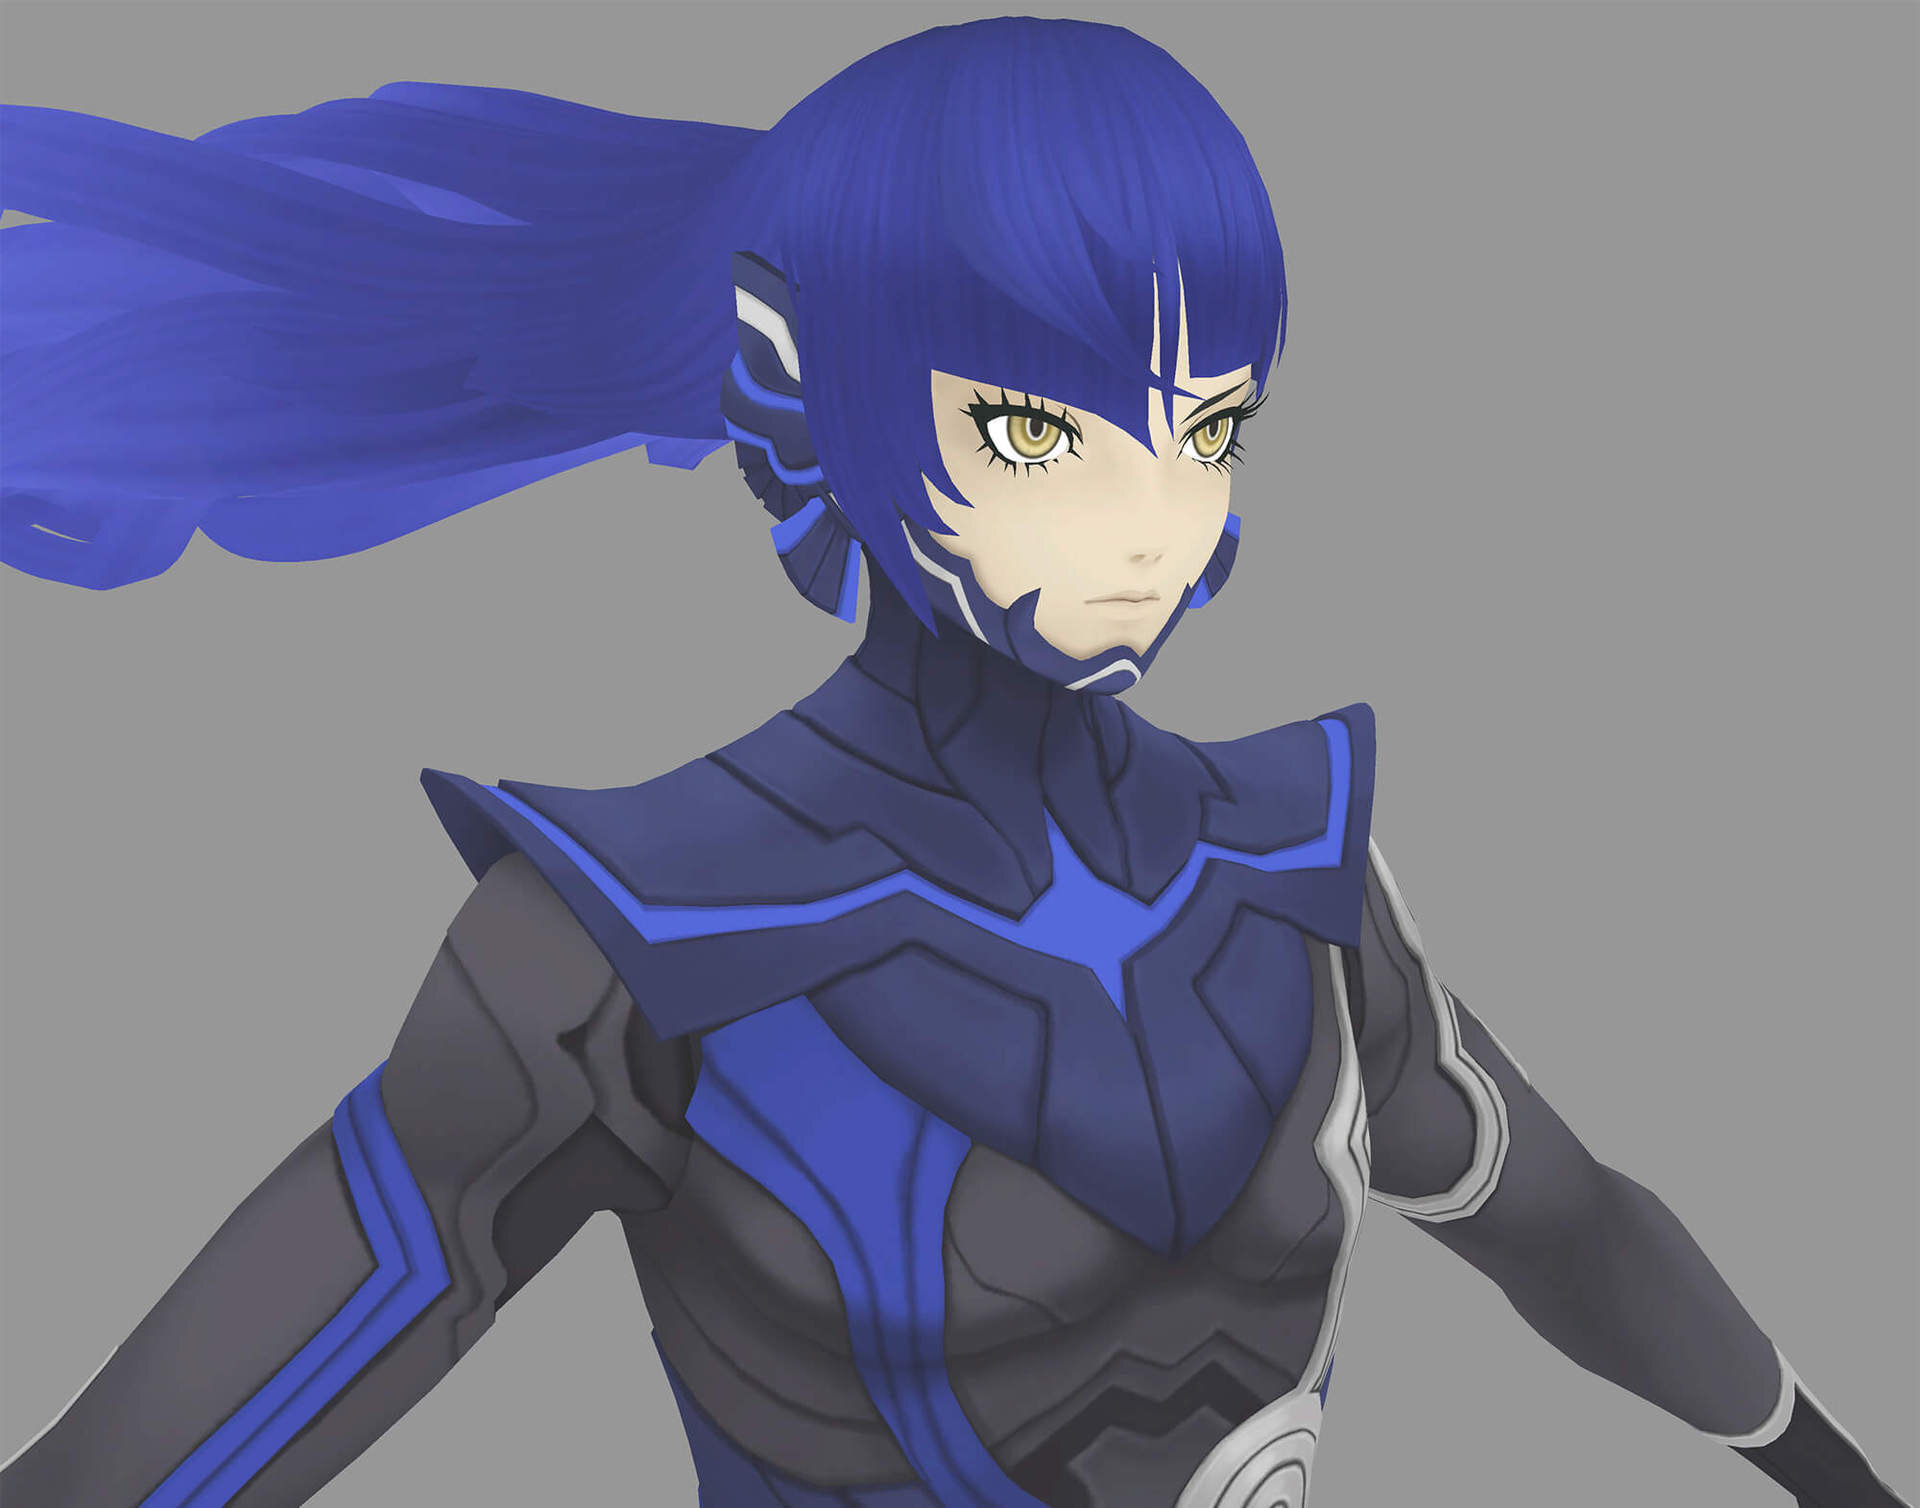
The goal in creating the characters for this title was to recreate the original character illustrations in 3DCG while maintaining the dark atmosphere typical of the "Shin Megami Tensei" series.
By adding the physical-based rendered expressions of 3DCG to the illustration-like expressions, we sought to create expressions appropriate for a game played on the current generation of game consoles. I think UE4 is the best game engine for this kind of expression," said Takumi Yoshihara, lead modeling designer.
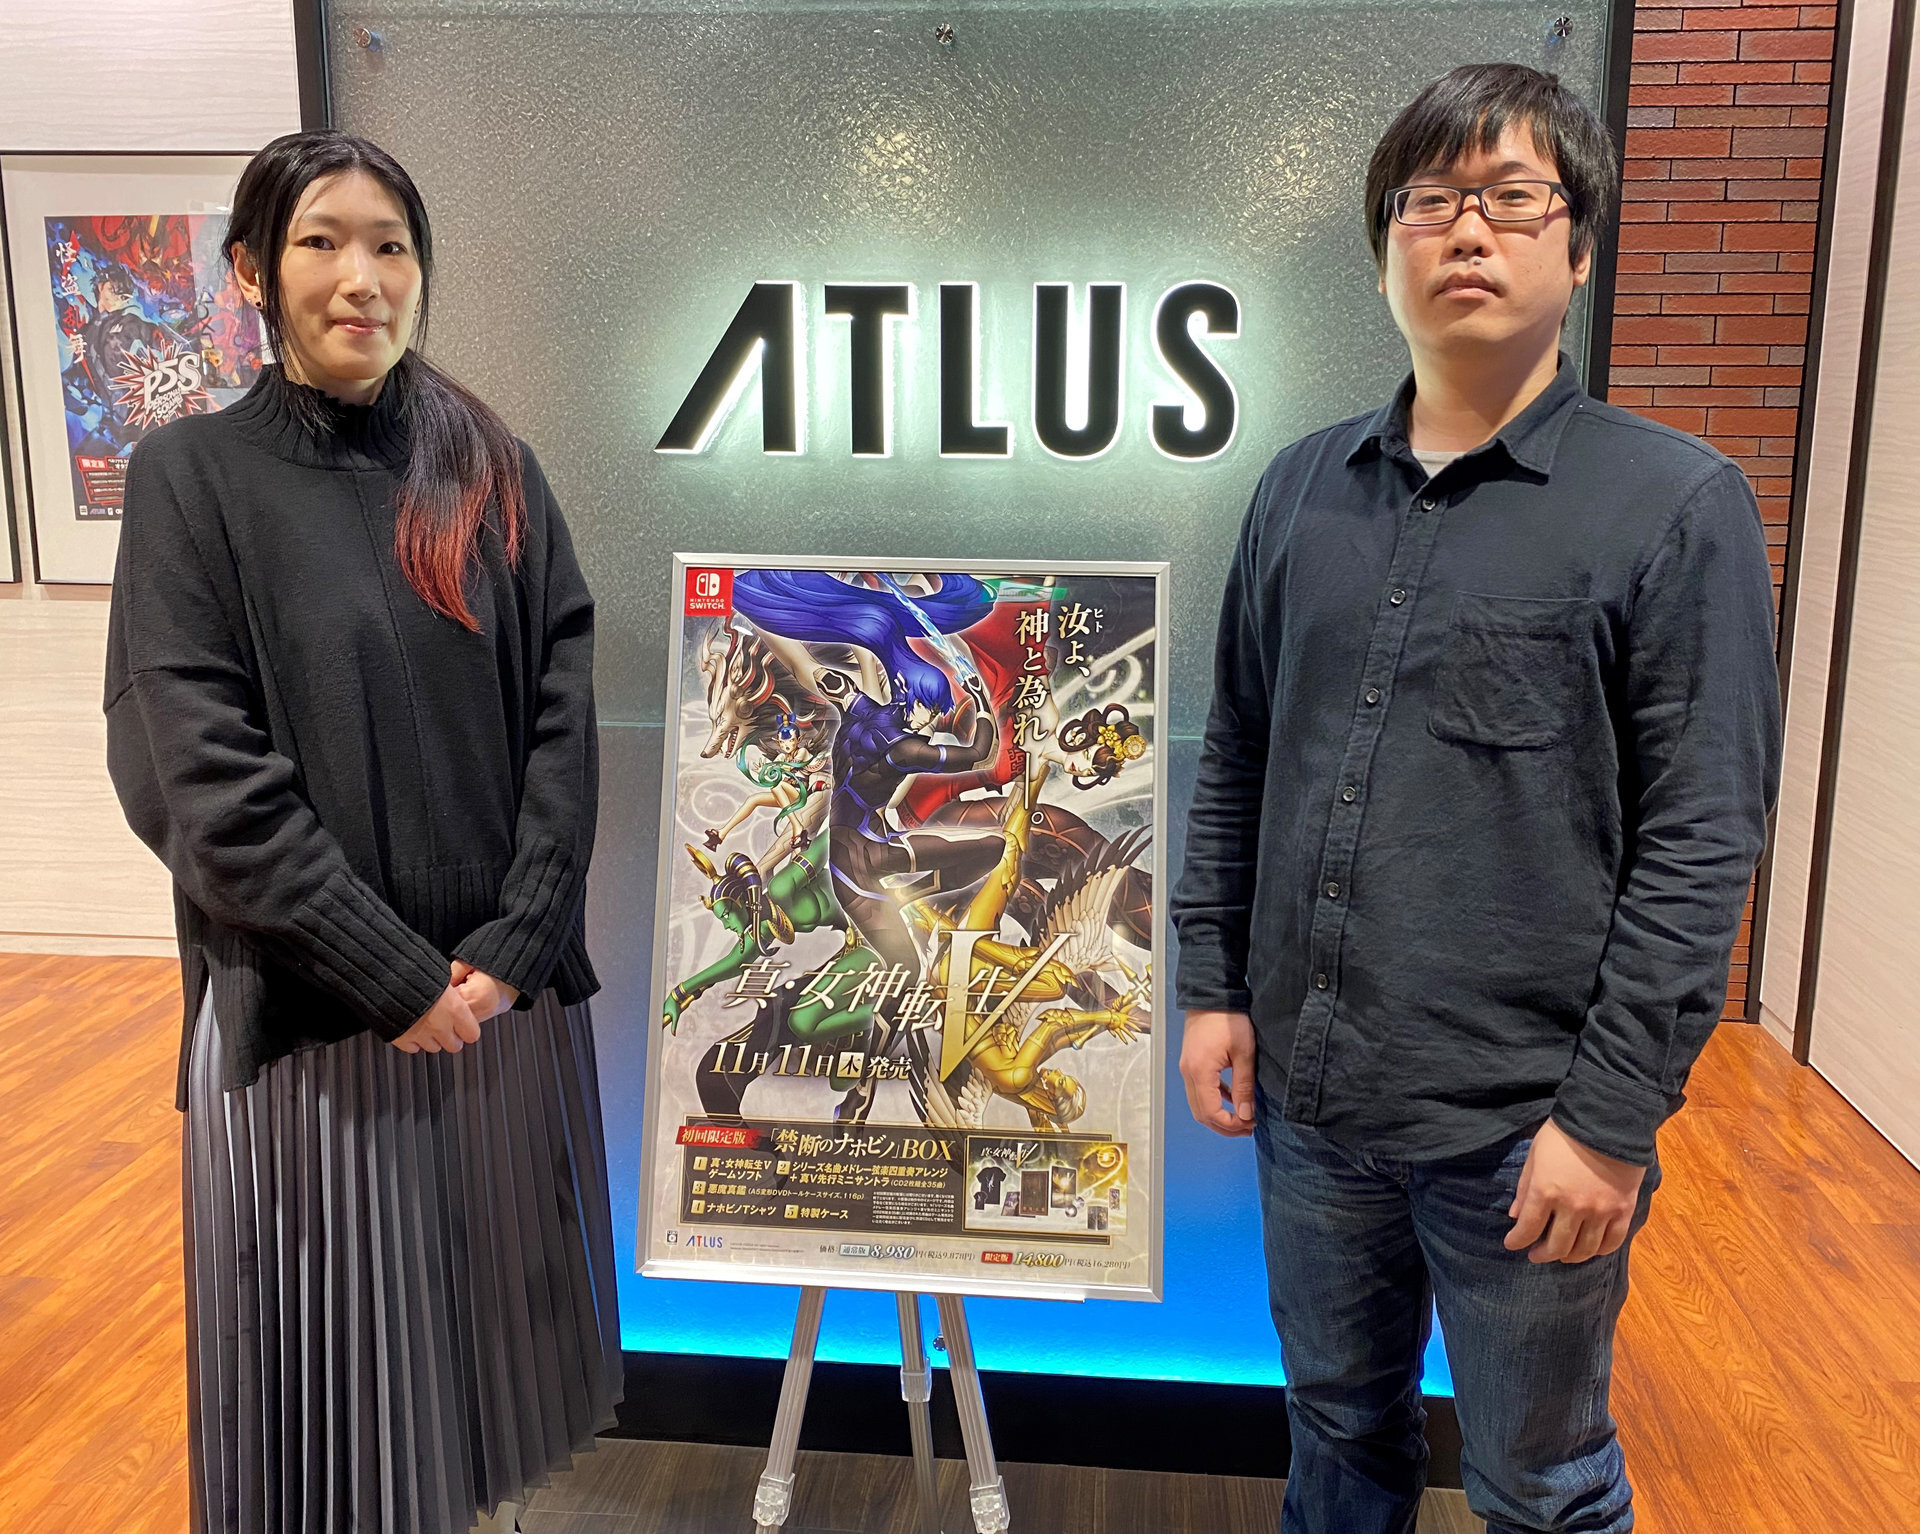
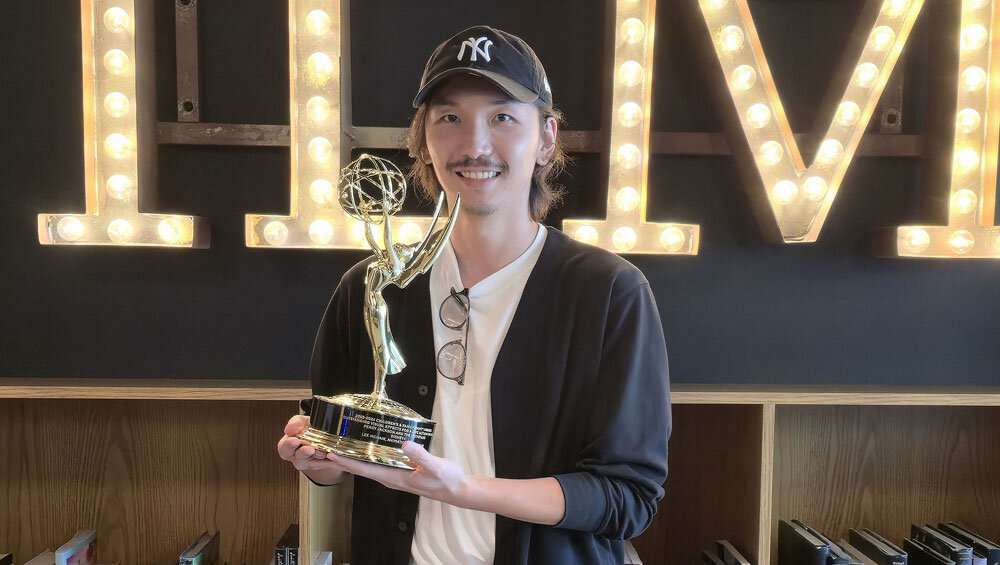
From right, Takumi Yoshihara, lead modeling designer, and Miyuki Hariya, modeling designer (above, Atlas)
www.atlus.co.jp
The characters were modeled mainly with Maya and ZBrush, and textures were created using Substance 3D Painter and Photoshop. Once the development environment was ready, the look-development process proceeded with a policy of pushing the range of expression on UE4 in order to reproduce the atmosphere of the original illustrations as game characters.
In the original illustrations, the designers gave us detailed instructions on the texture and details of the materials, but if we overdid it, it would become too realistic and not faithful to the original illustrations. Designer Miyuki Hariya successfully combined UE4's PBR and illustrative expressions to create a look that is different from that of typical 3DCG game characters. In this issue, we will introduce the detailed making of this work.
<1>The characters are faithfully sculpted from the original illustrations.
The modeling and look-dev process started with the mission of faithfully reproducing the original illustrations on UE4. After completing the models and textures, we poured our heart and soul into the look-dev process by bringing them into UE4.
Character models that pursue the reproduction of original illustrations
-
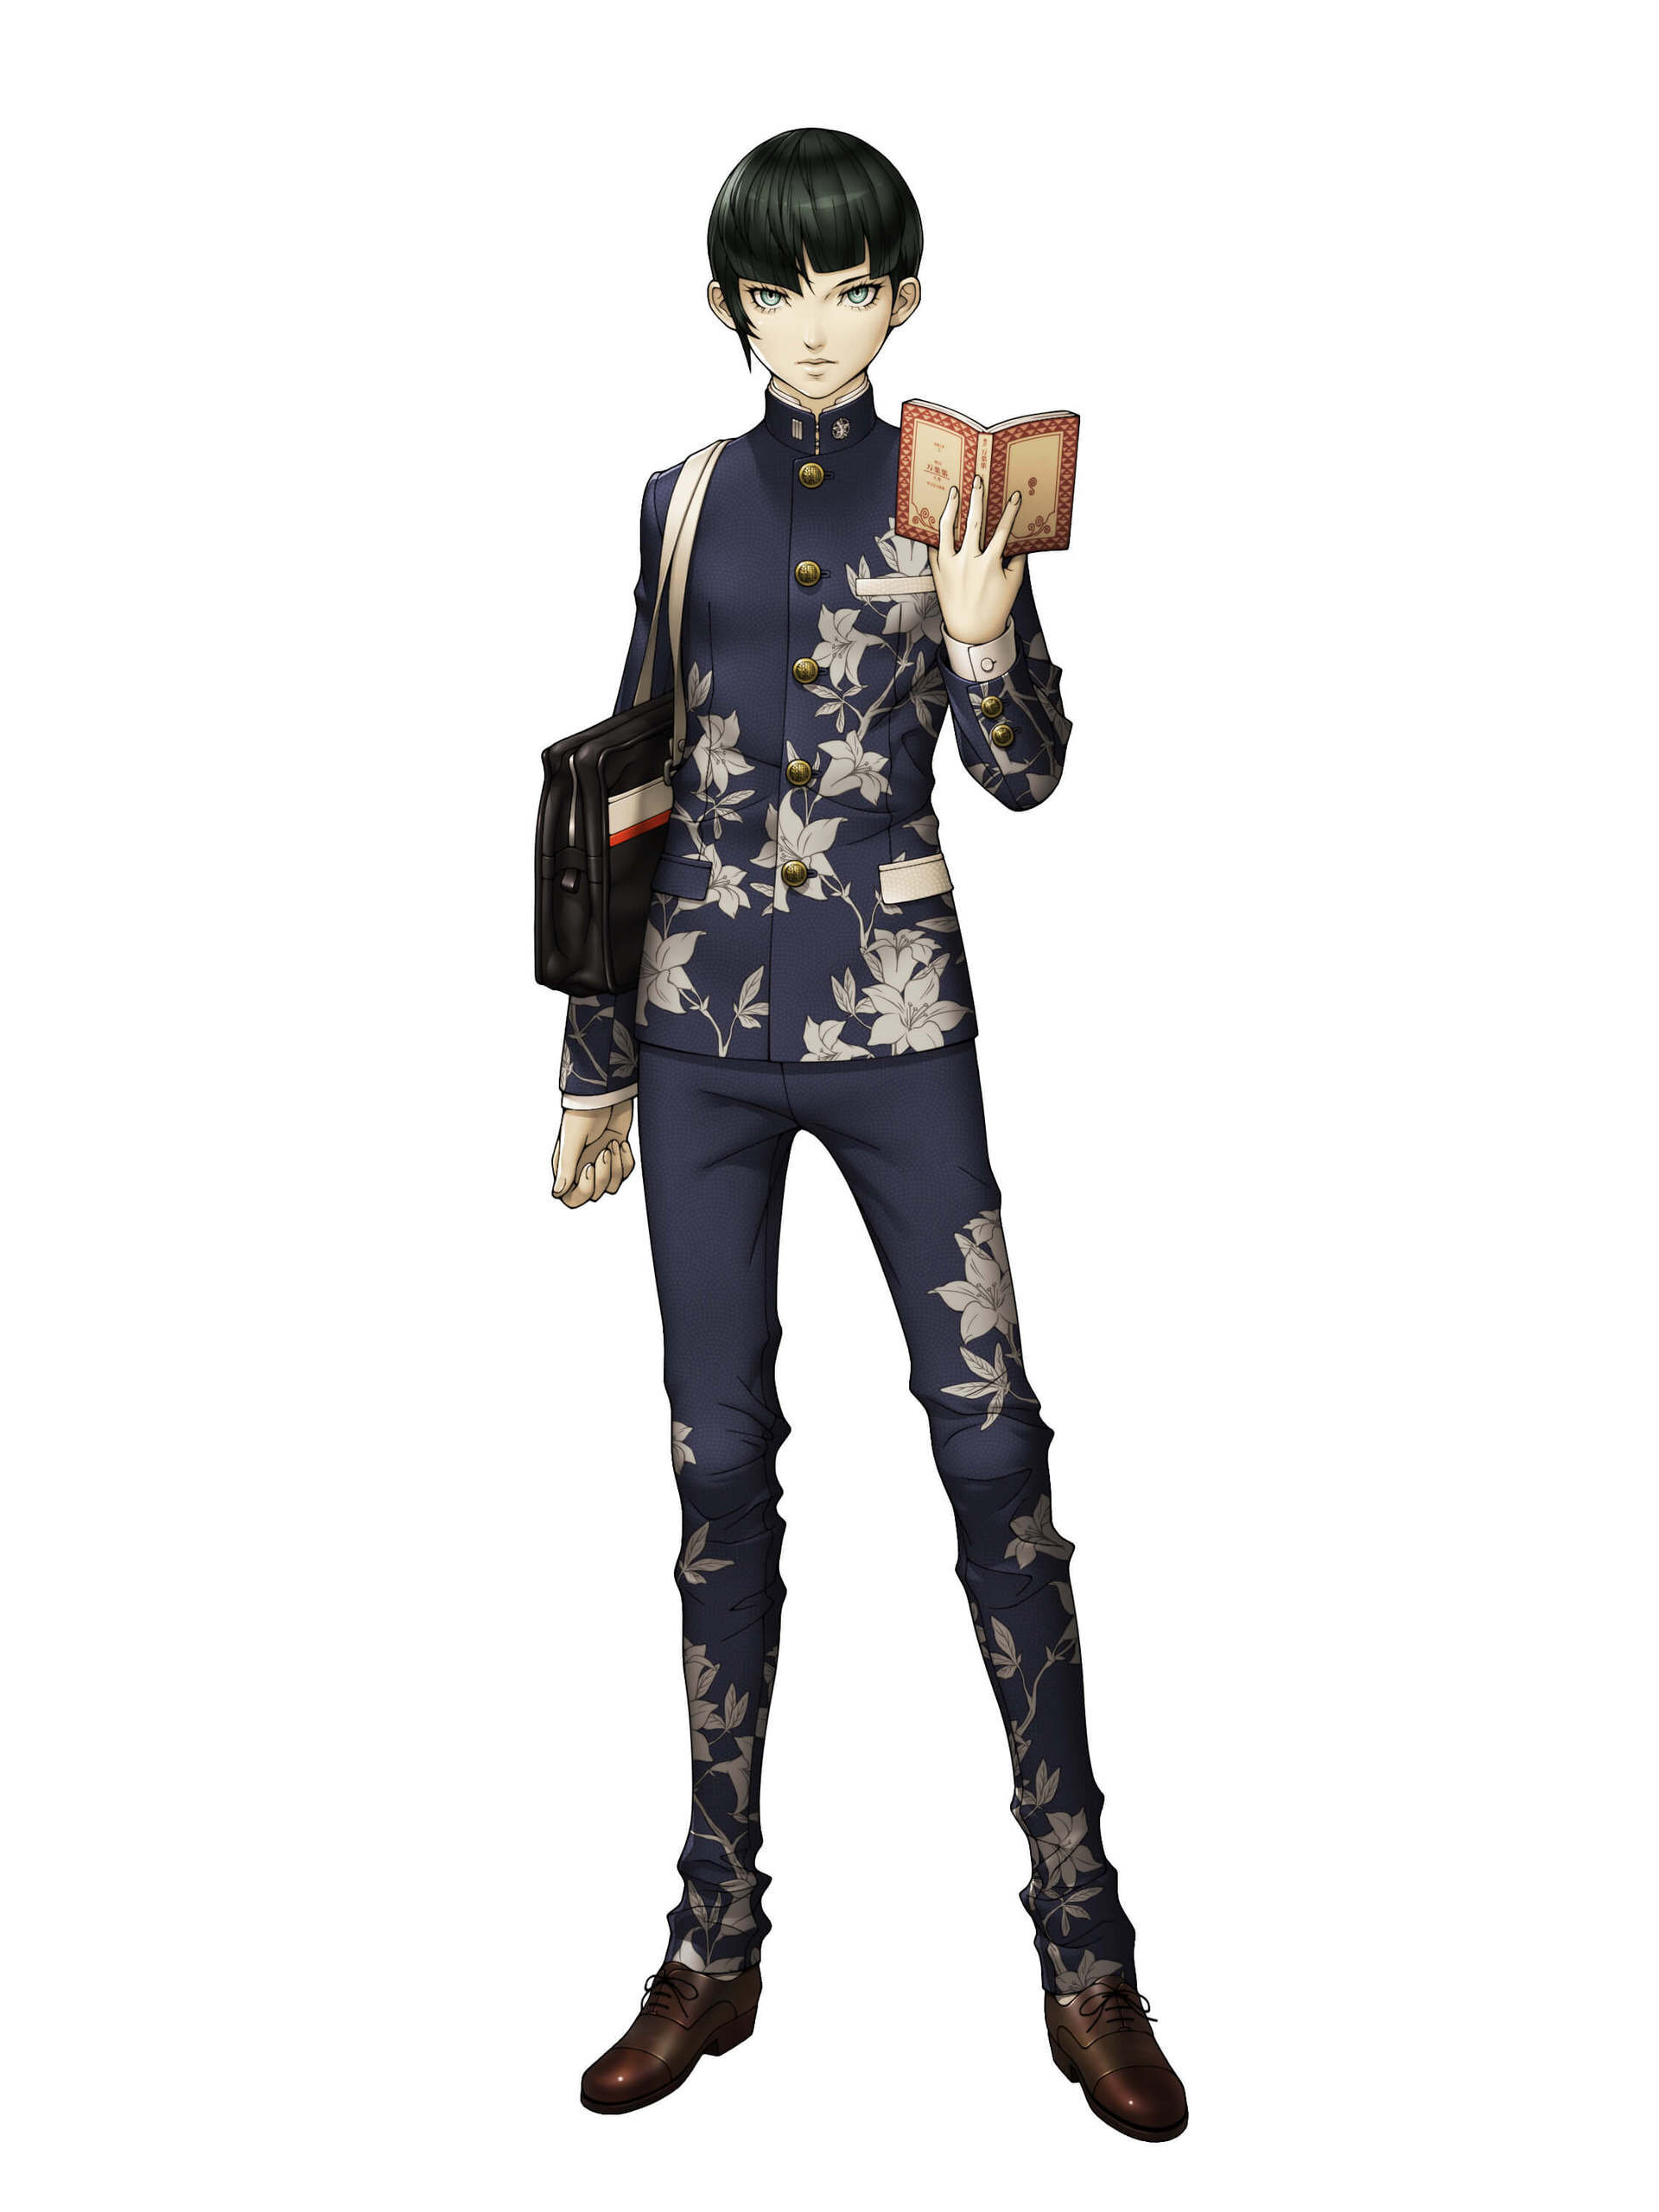
Original drawings of the main character -
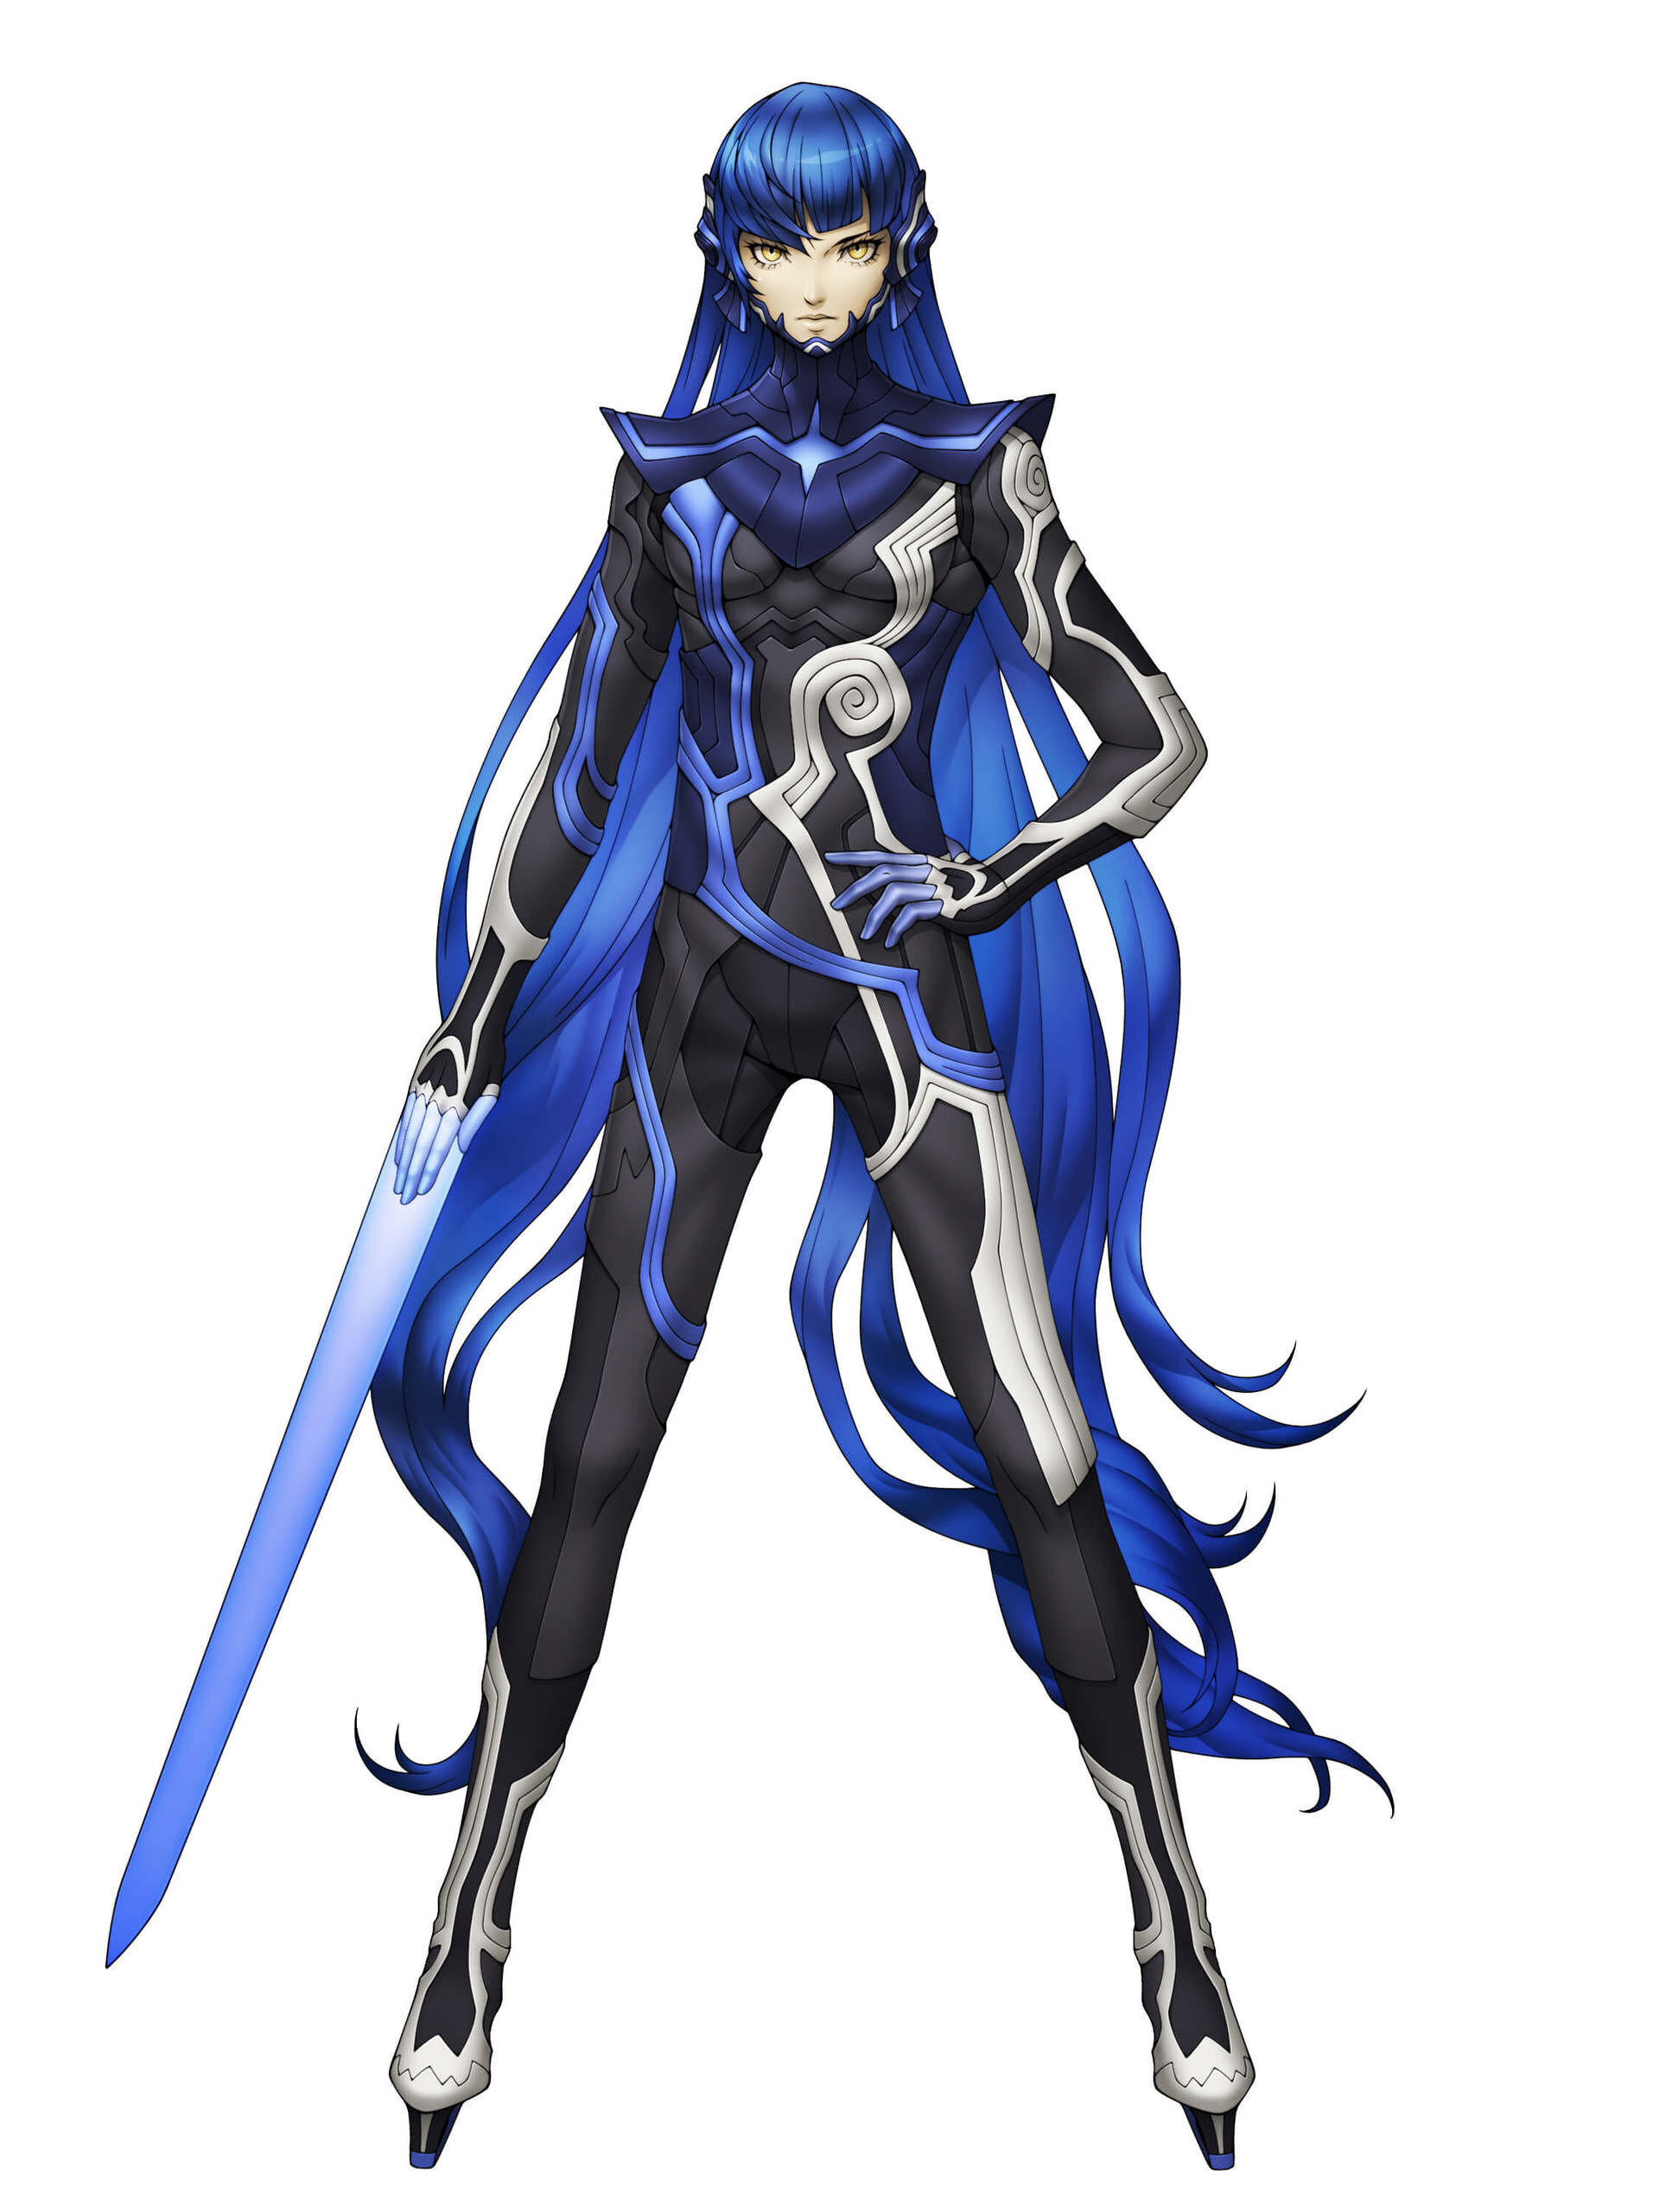
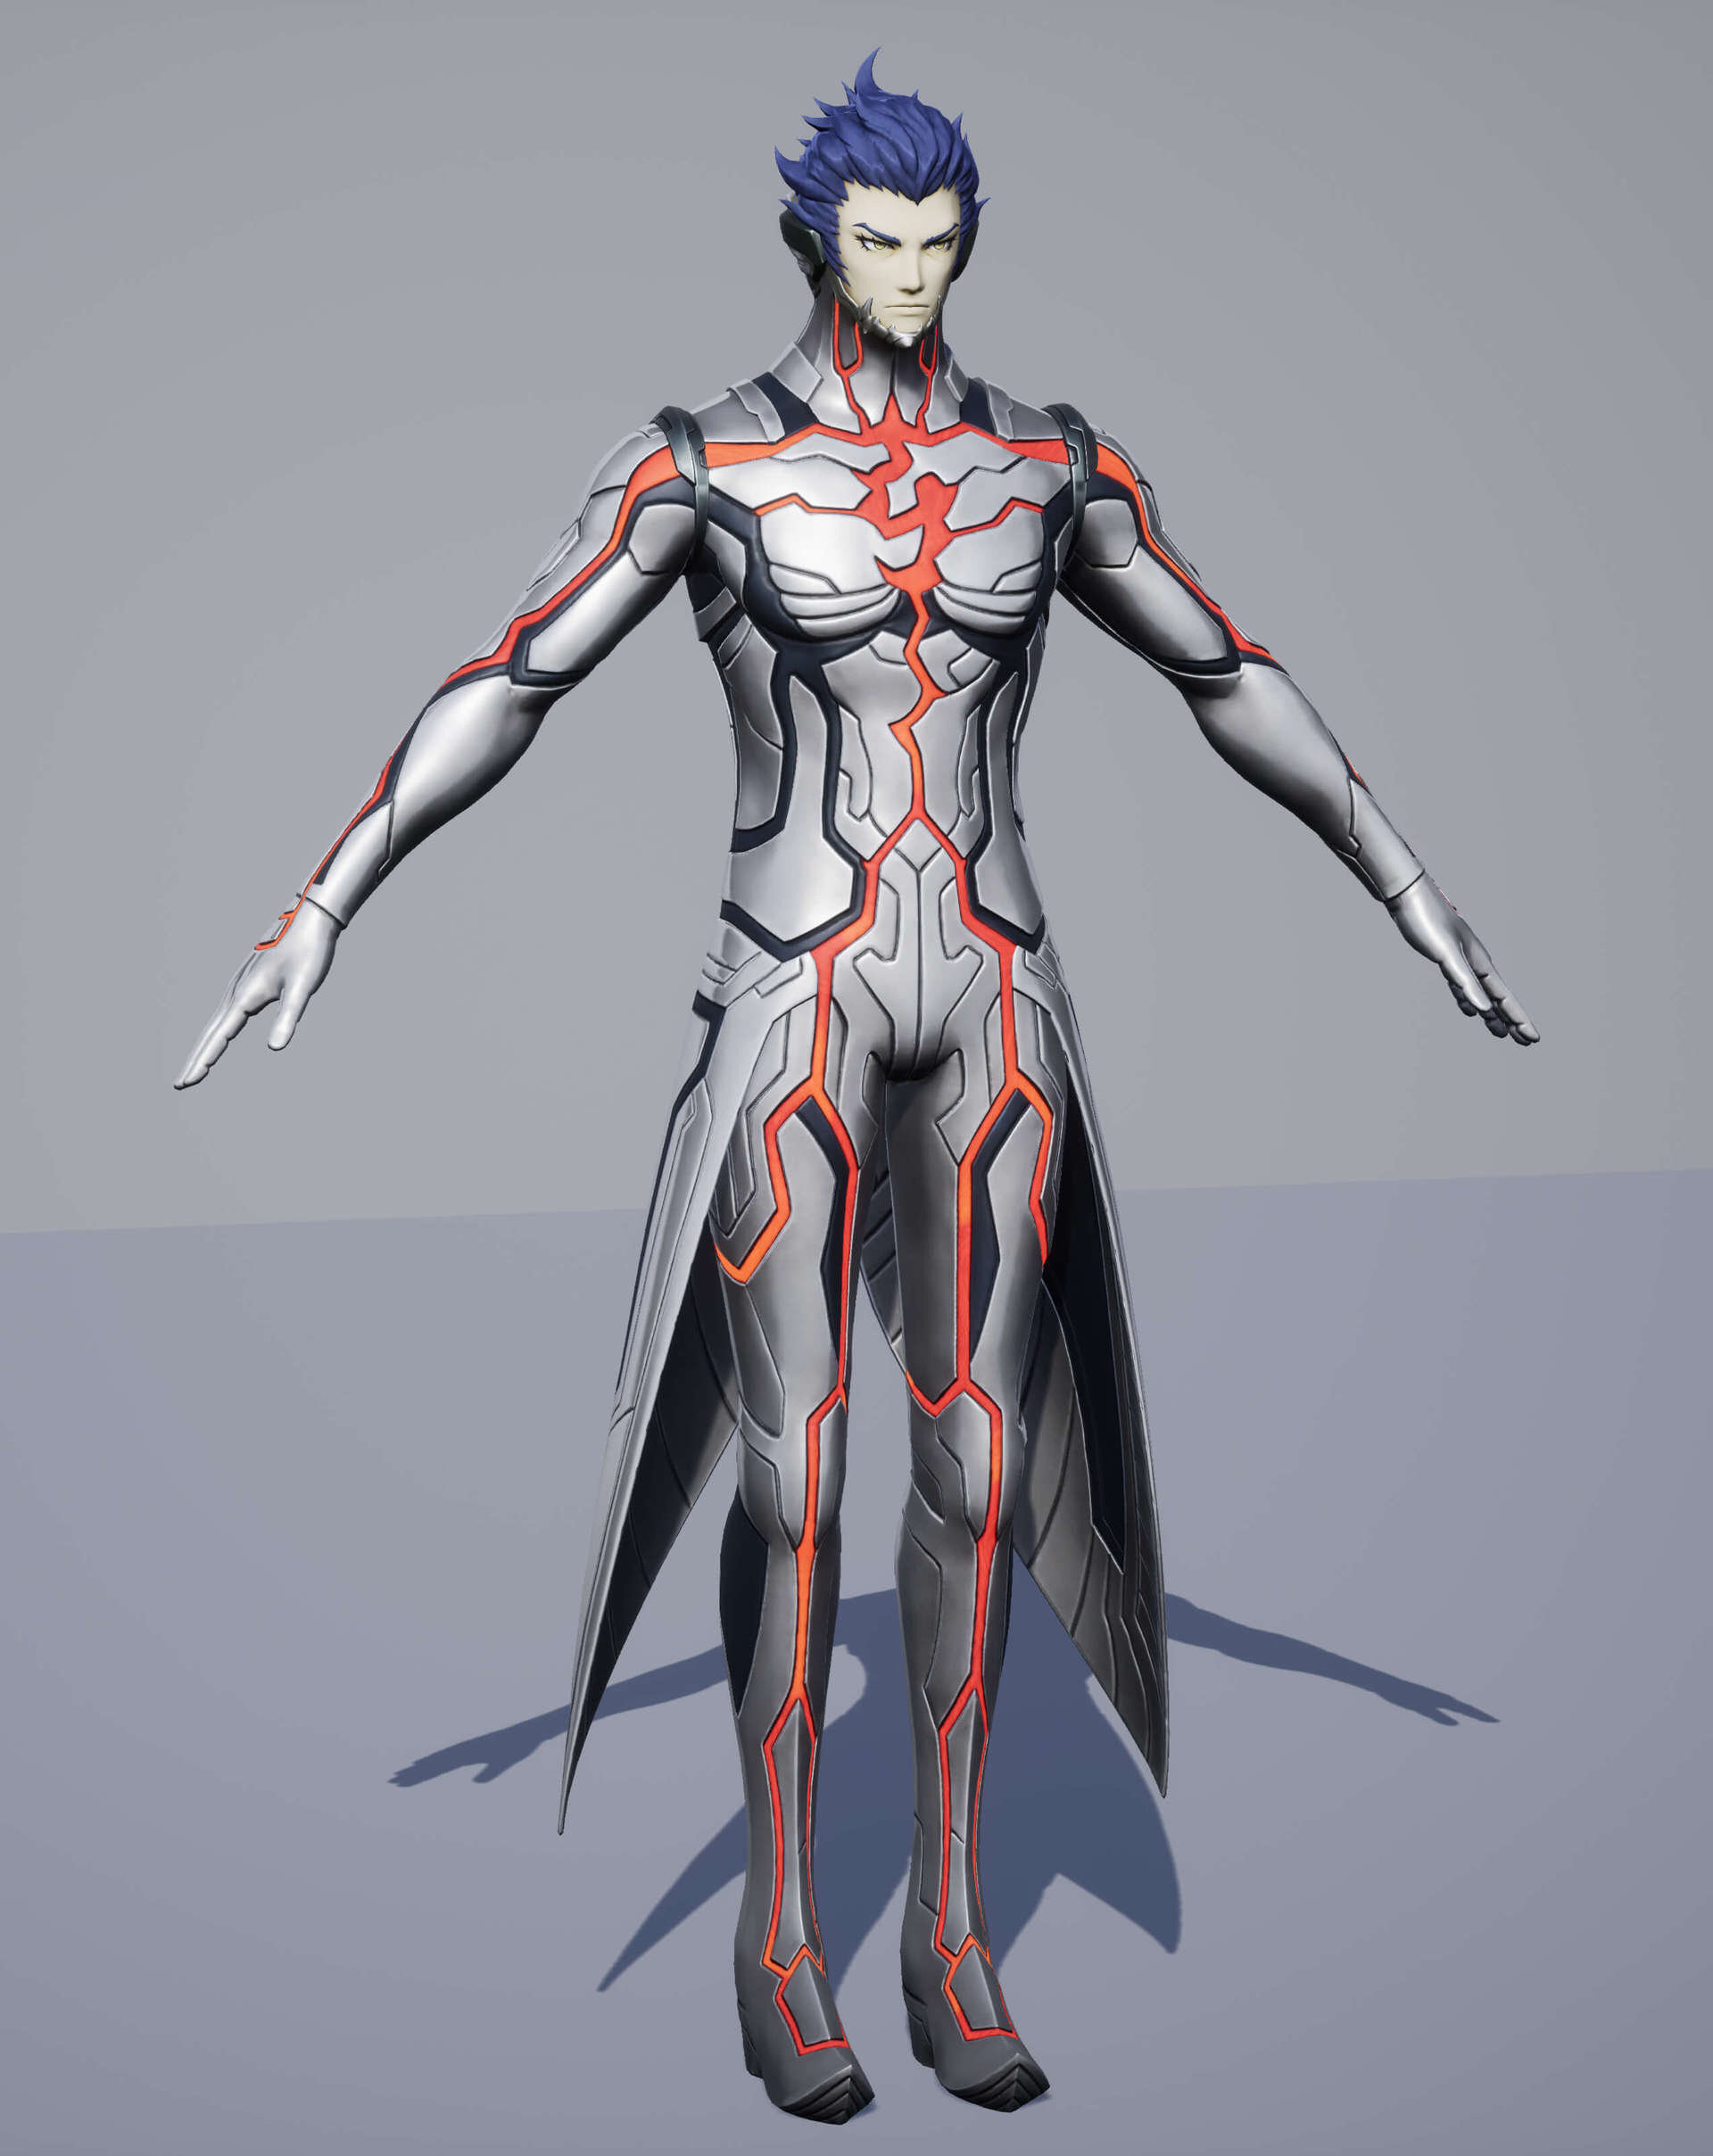
Original "Nahobino" drawing of the main character and "Aogami" merged together.
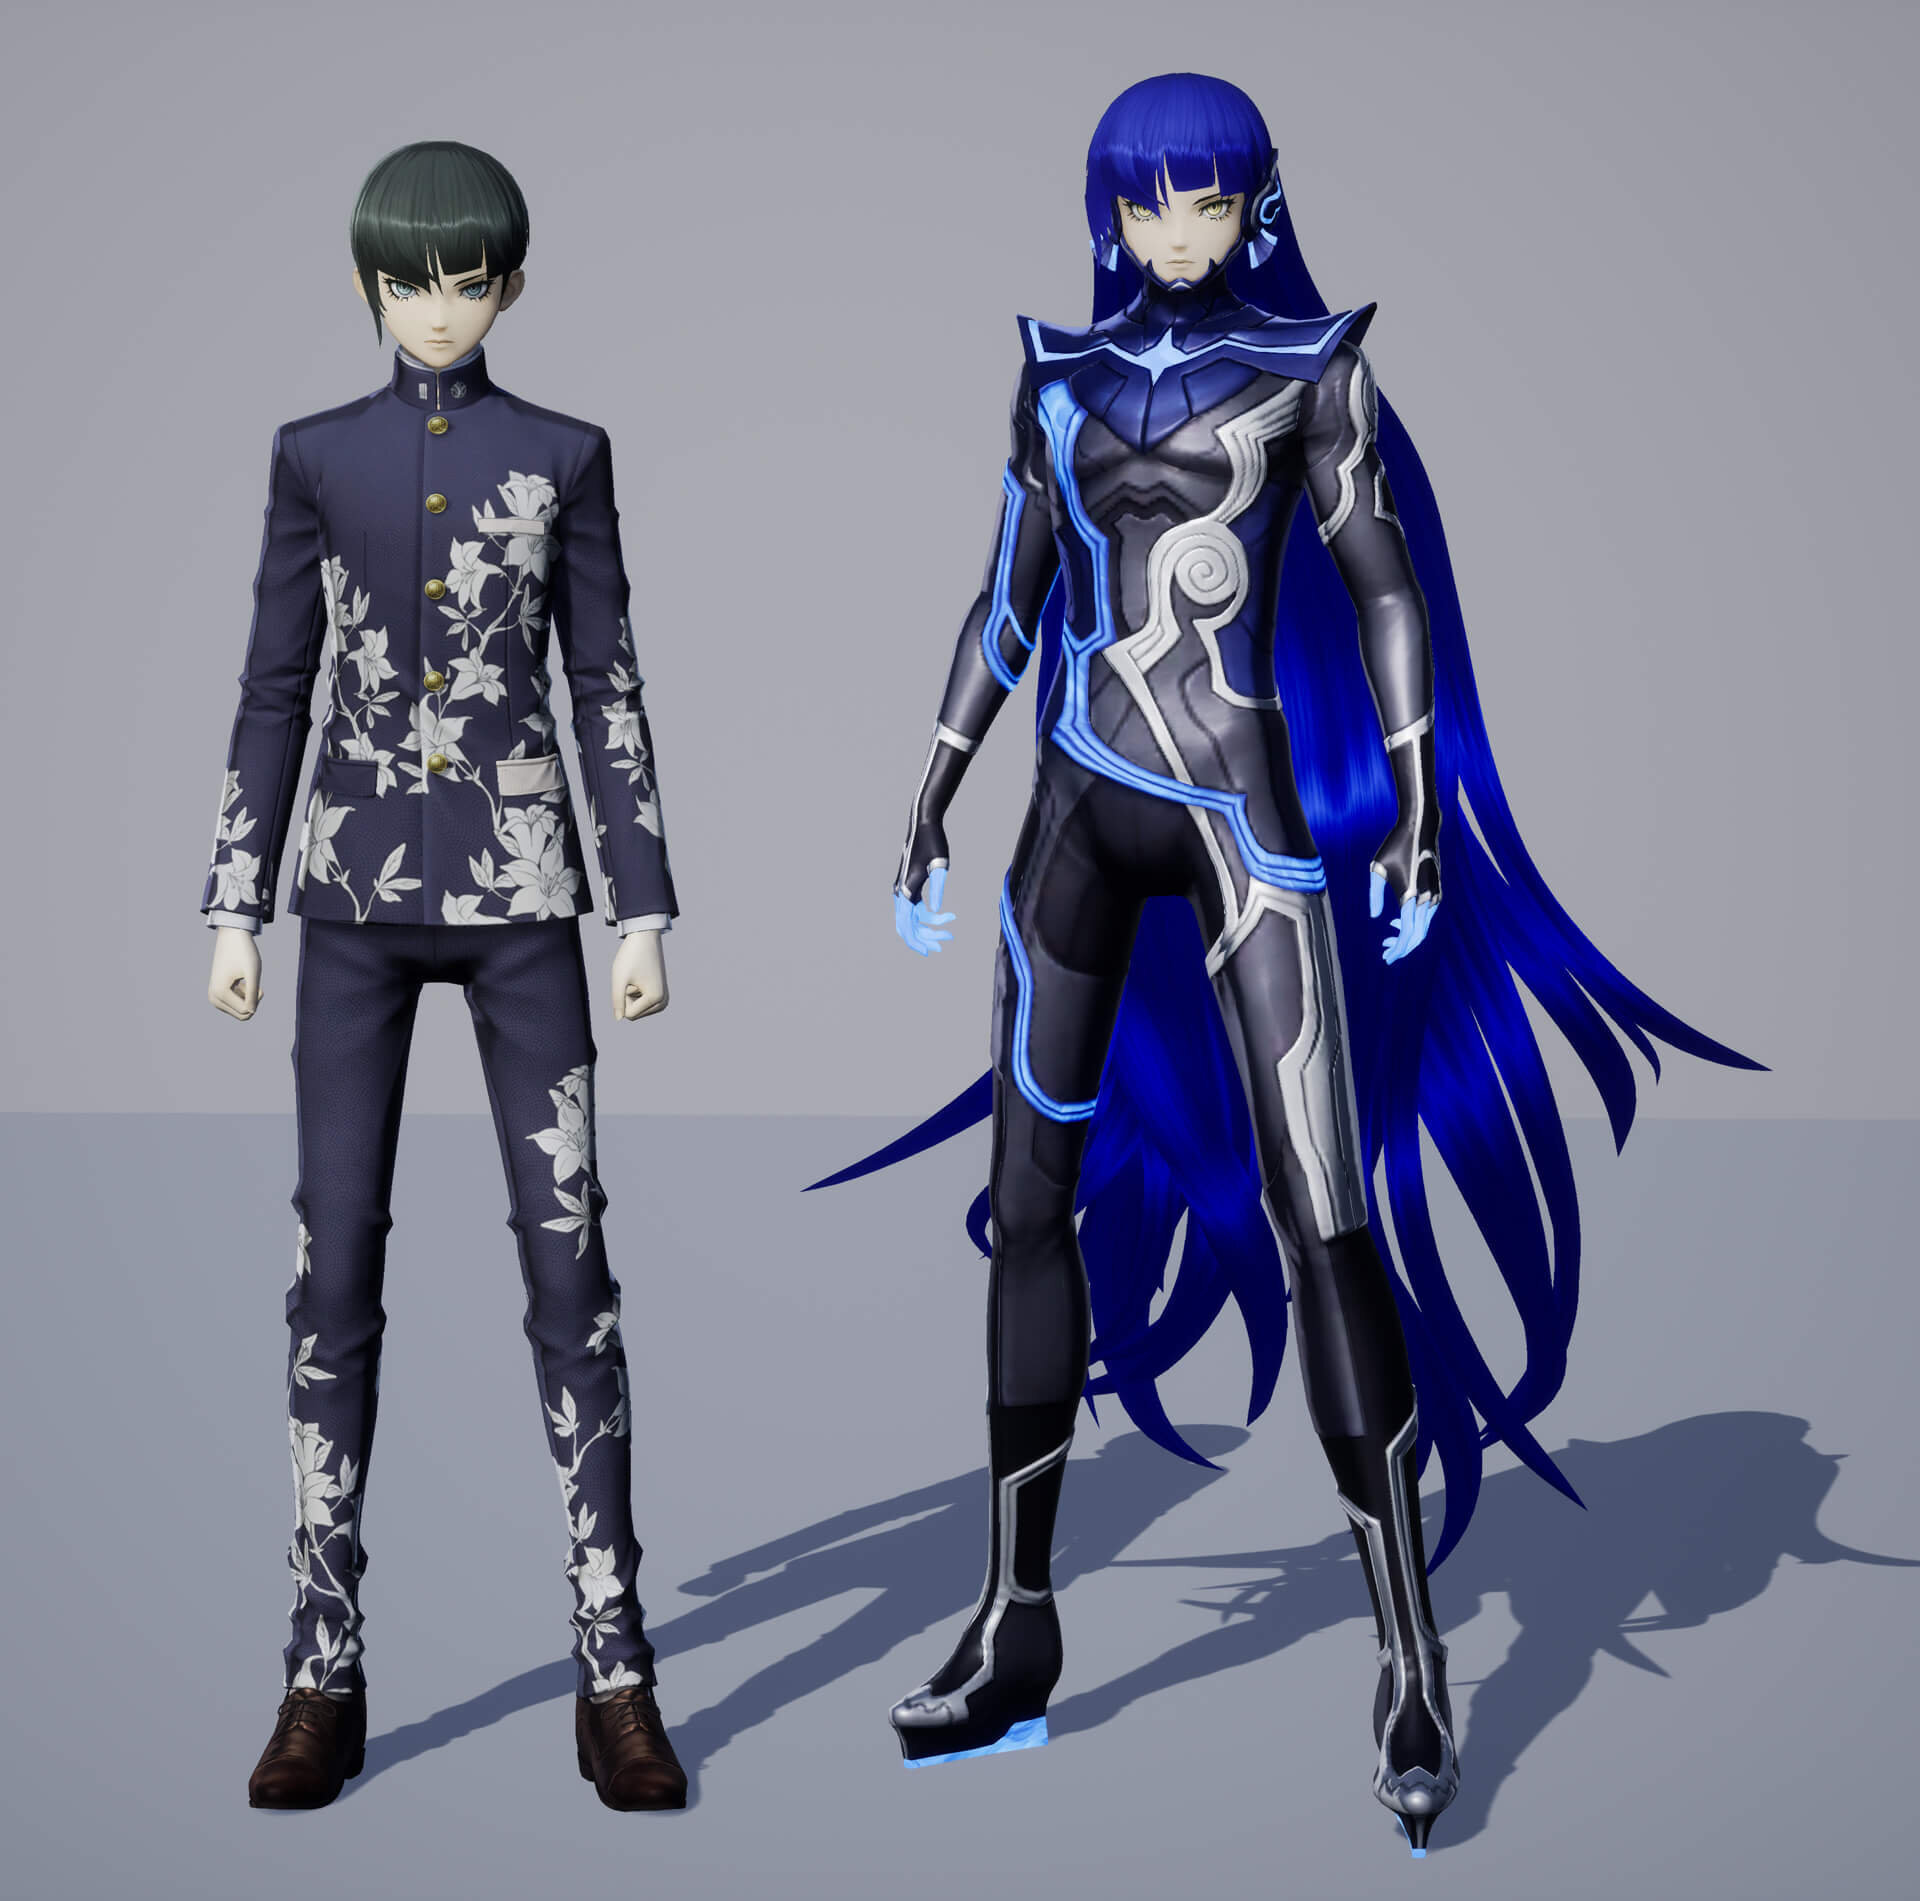
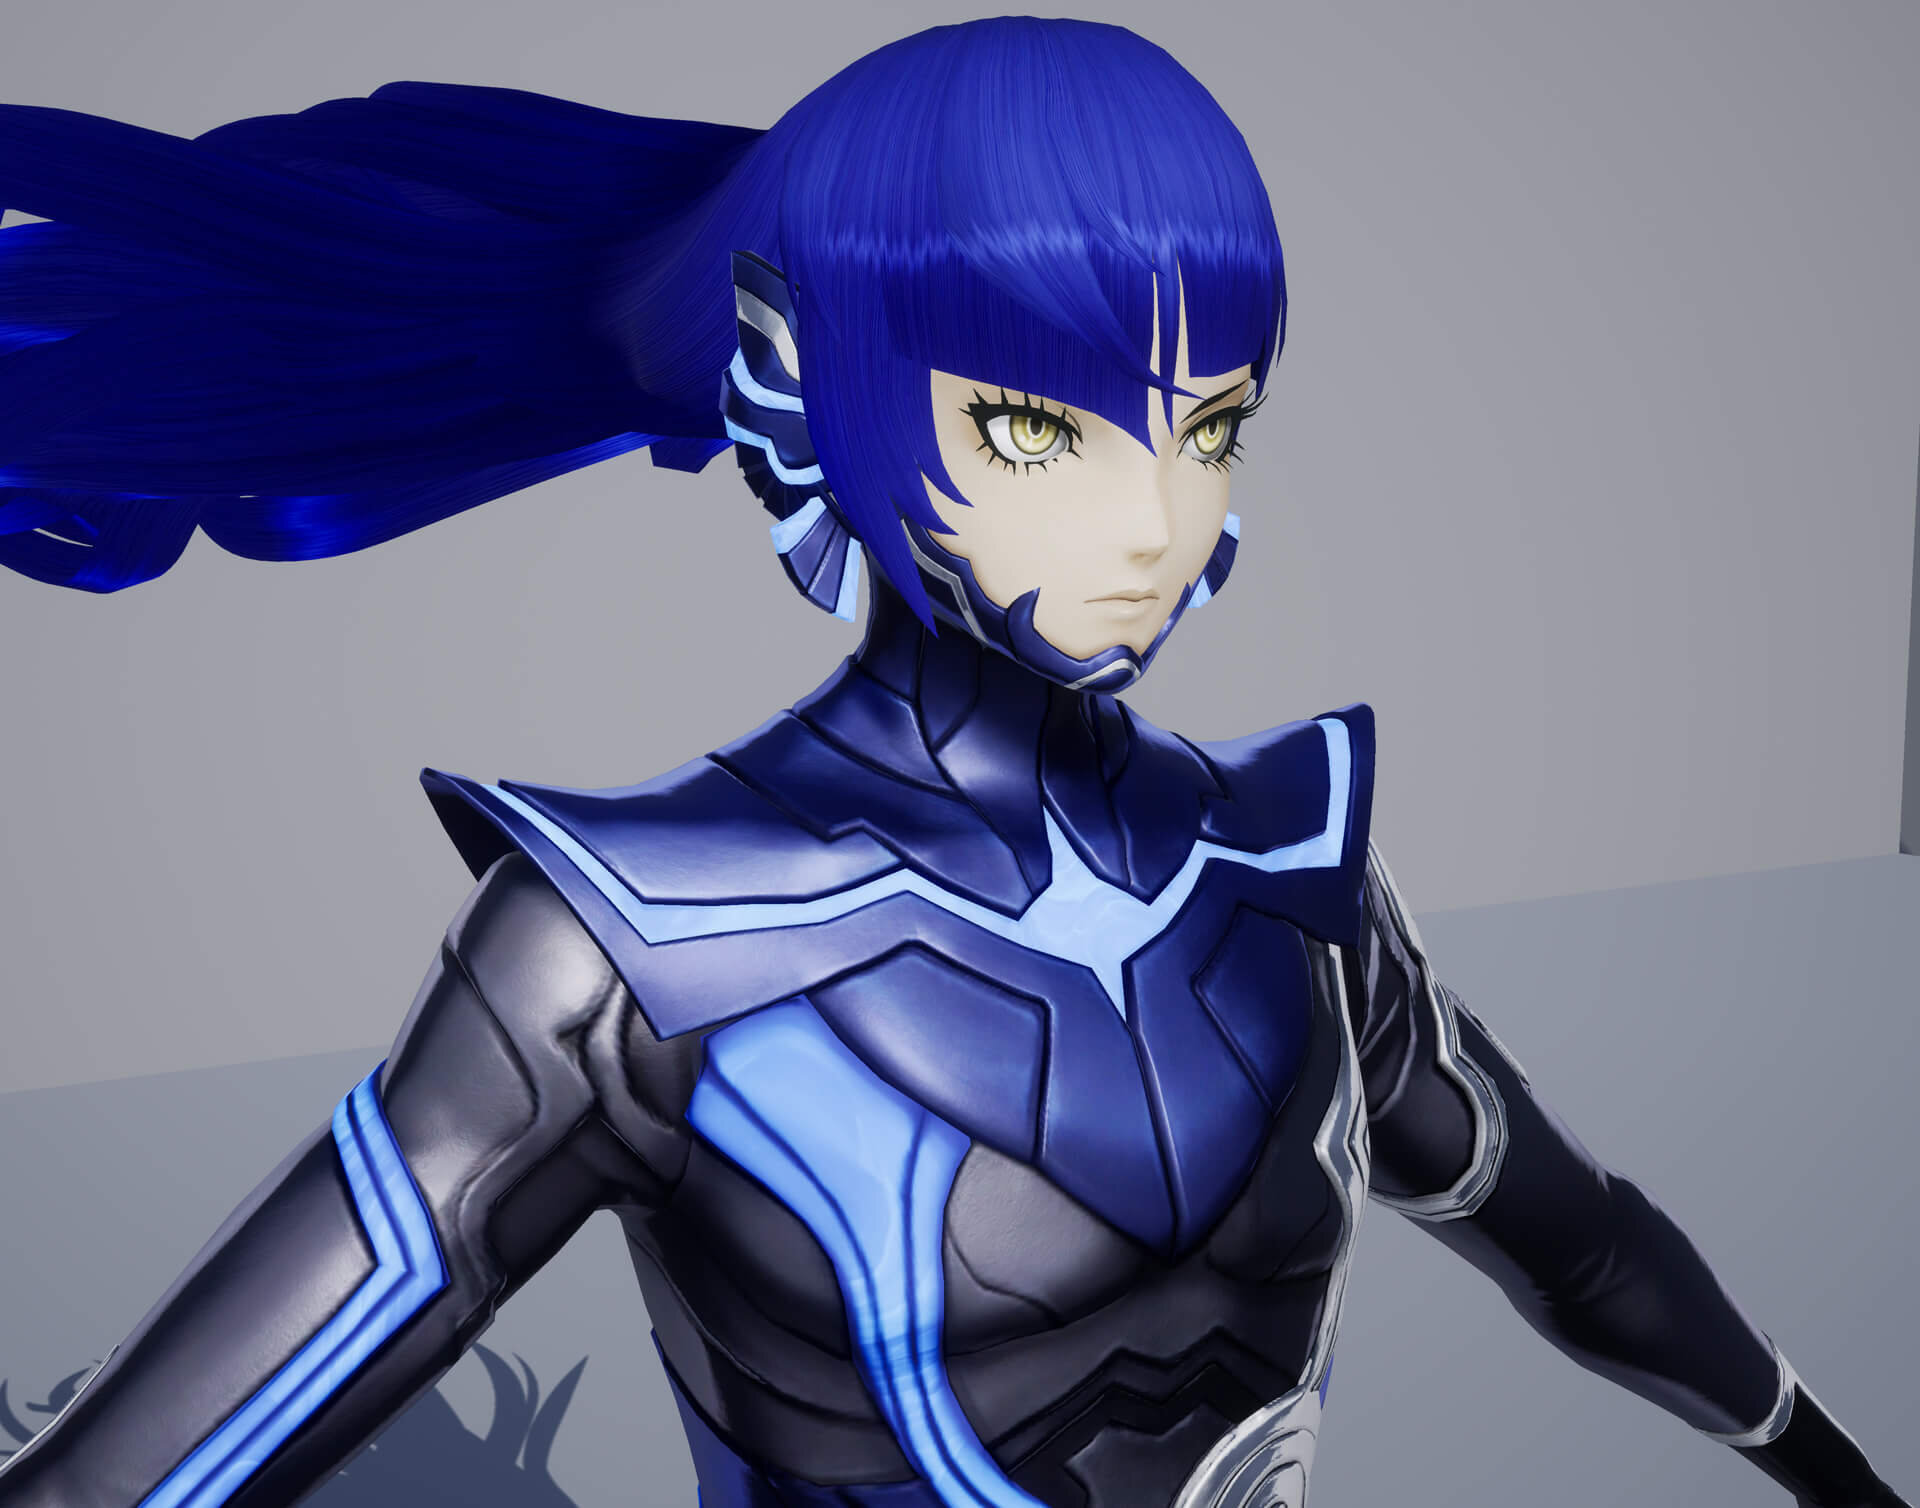
Models and textures adjusted for optimal visibility in UE4
Models and textures for "Aogami." Character models are basically created in Maya or ZBrush, and their outlines and silhouettes are fine-tuned to look optimal in UE4. It is said that about 2 to 3 months are spent on the production of each character model.
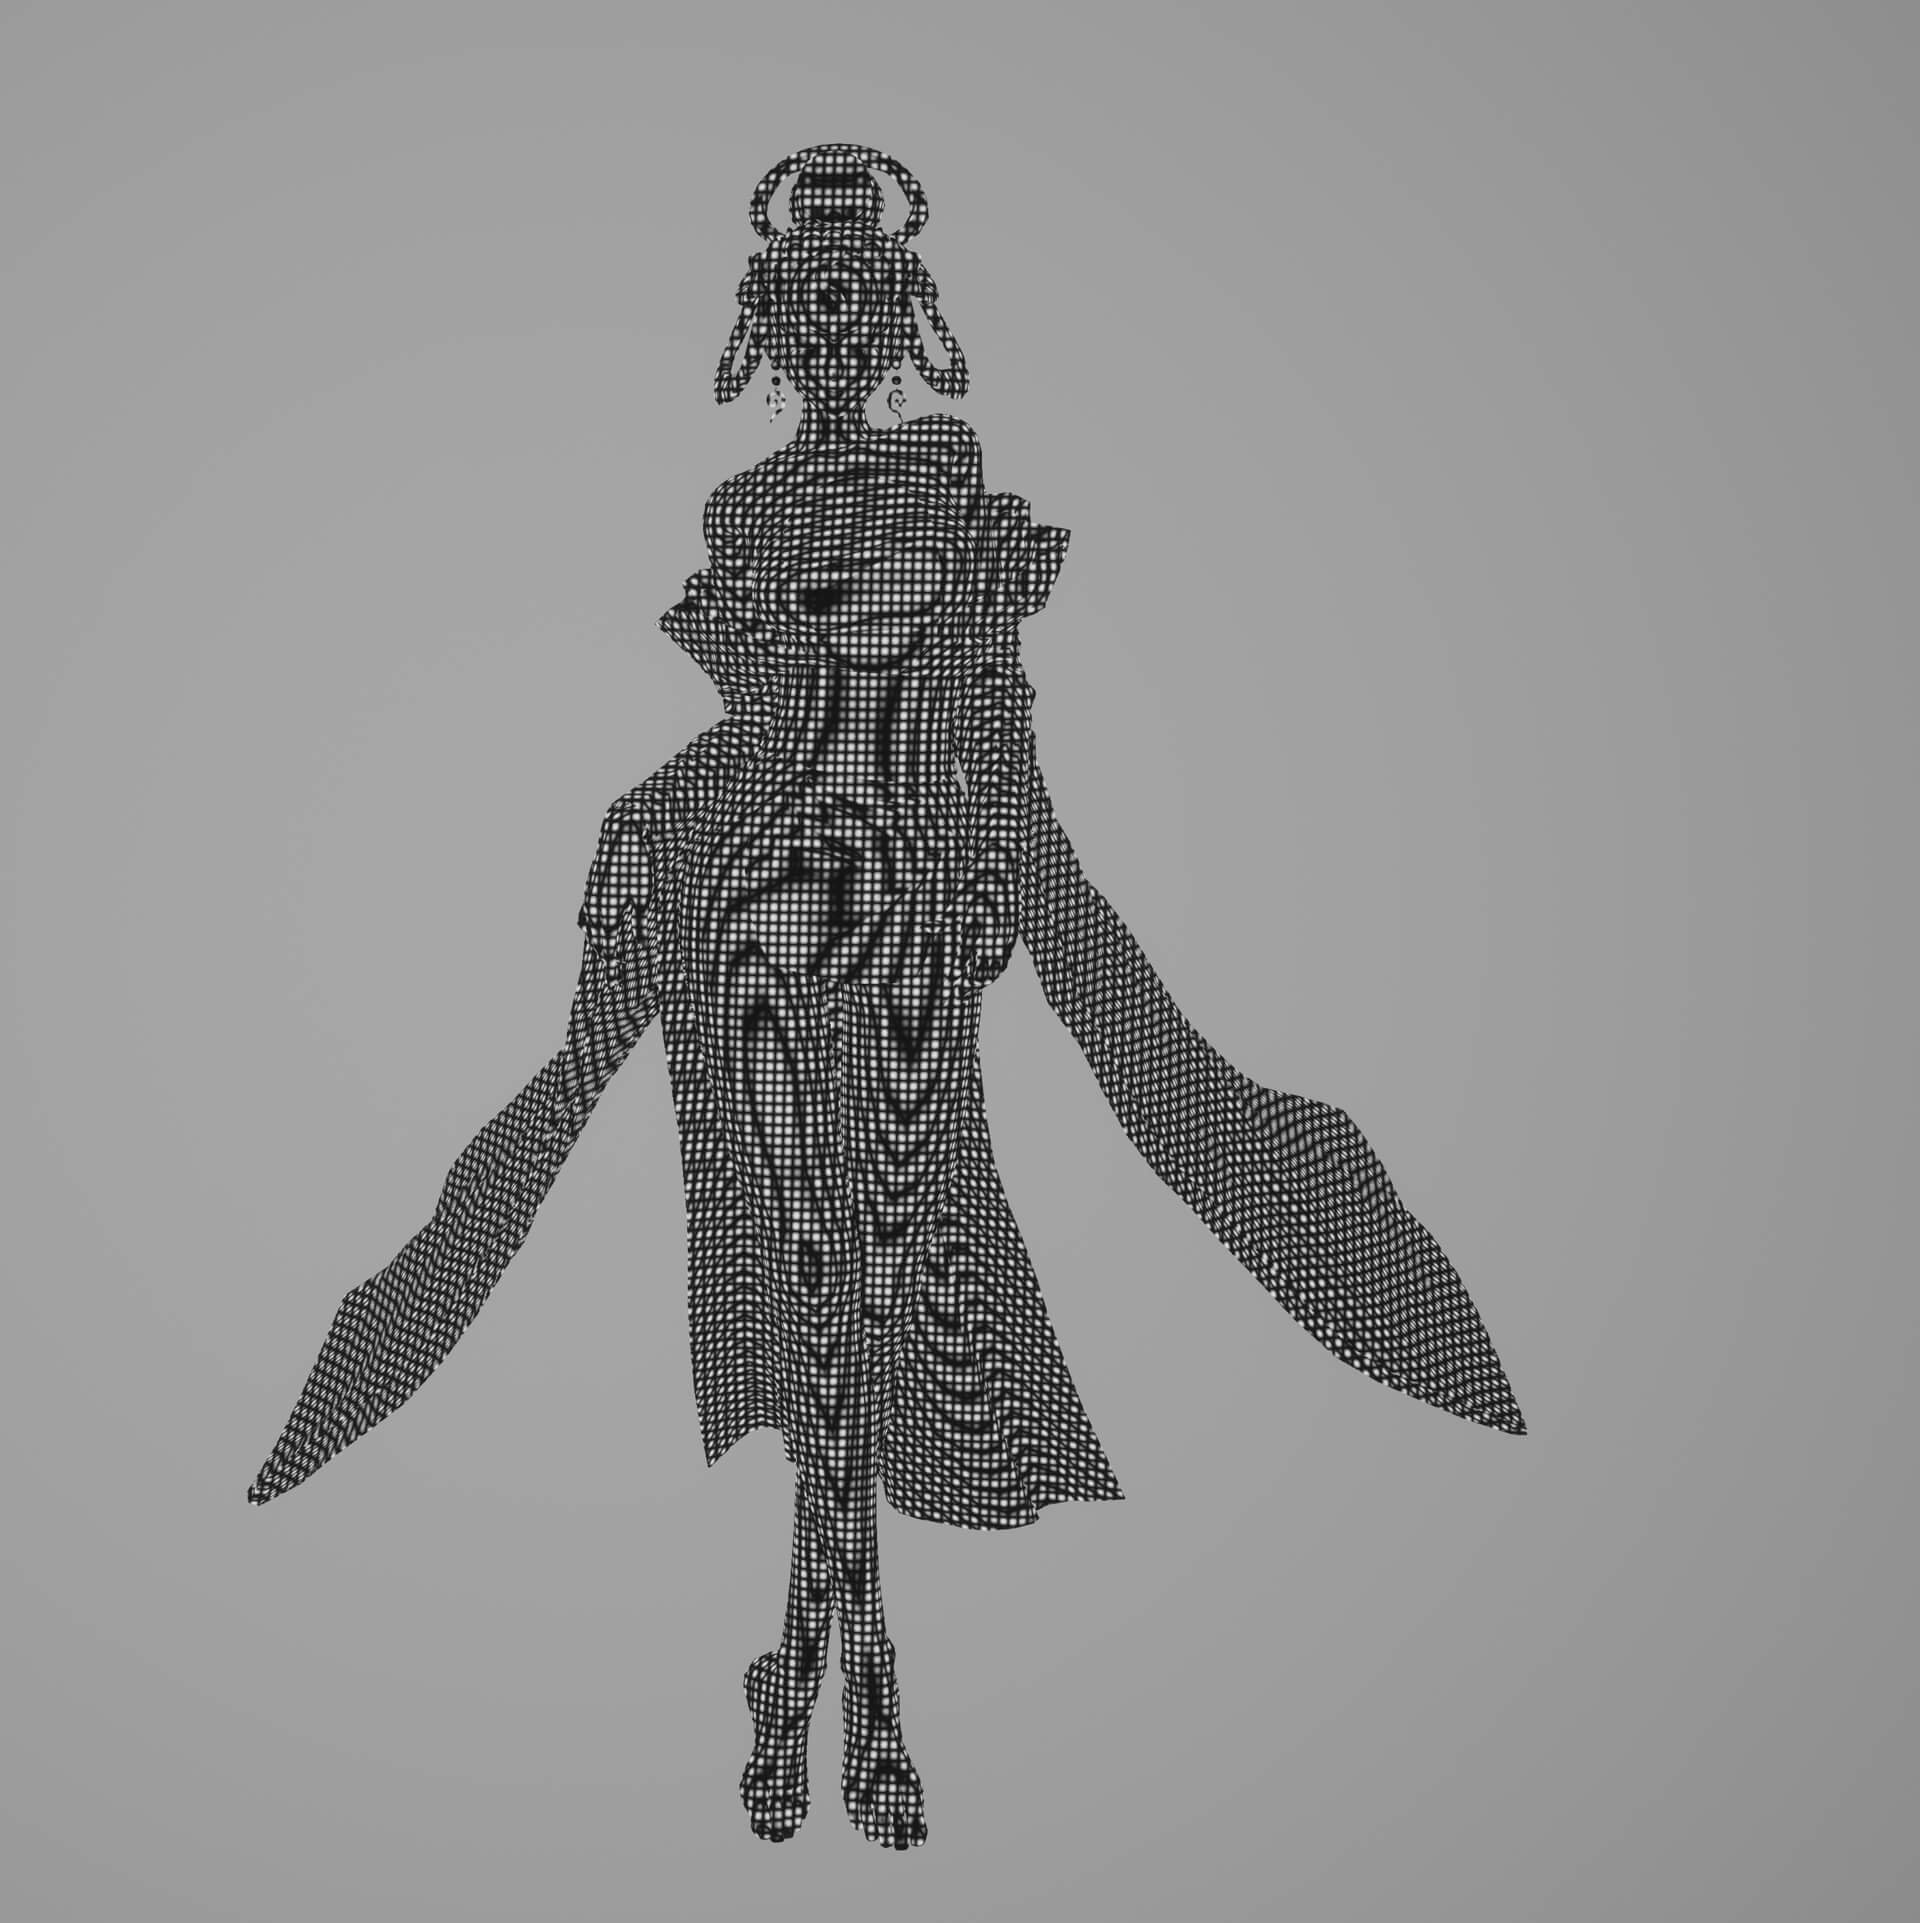
-
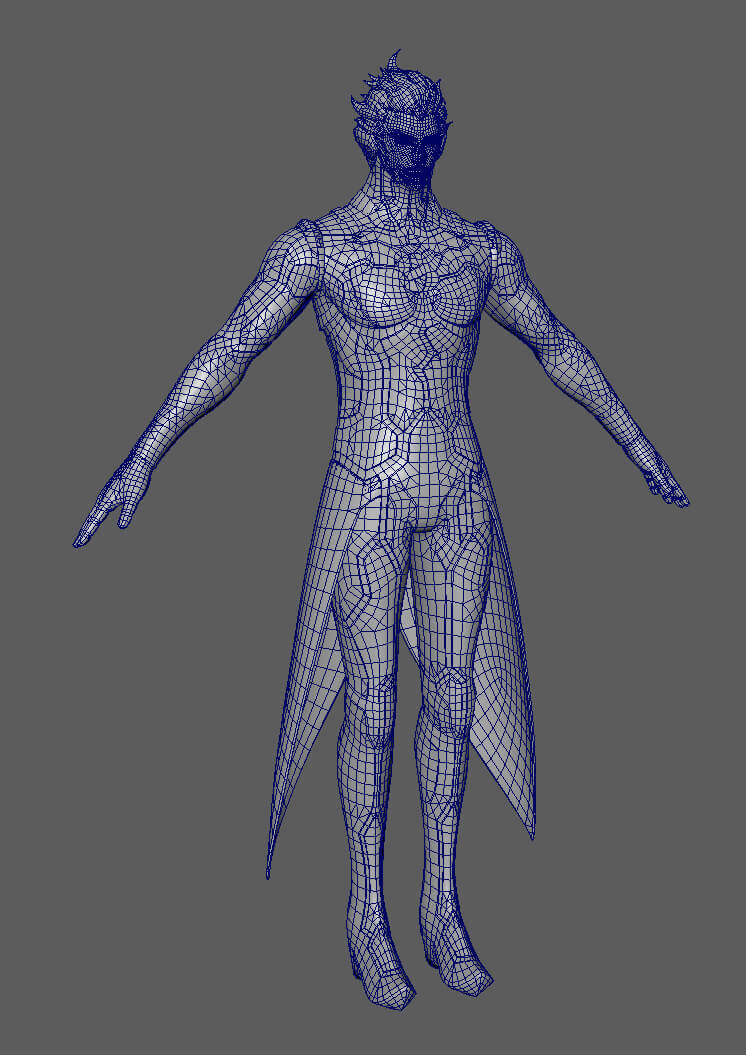
Wireframe of the model displayed in Maya -
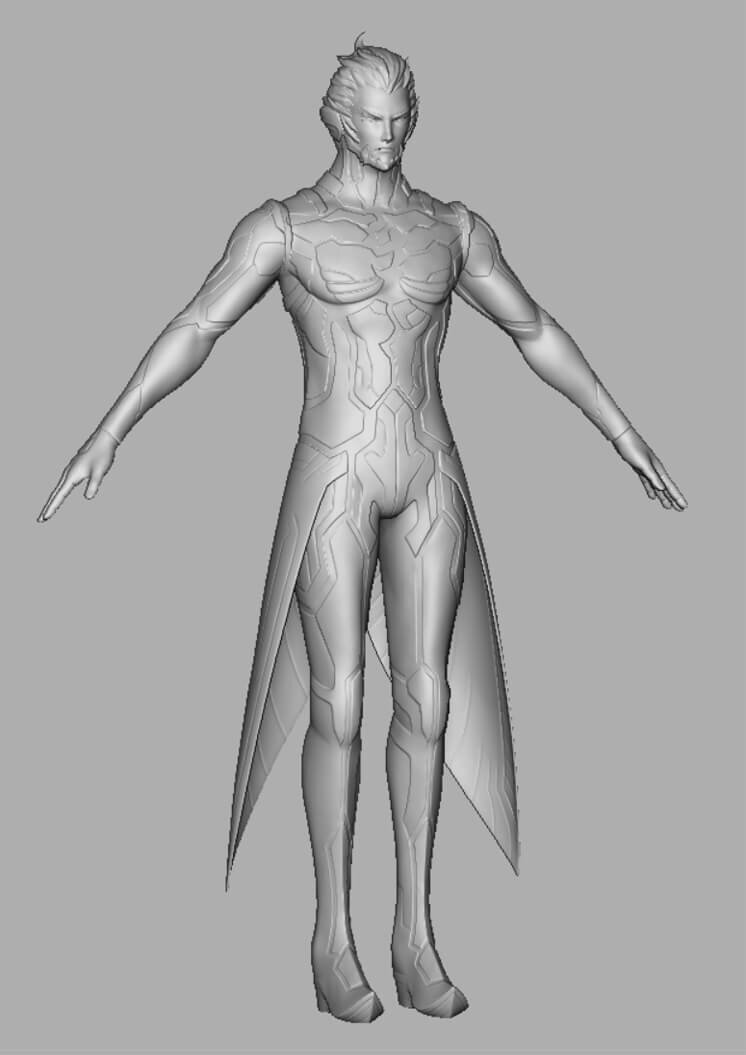
Gray model sculpted in ZBrush
<2>Shaders and textures that bring characters to life
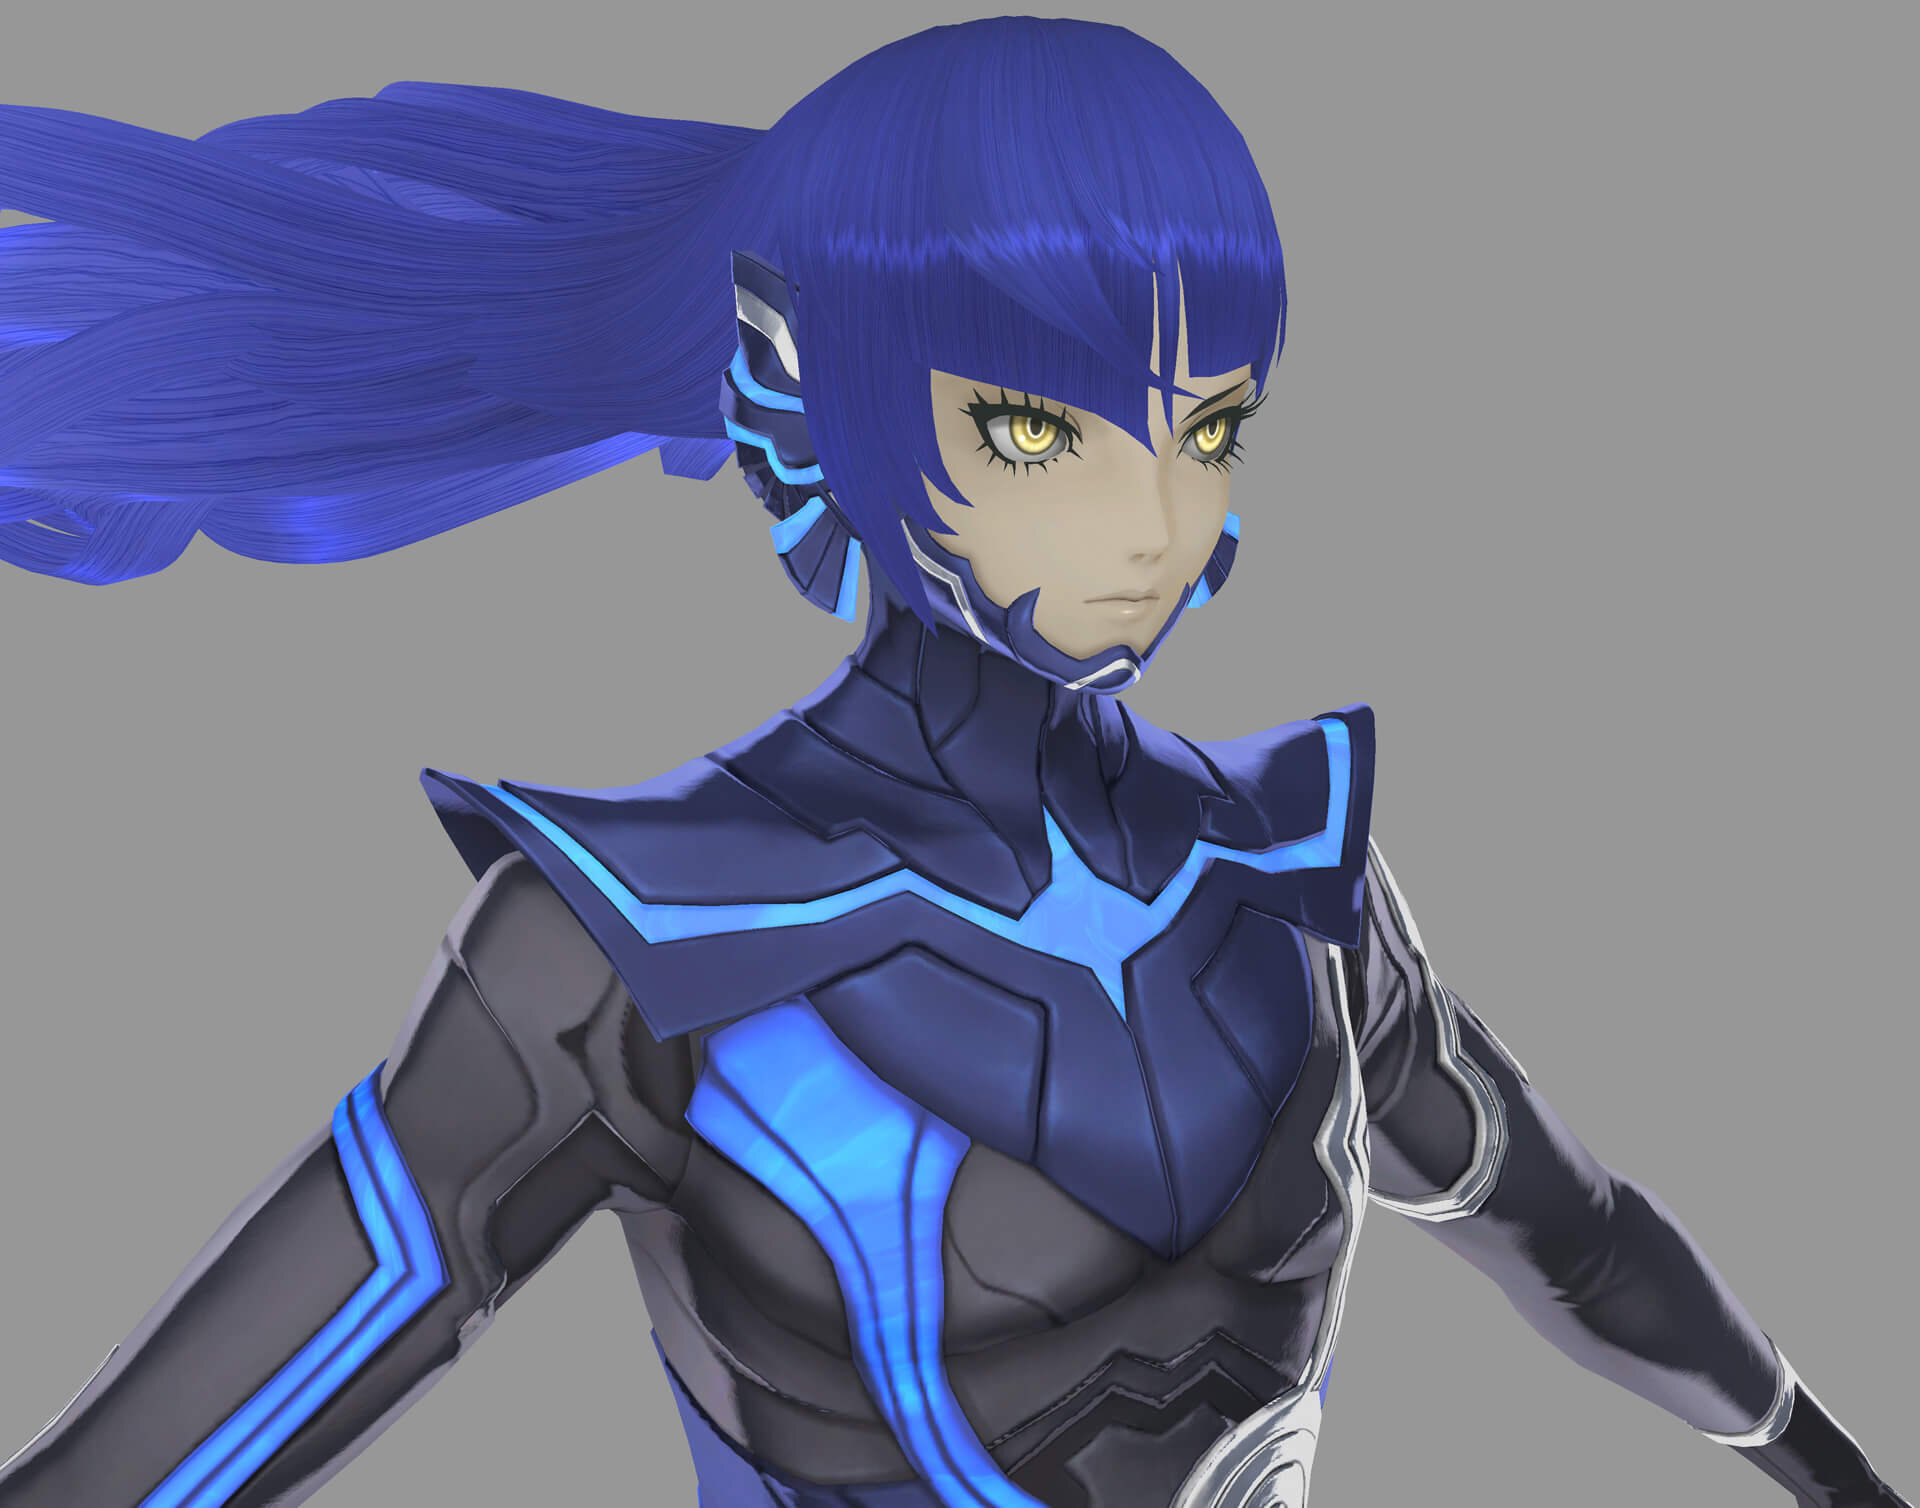
Changes in the look due to angles and motion are the fate of 3D games. Nevertheless, in this work, repeated adjustments were made to maintain the look of the original illustrations, creating a unique "Mega Ten" look.
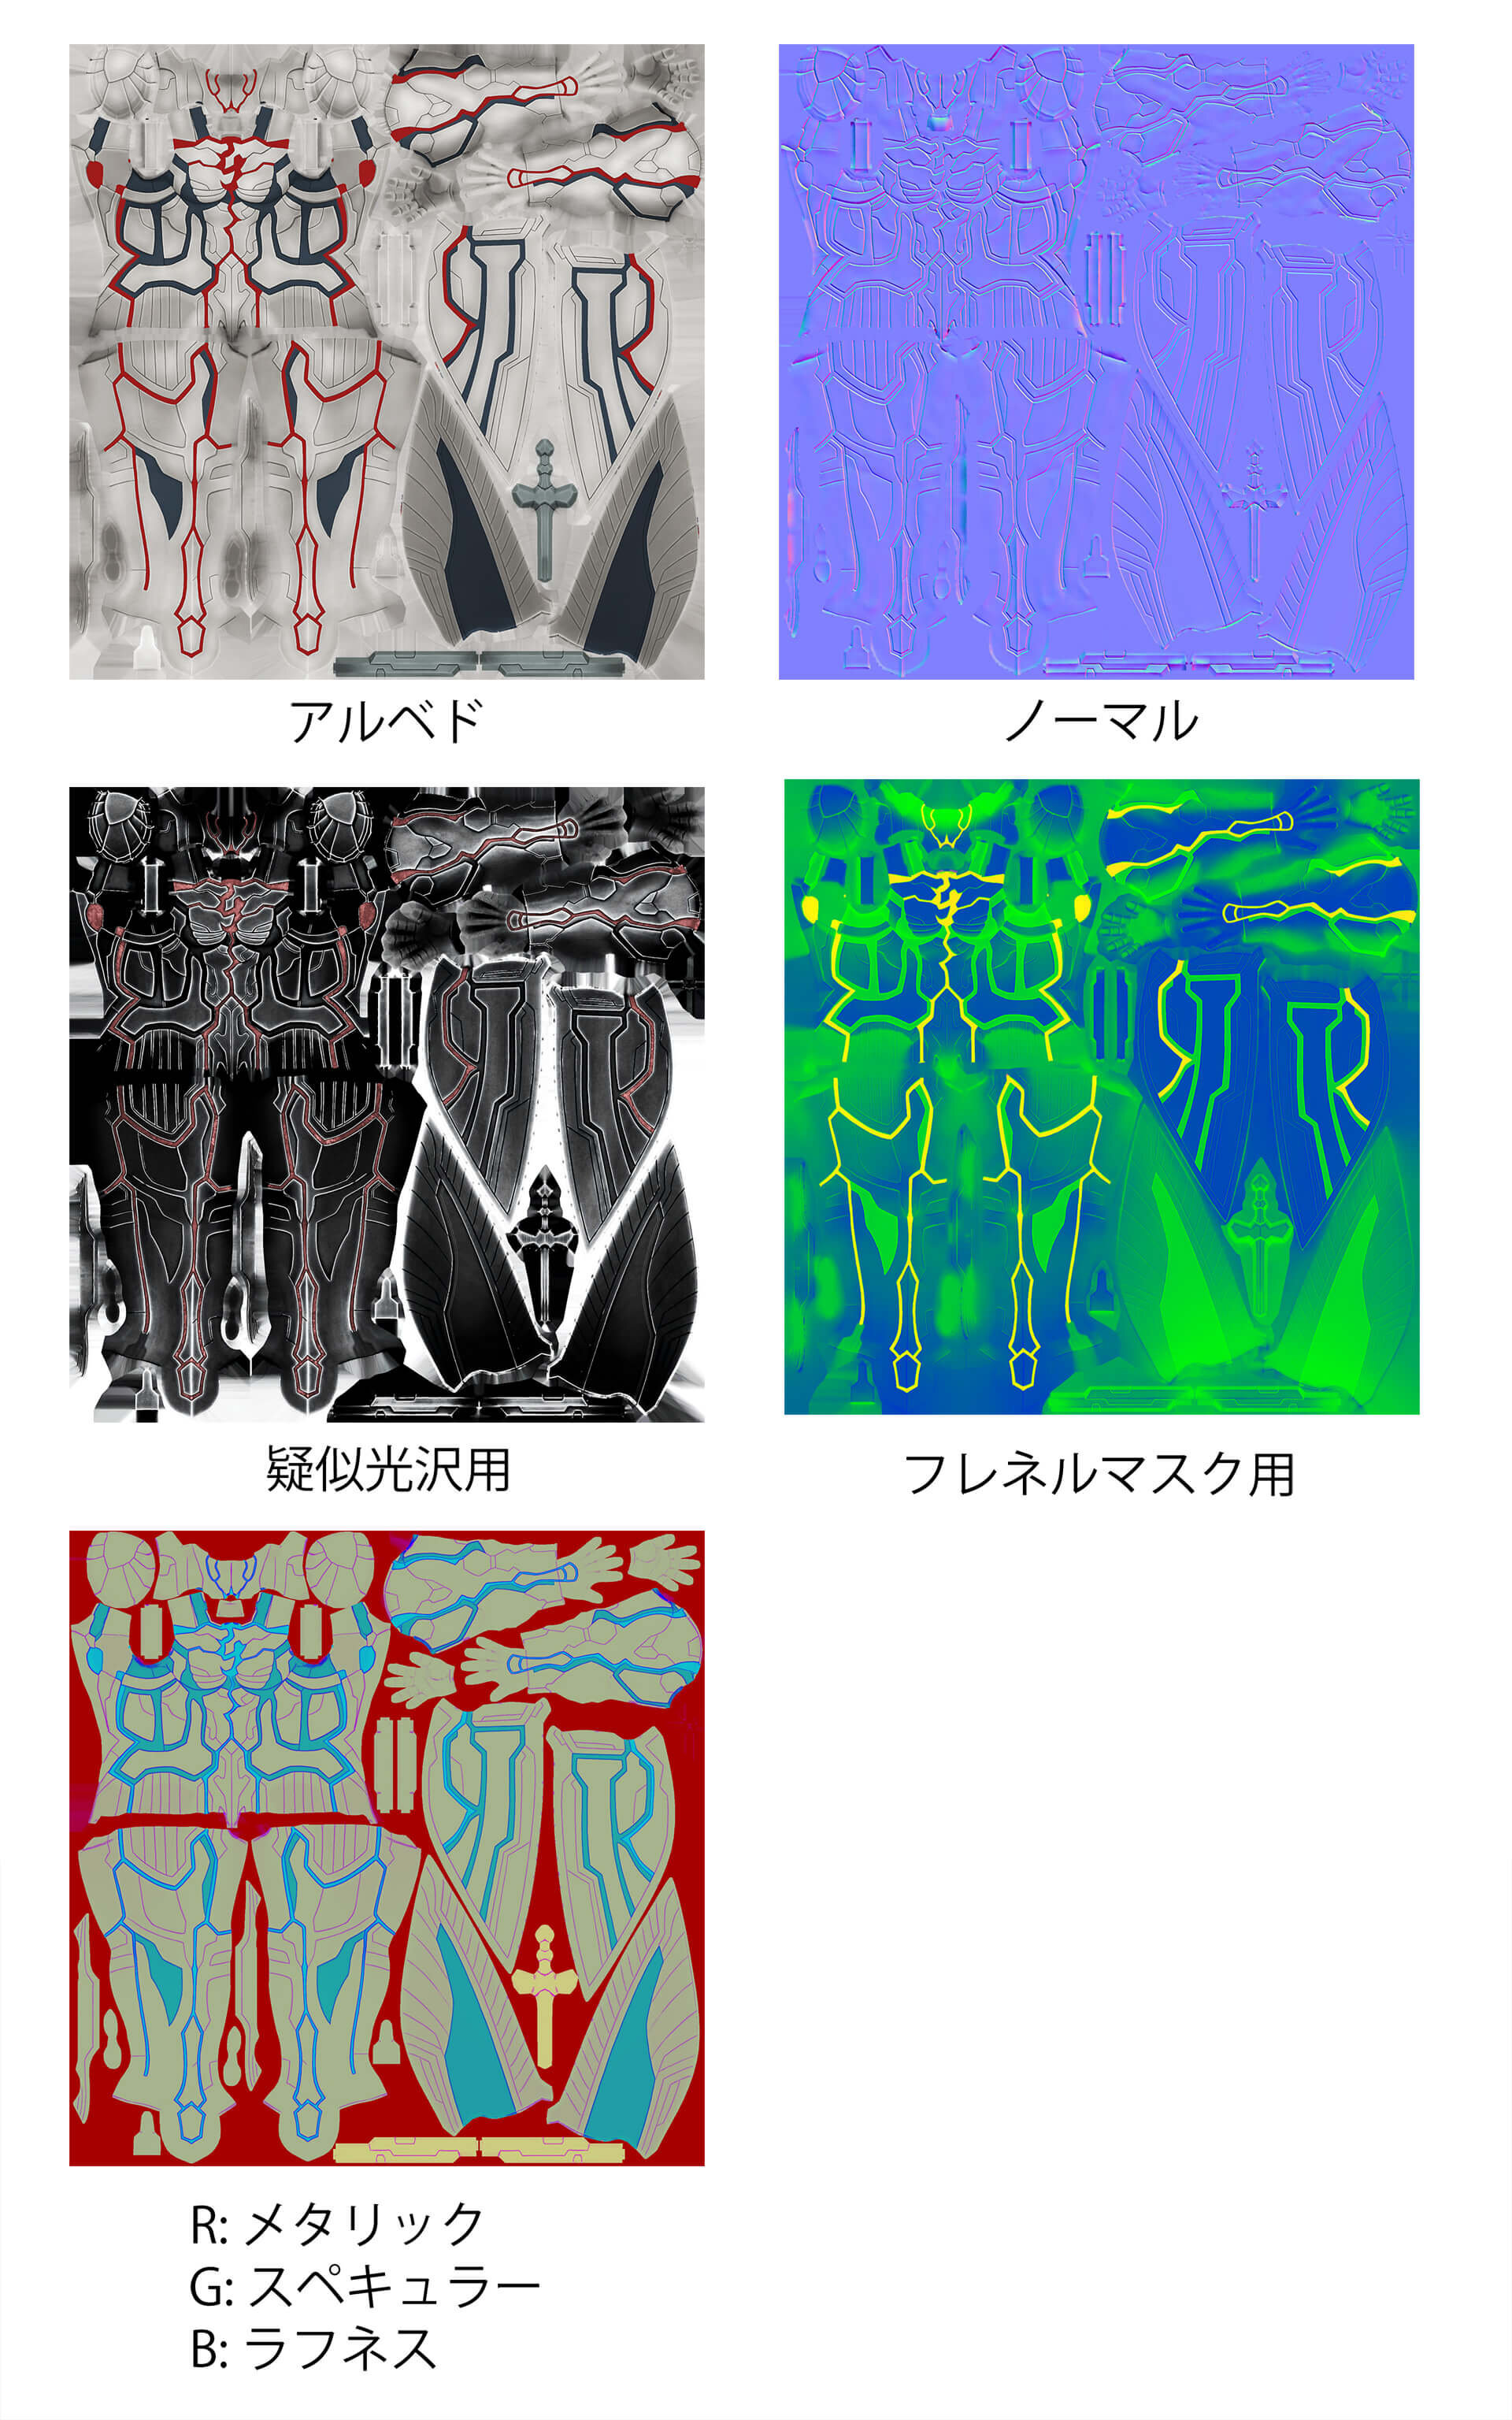
Baking shades into the albedo with a shader
Simply assigning PBR shaders to a character with a look similar to the original illustration would result in a doll-like look.
As a workaround, shaders are burned into the albedo in advance. The shader uses the Fresnel information obtained from the inner product of the pixel's normal and the camera's vector as a mask to add shading and rim light.

-
A] Albedo only -
B] Apply shaders
-
C] Add lighting to [B]. -

Texture for pseudo-gloss is turned off in [B] above.
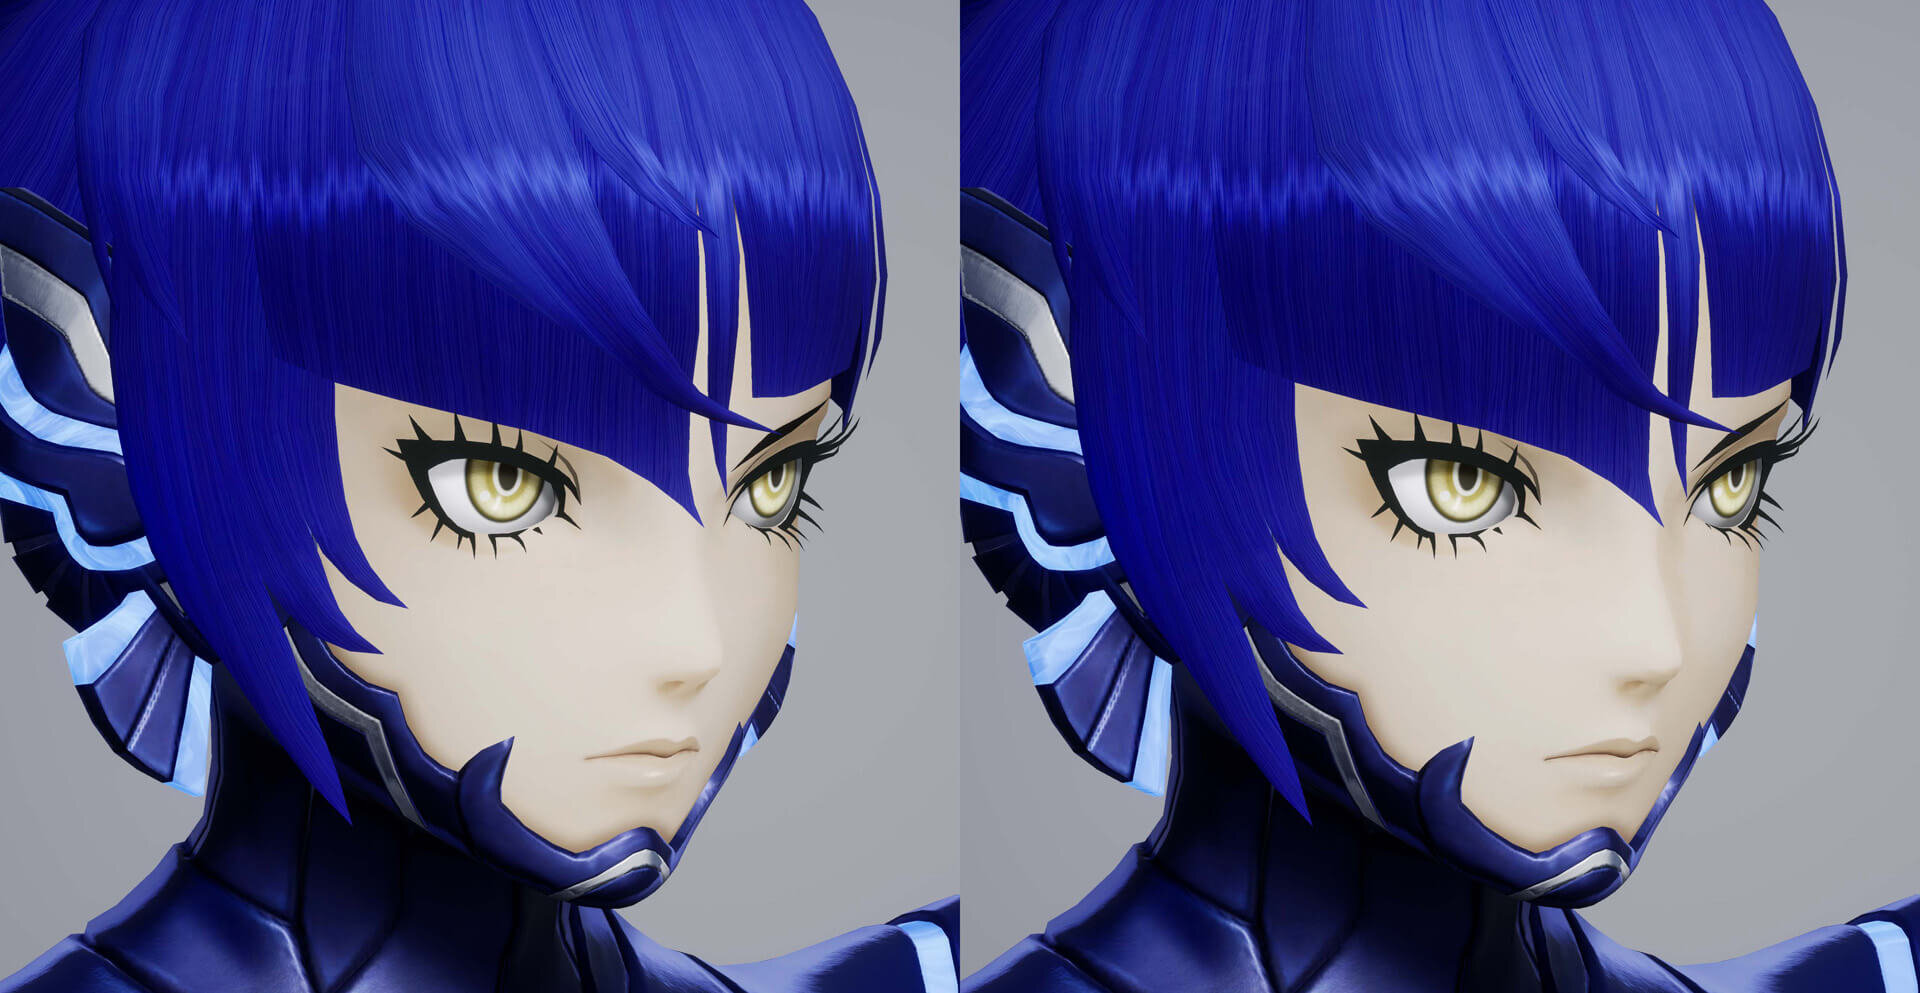
Normal line adjustment to improve eyesight
A particularly challenging aspect of converting an original illustration into 3DCG is the representation of the face. Generally, the normals of the polygons of a face are adjusted to be flat, and the eyes and noses are made to be crisp and clear.
However, in the case of this work, shading was generated using Fresnel in the character's shaders, and this resulted in areas where beautiful shading did not appear depending on the angle.
Therefore, the direction of the vertex normals of the face was adjusted in advance and baked into the texture. This enabled the creation of beautiful shadows on the bridge of the nose and other parts of the face, giving the face a fuller, richer appearance.
-
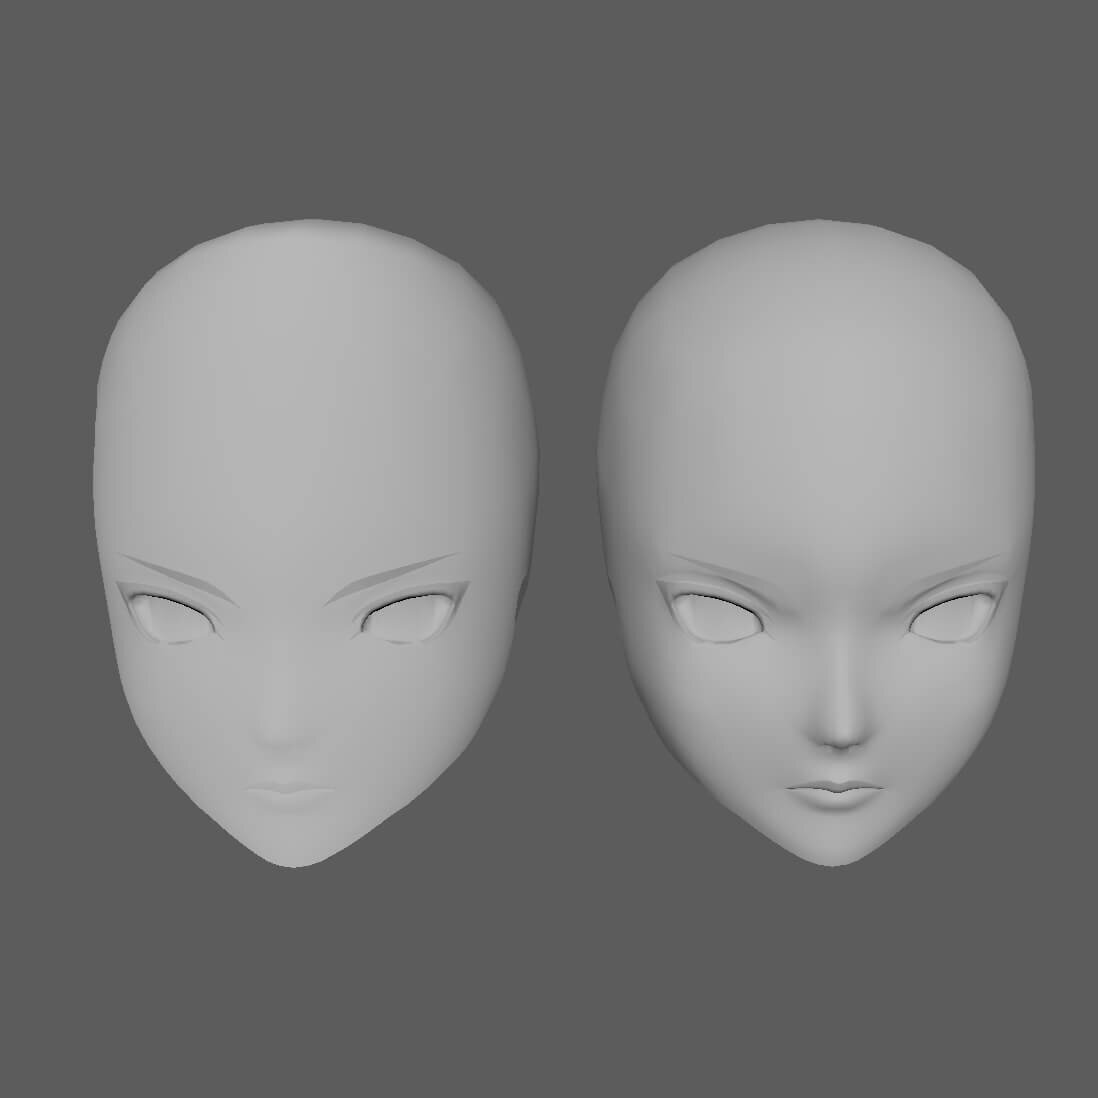
Normal adjustment in Maya. Left: before adjustment, right: after adjustment -
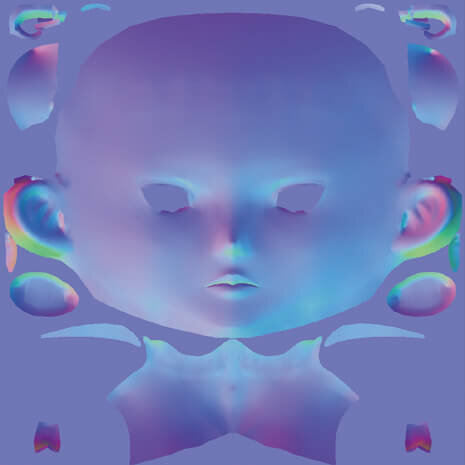
Texture with baked normals adjusted in Maya
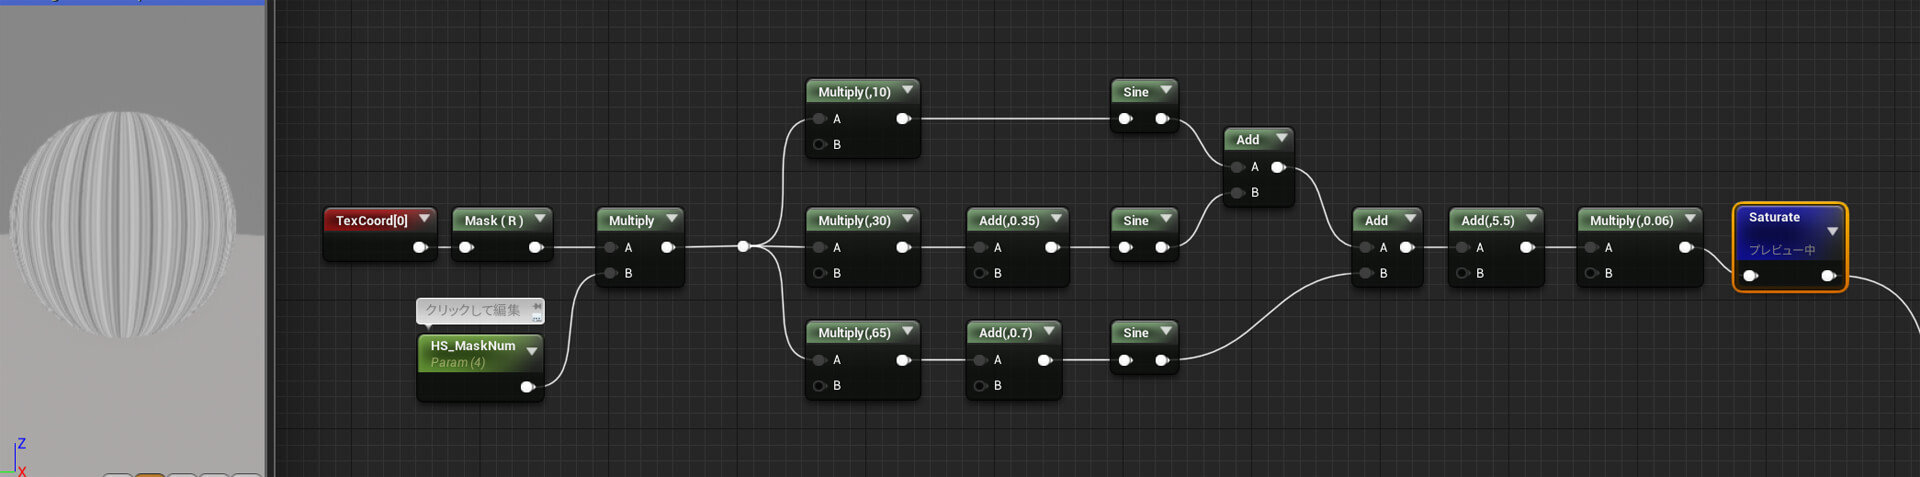
Angel rings drawn with shaders
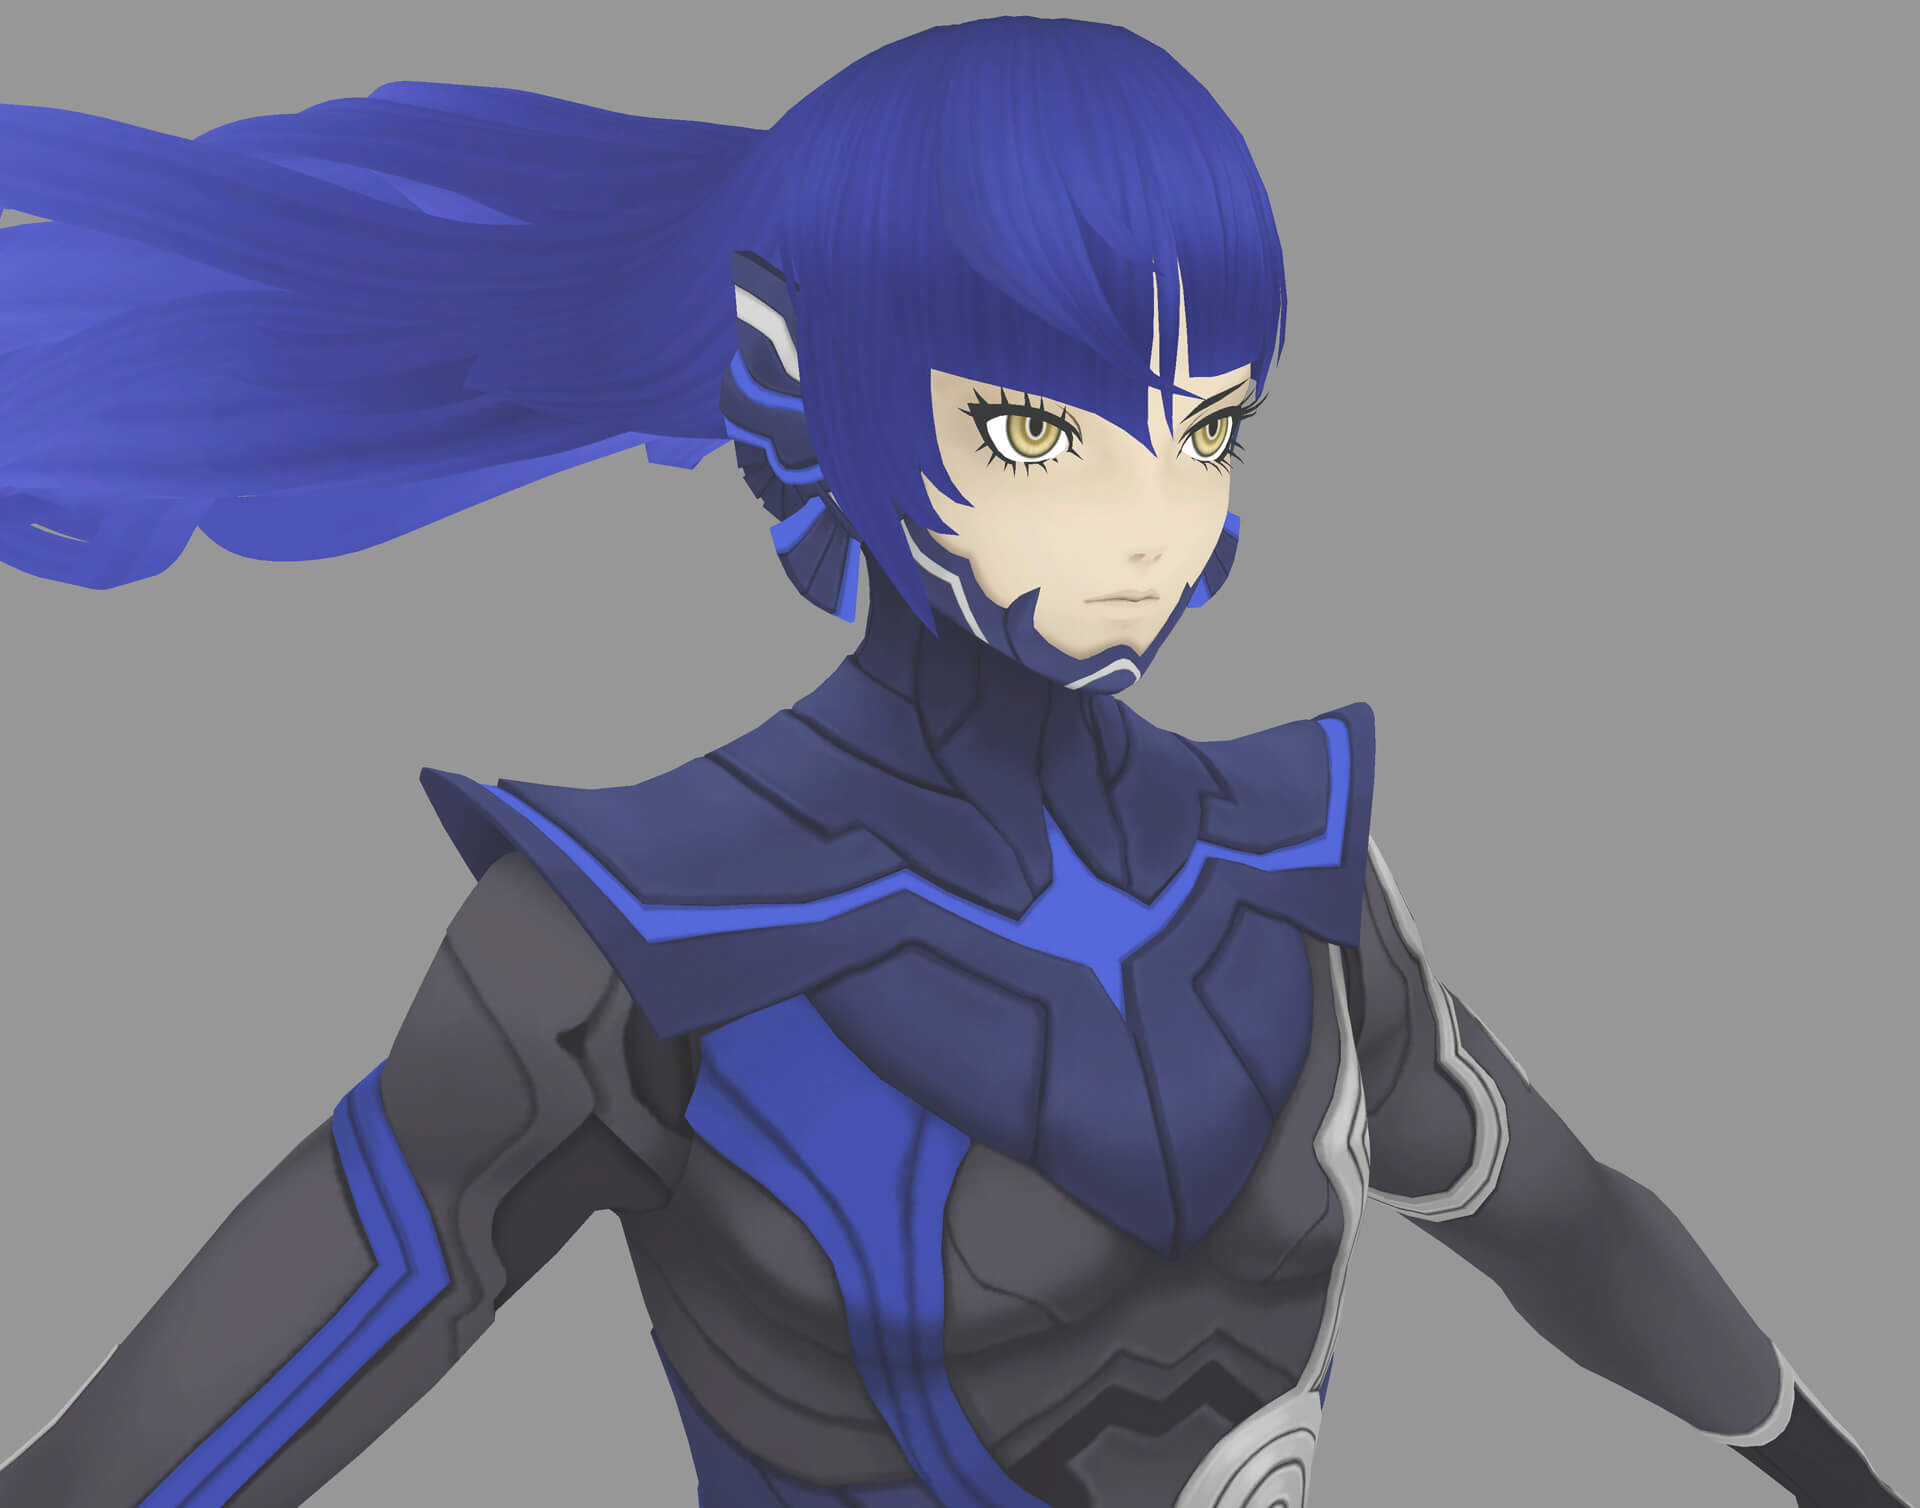
The character models in this work have very impressive highlights in the head hair, the so-called angel ring. The hair is not rendered using a dedicated texture, but is drawn with a shader using the normals of the hair mesh.
The jagged and uneven angel rings are also not textured, but stripes are generated from the UV information of the mesh. Taking the processing load into consideration, these effects are expressed by shaders as much as possible.
閉じたまぶたの陰影はテクスチャで回避
The character's shader is designed to bake shading against albedo.
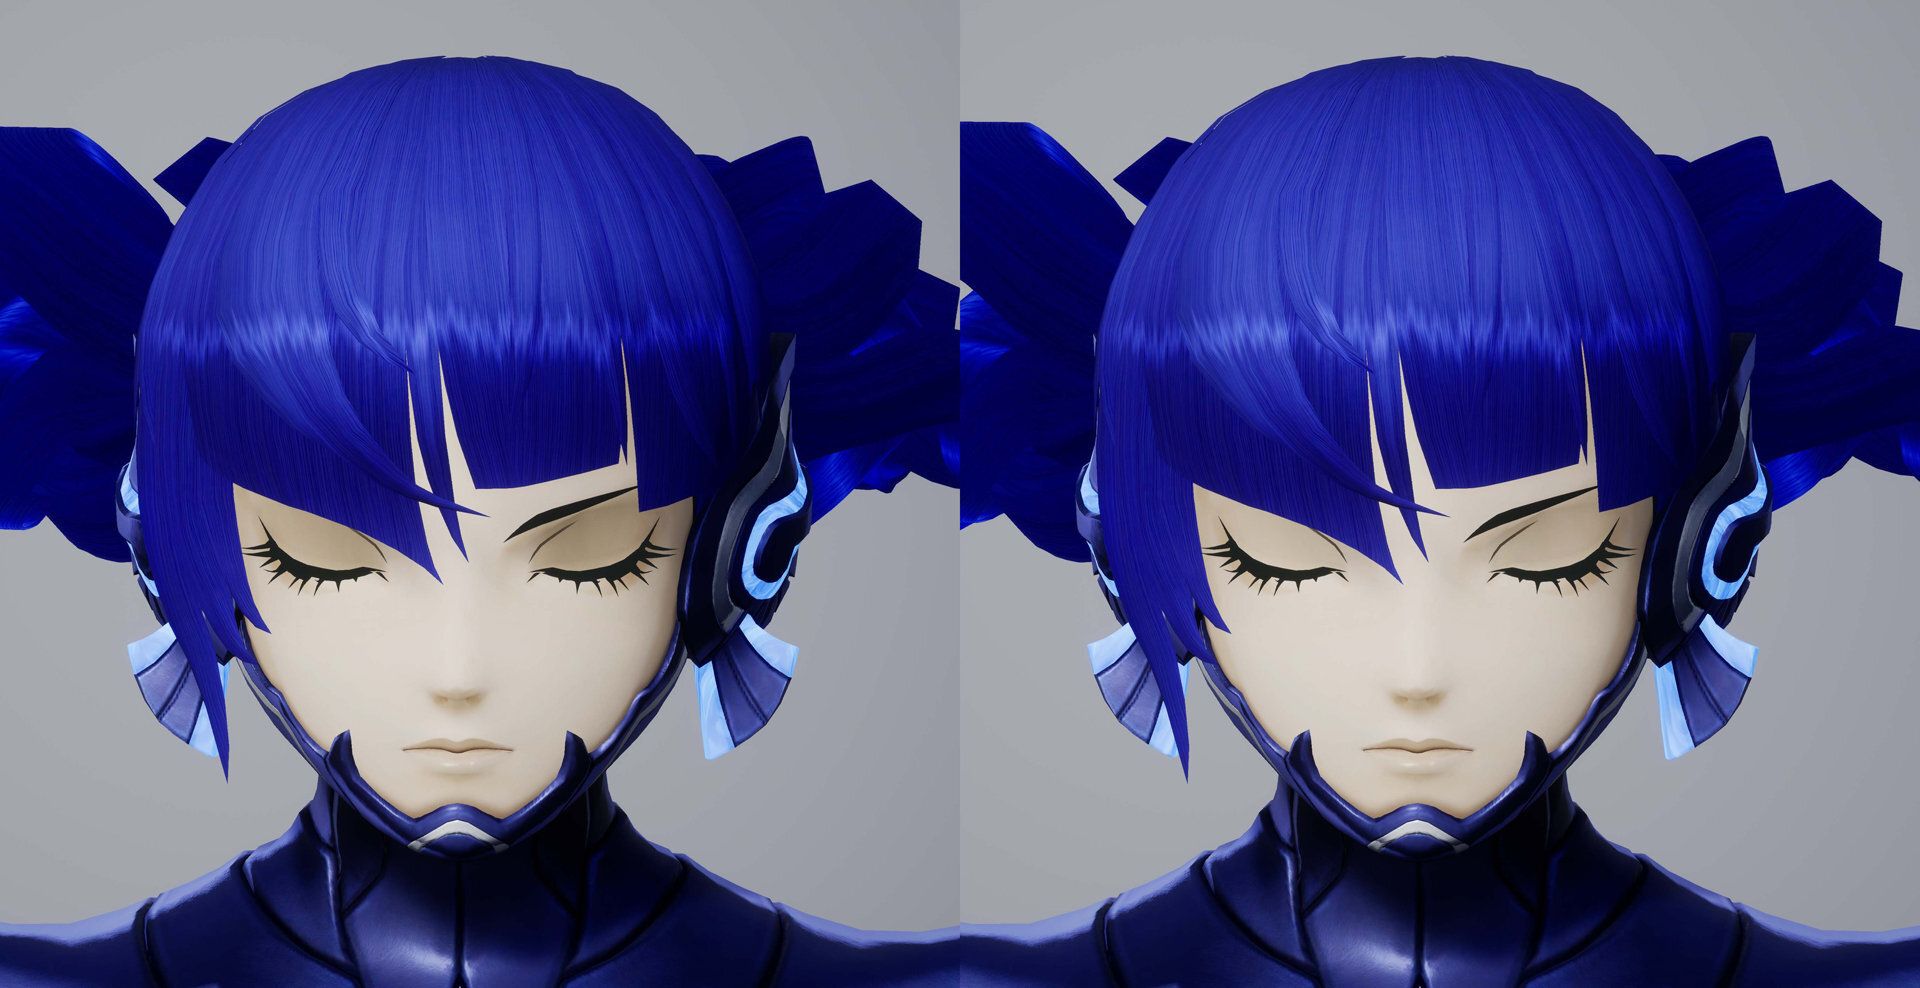
This is very effective for shading on the body and other parts of the body, but it also causes shading to appear in areas where we do not want the shading to appear, for example, when eyelids are closed. Therefore, a mask texture is applied to pinpoint such areas.
-
No problem as long as the eyelids are open. -
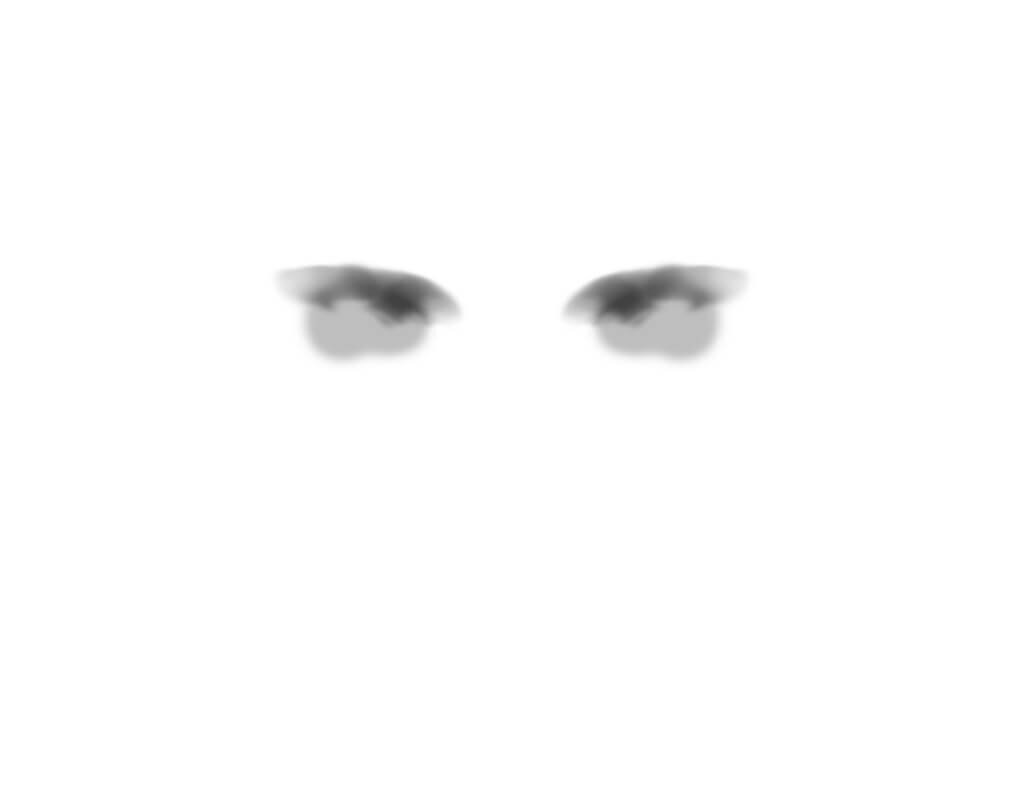
Mask textures for areas where you do not want to create shadows when the eyelids are closed.
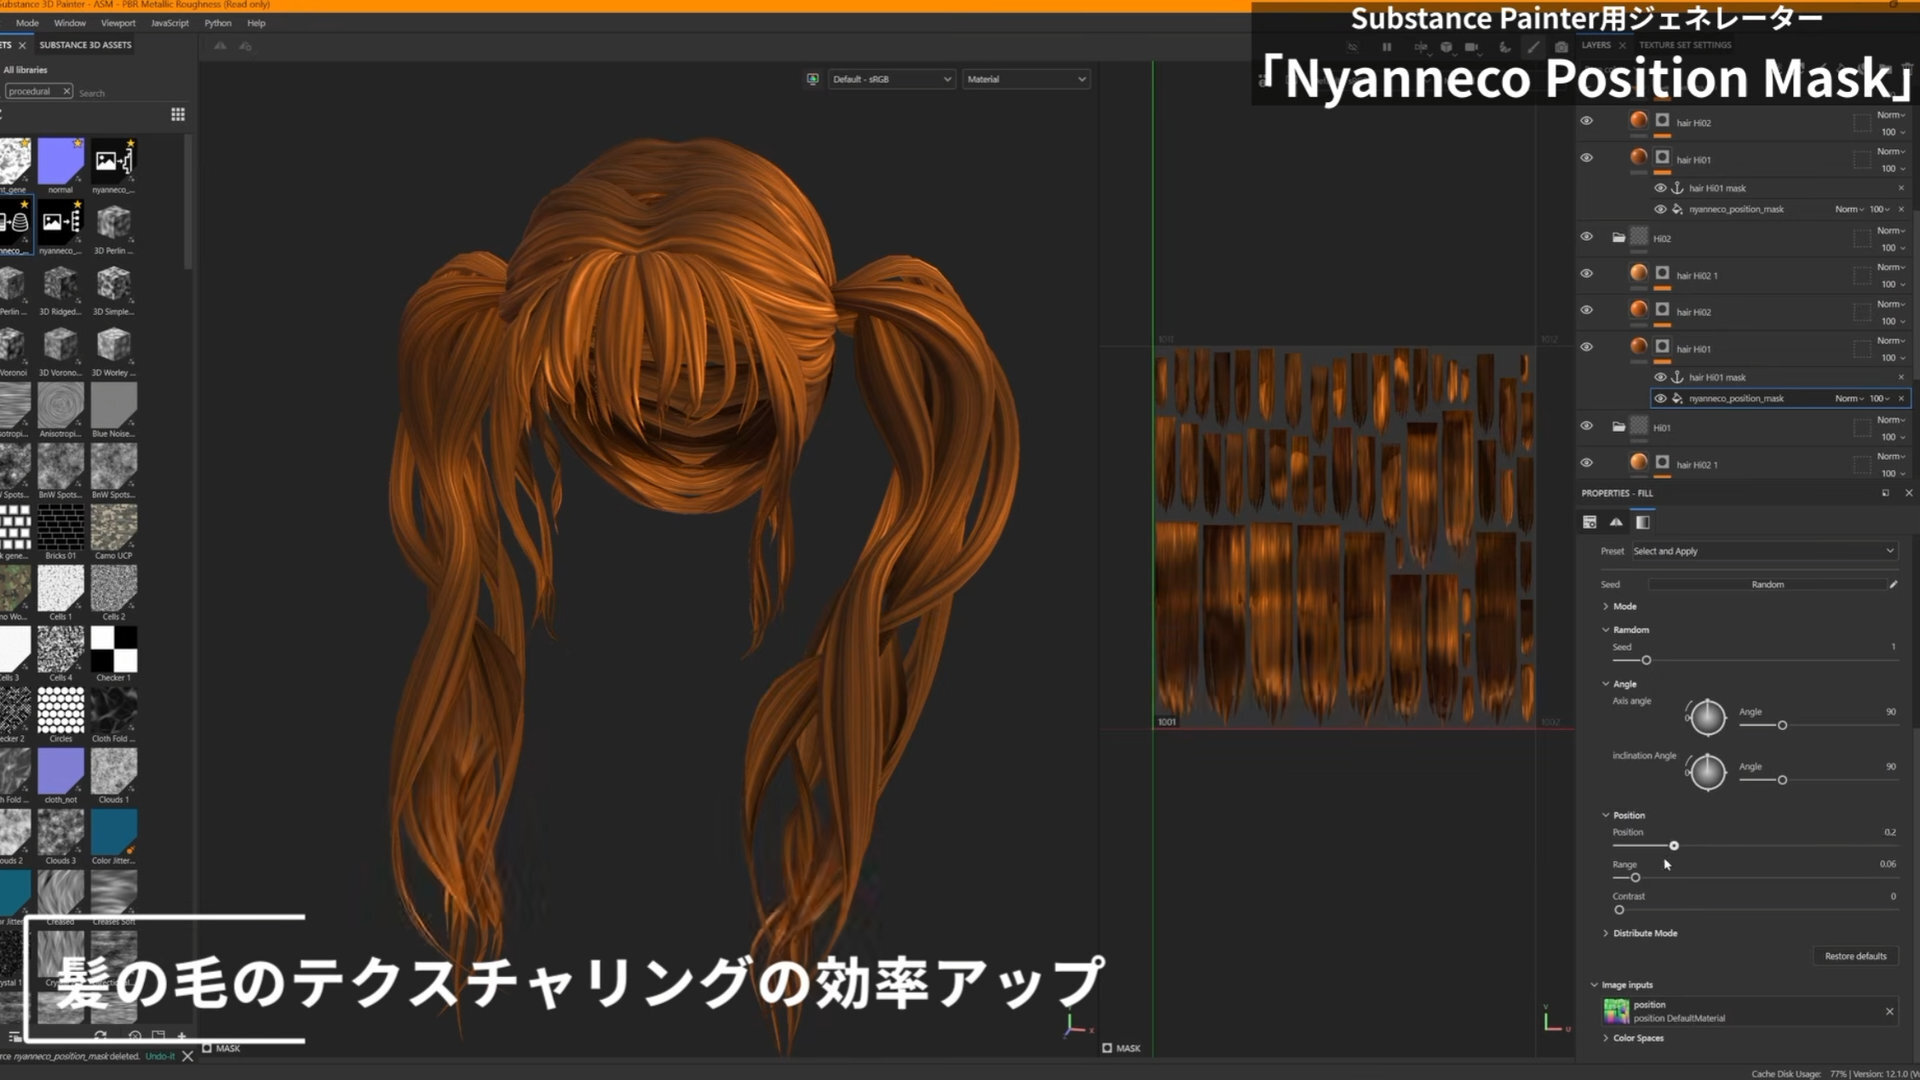
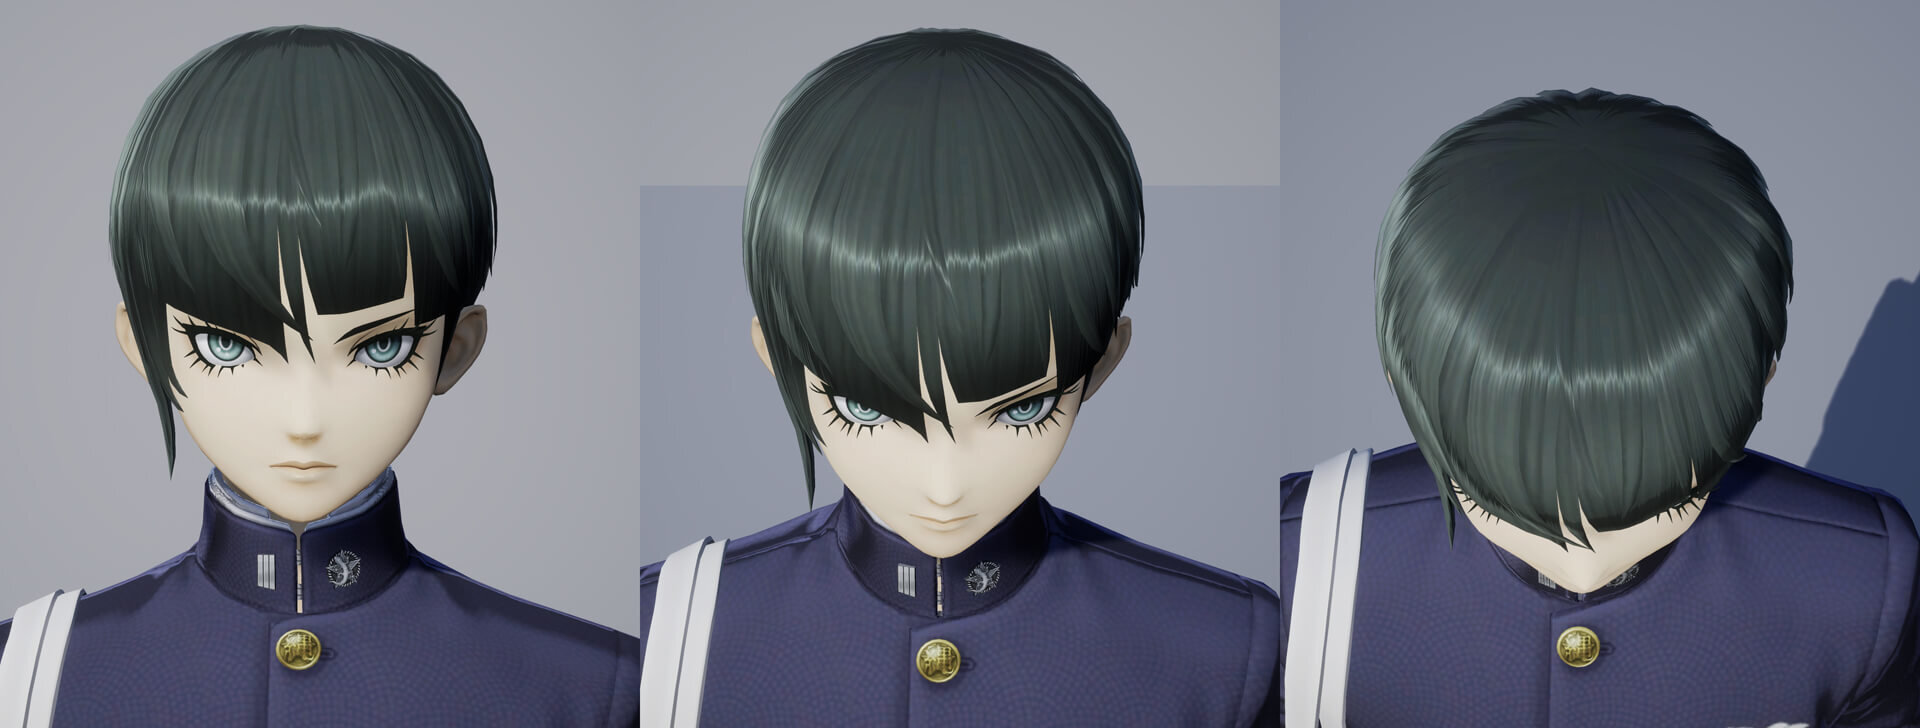
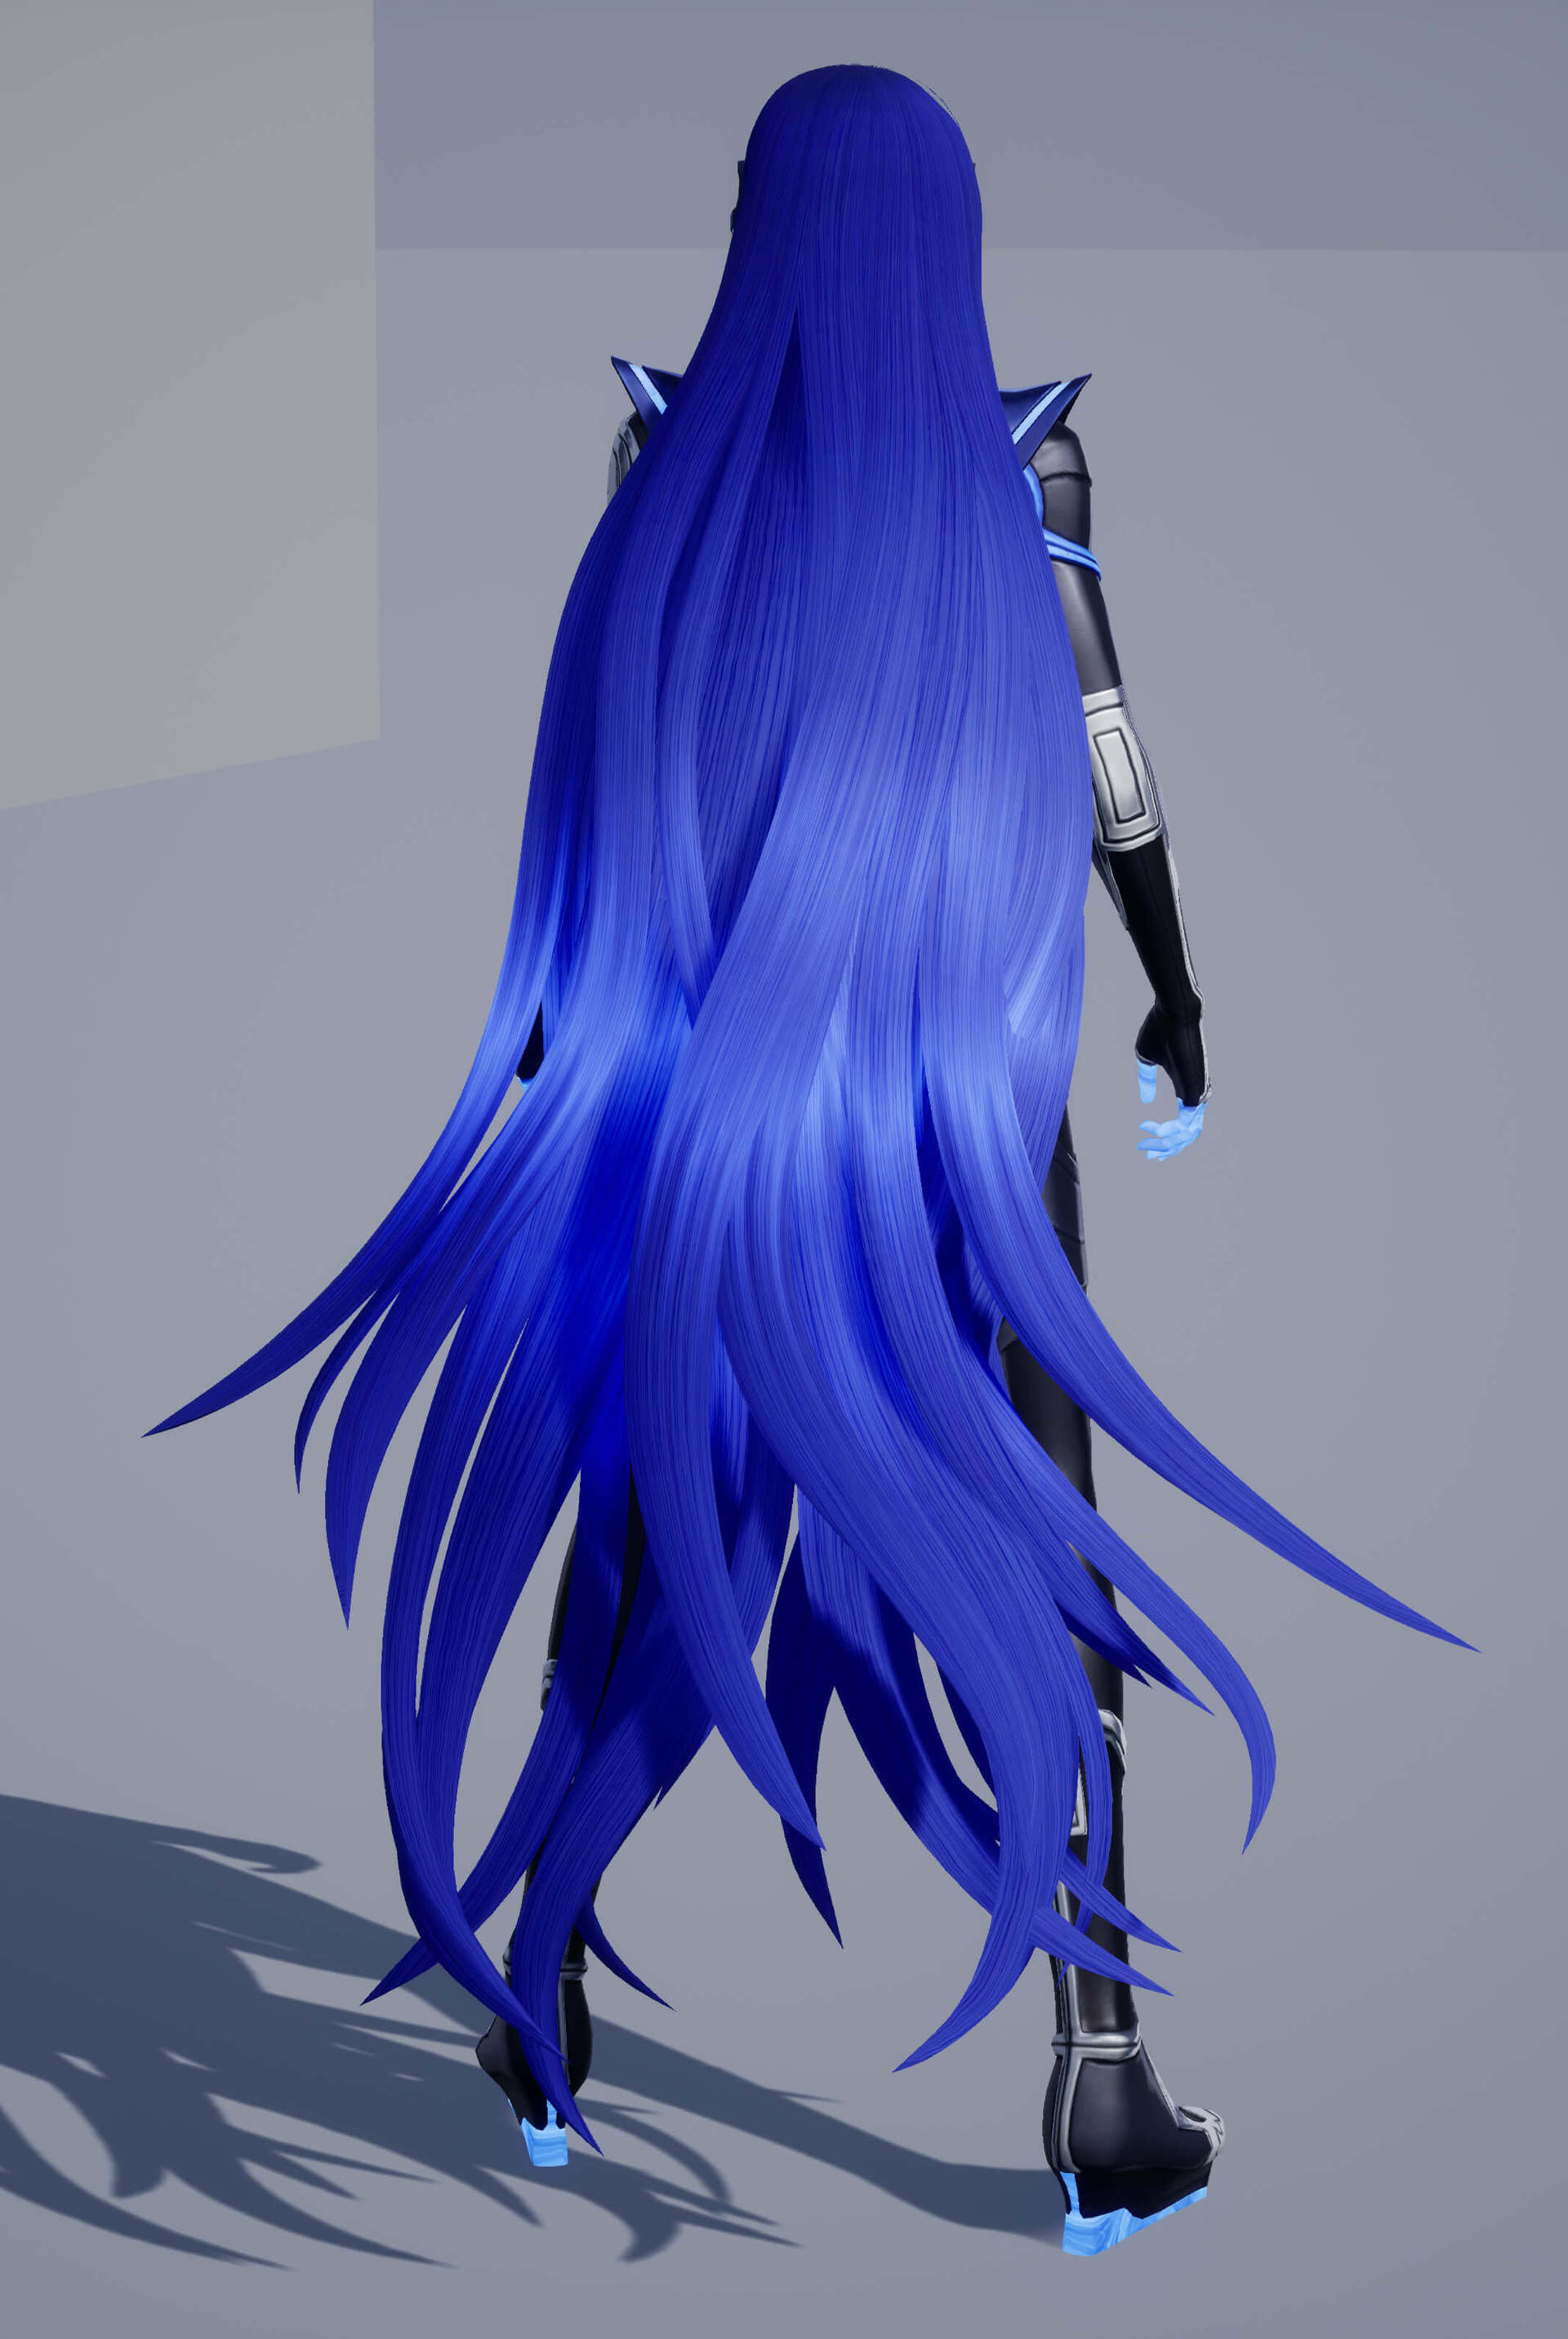
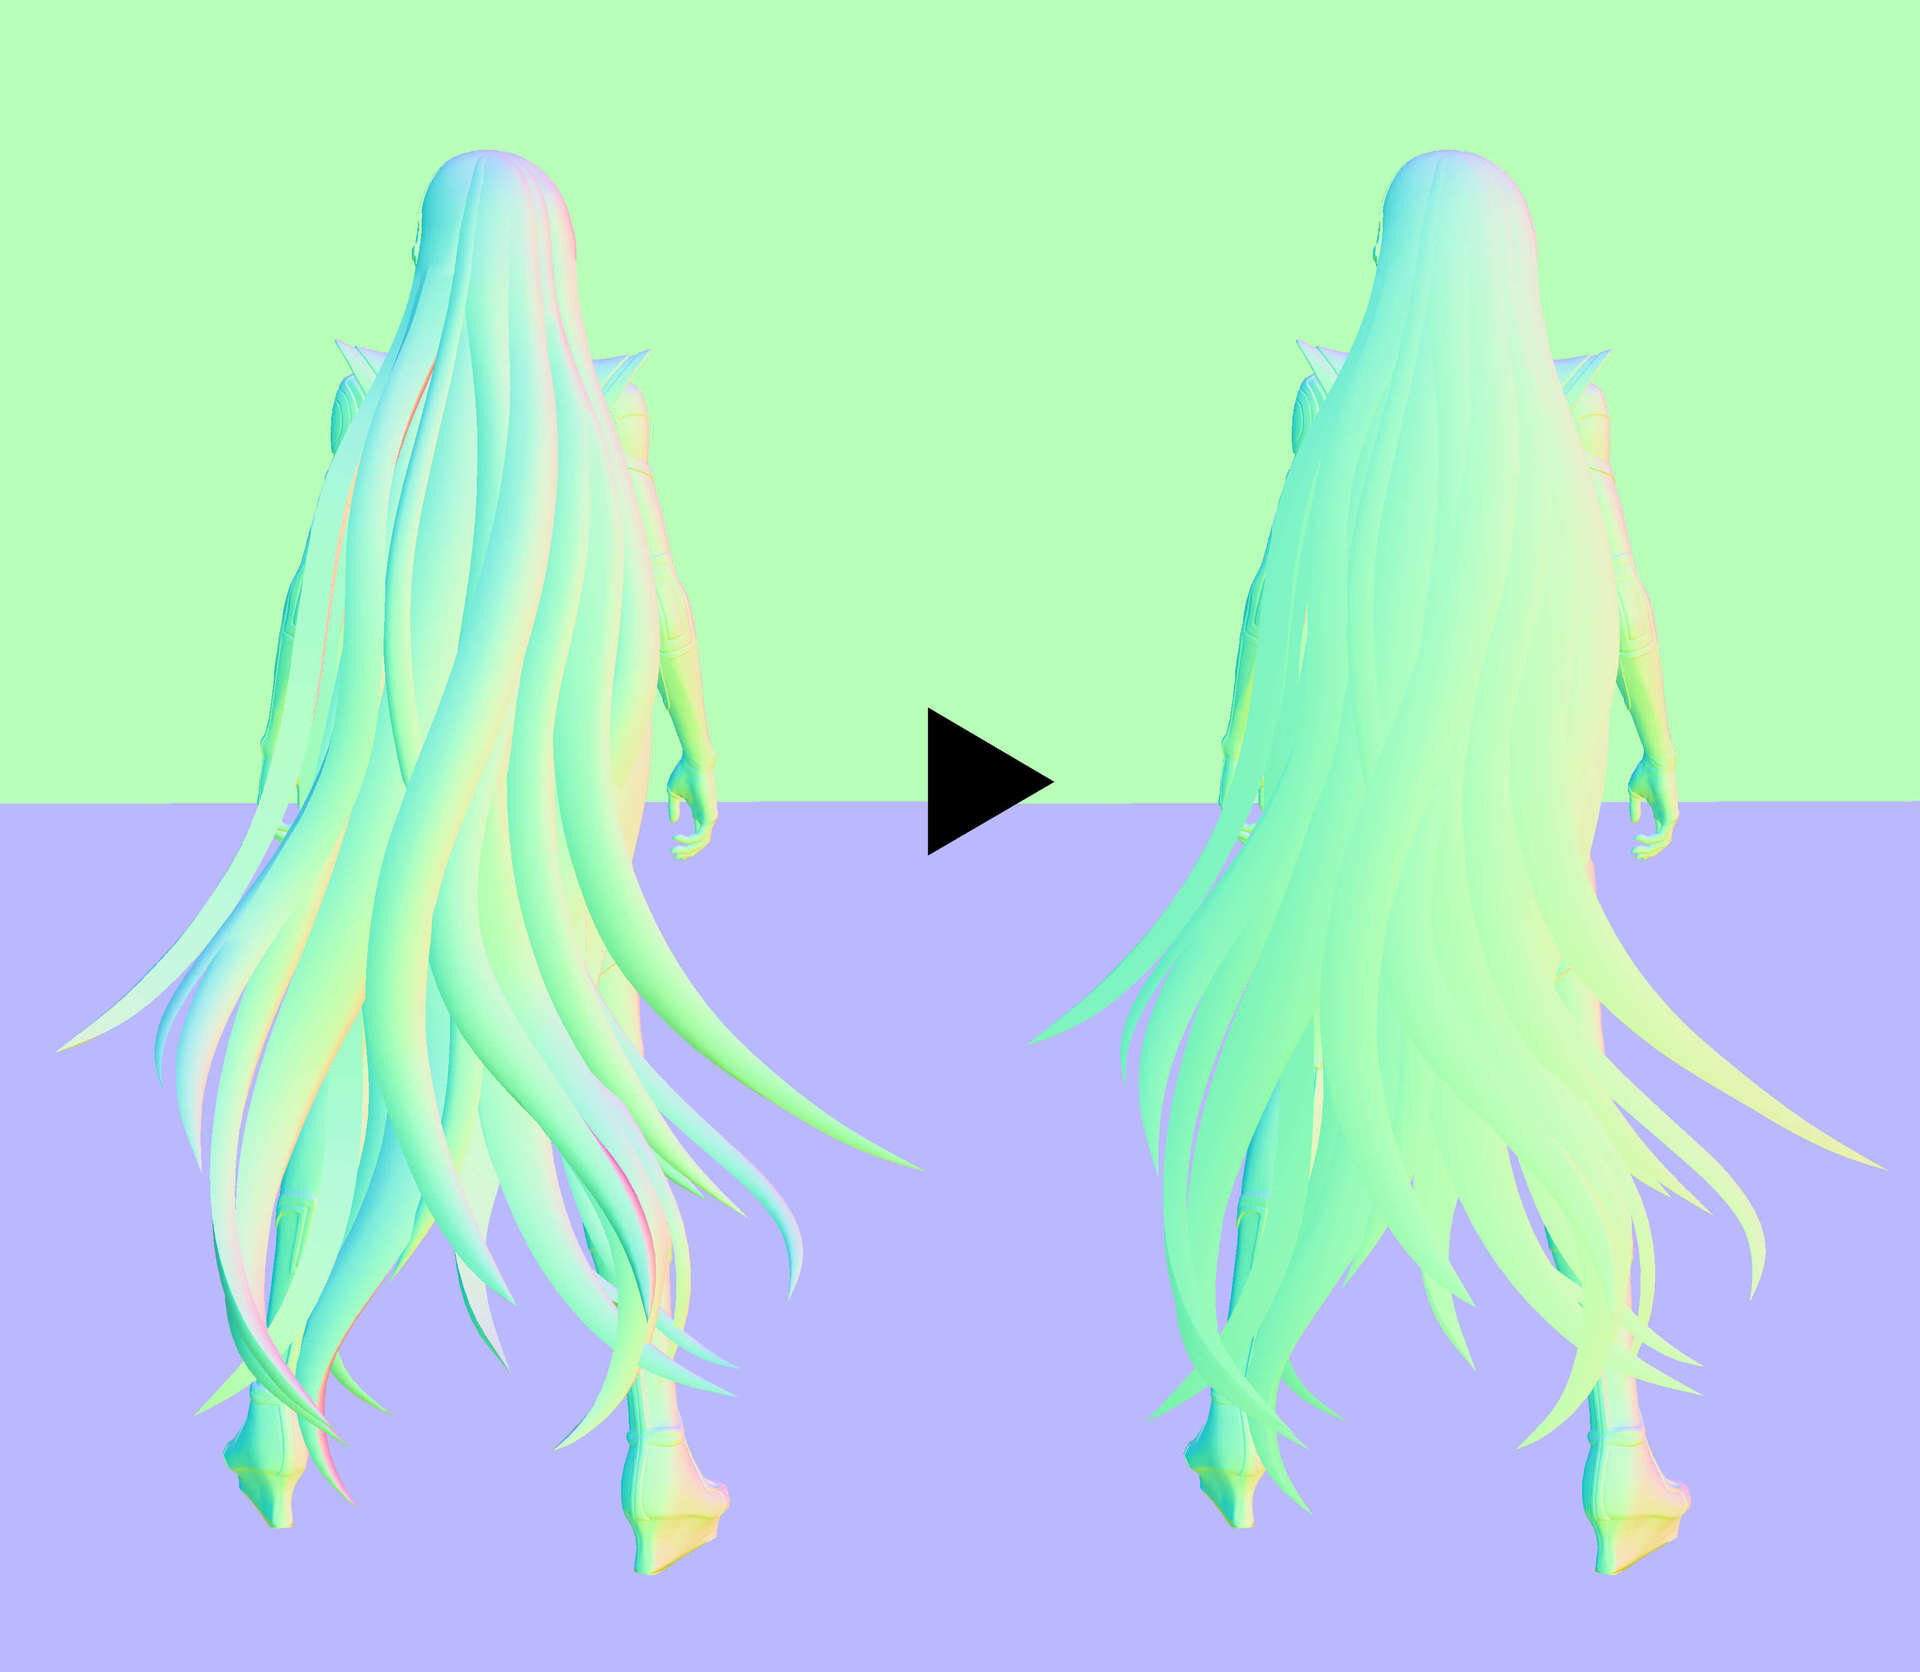
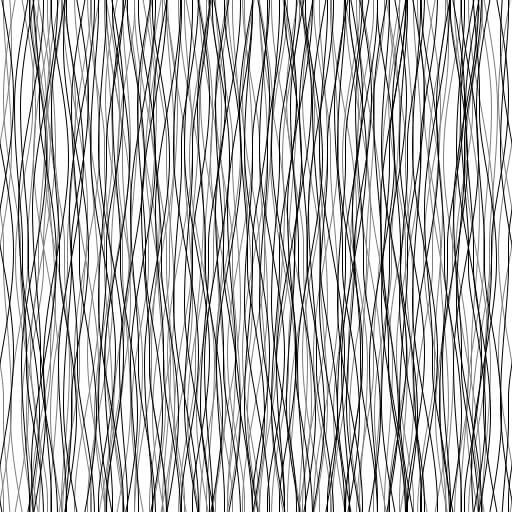
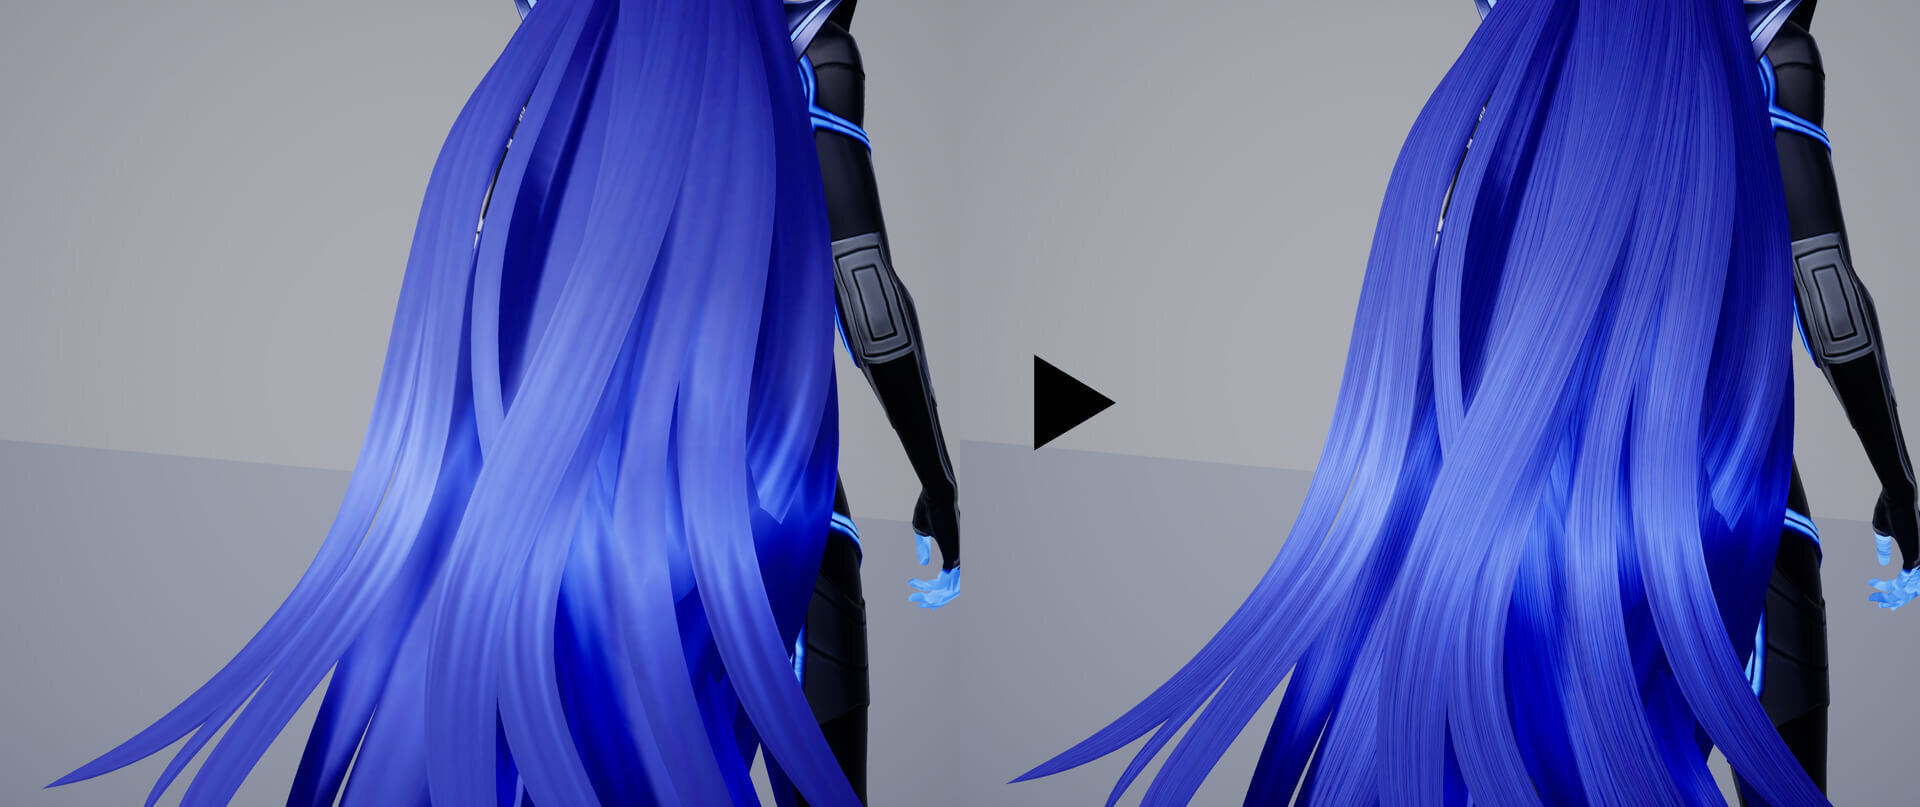
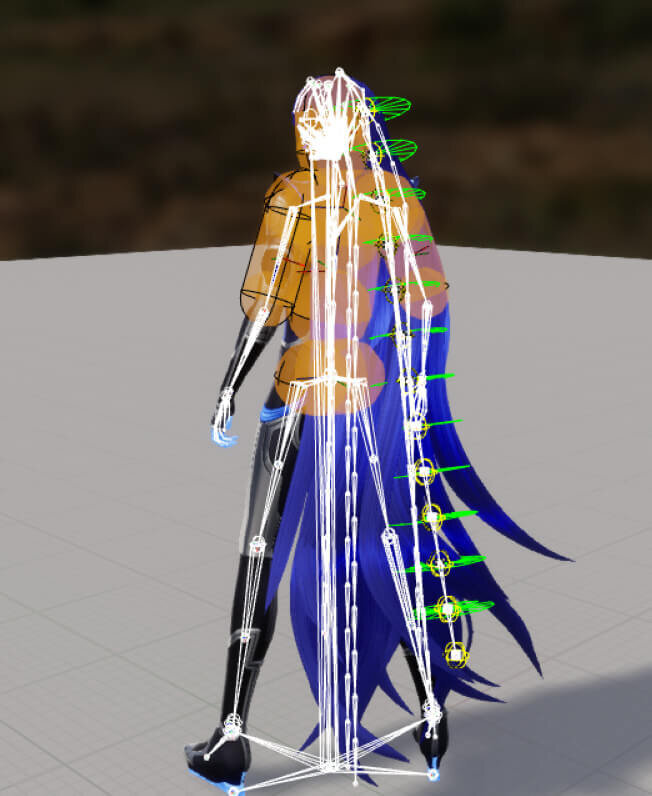
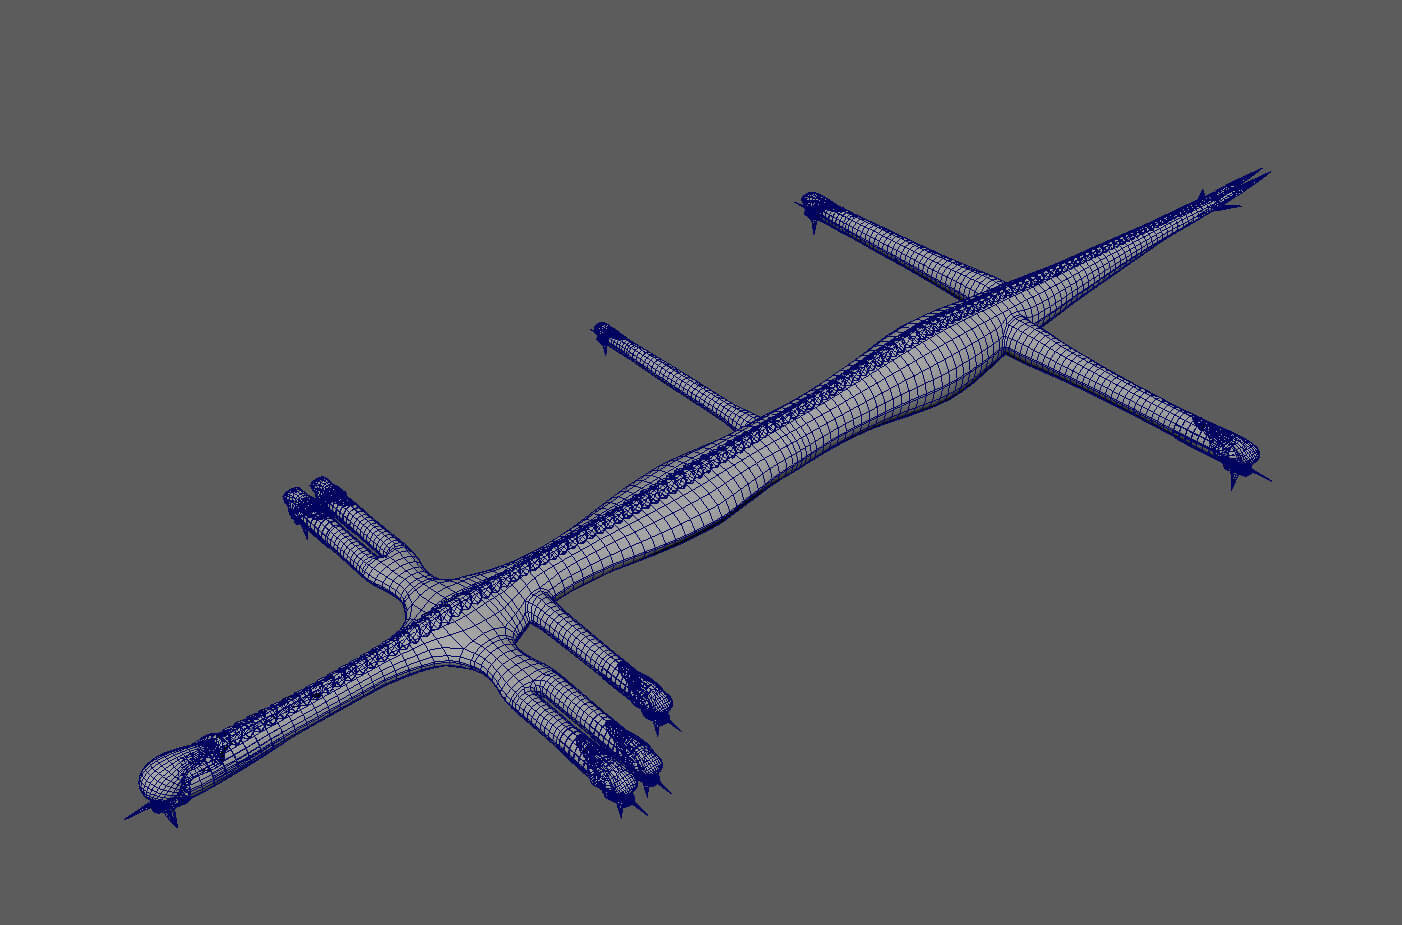
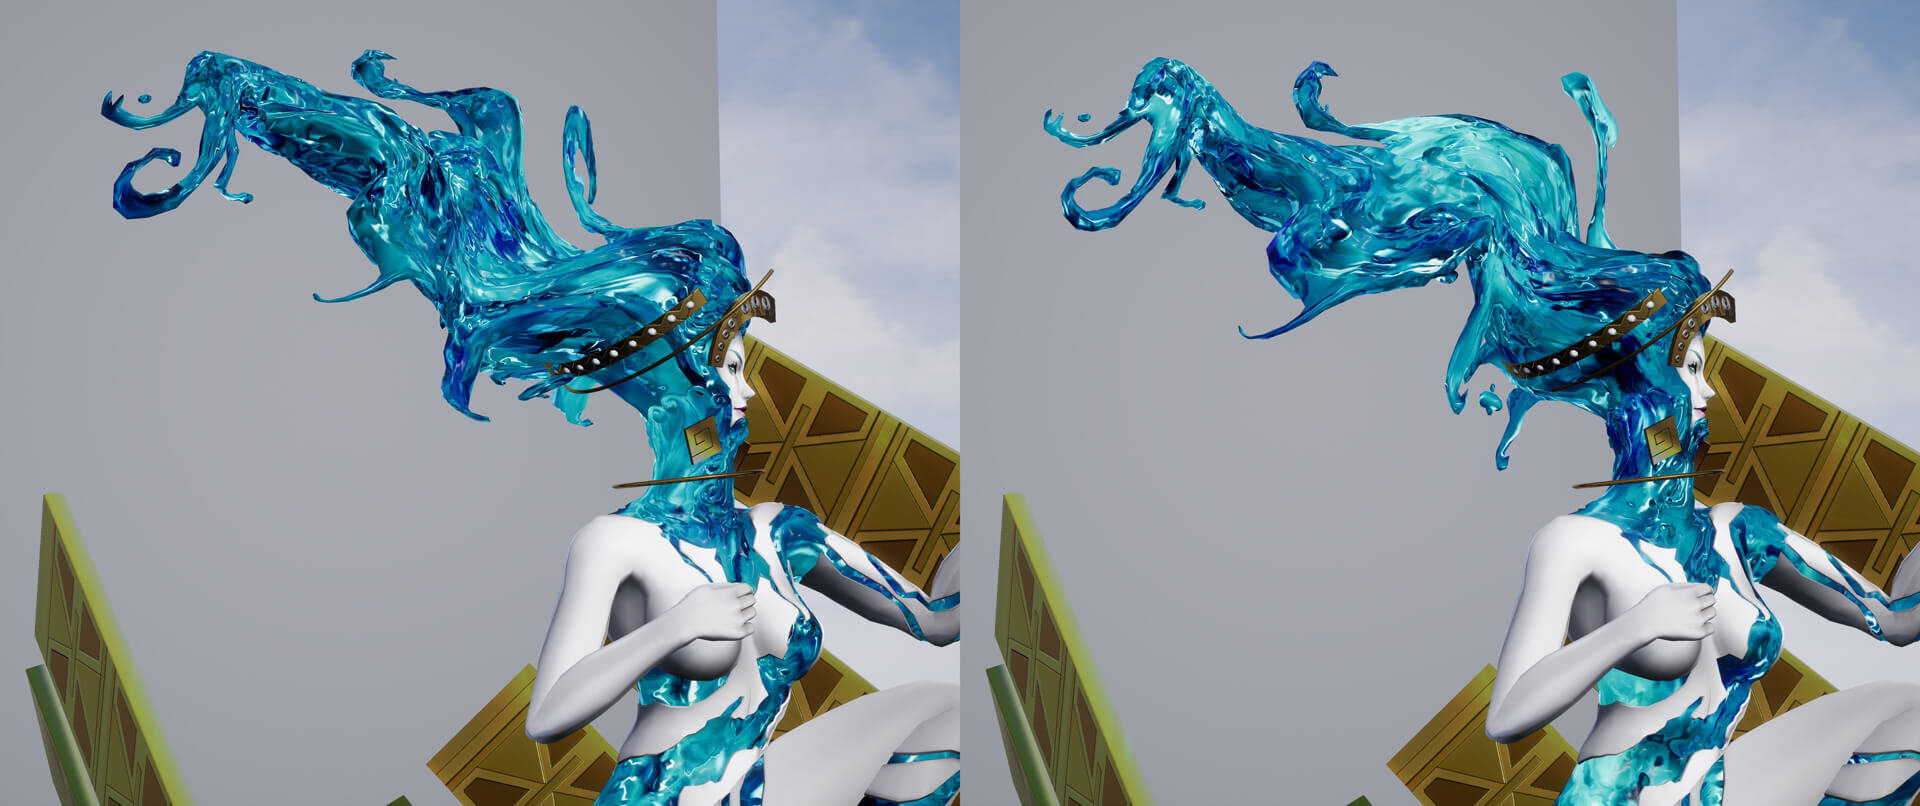
Hair strands are normal and corrected
Especially for characters with voluminous hairstyles, it was difficult to express their hair bundles.
Simply creating and applying a normal map resulted in a tentacle-like shape.
Therefore, instead of using vertex normals in the normal map as in the past, we decided to create spherical normal information in the shader and blend it to express the hair tufts. The hair strands were also blended with a tiling texture of the hair strand pattern to increase the amount of information.
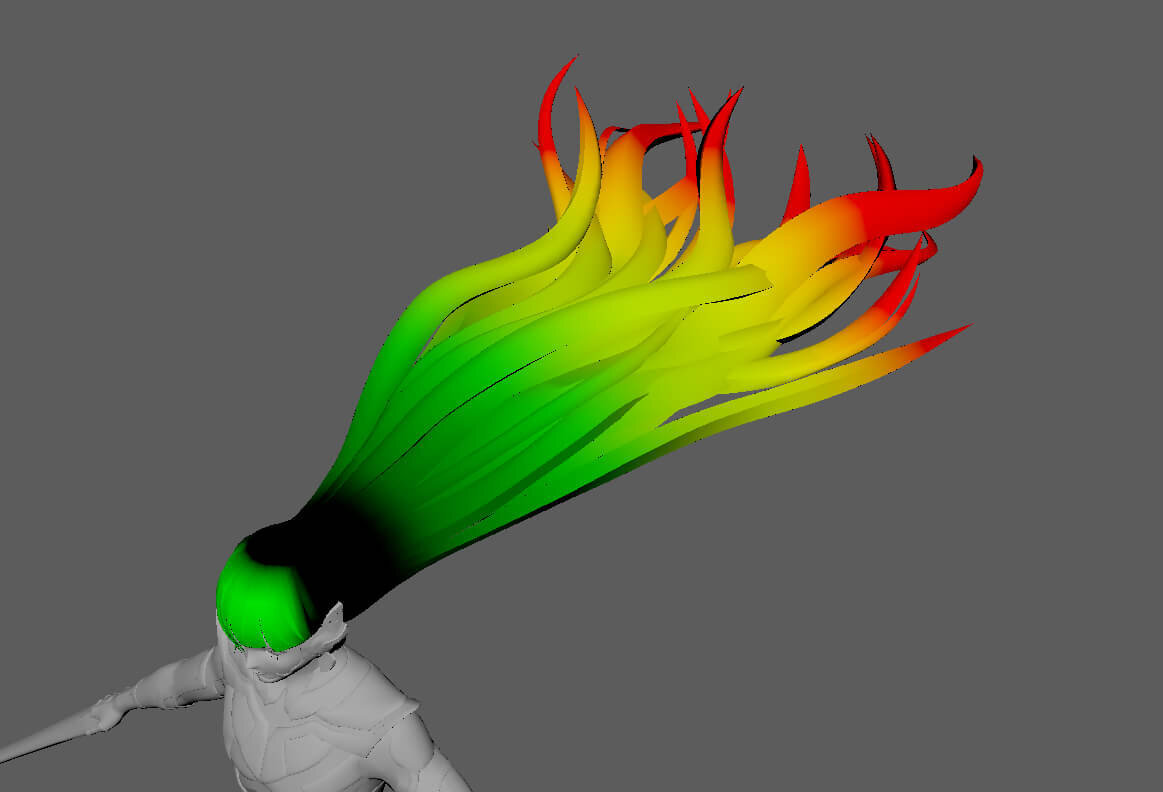
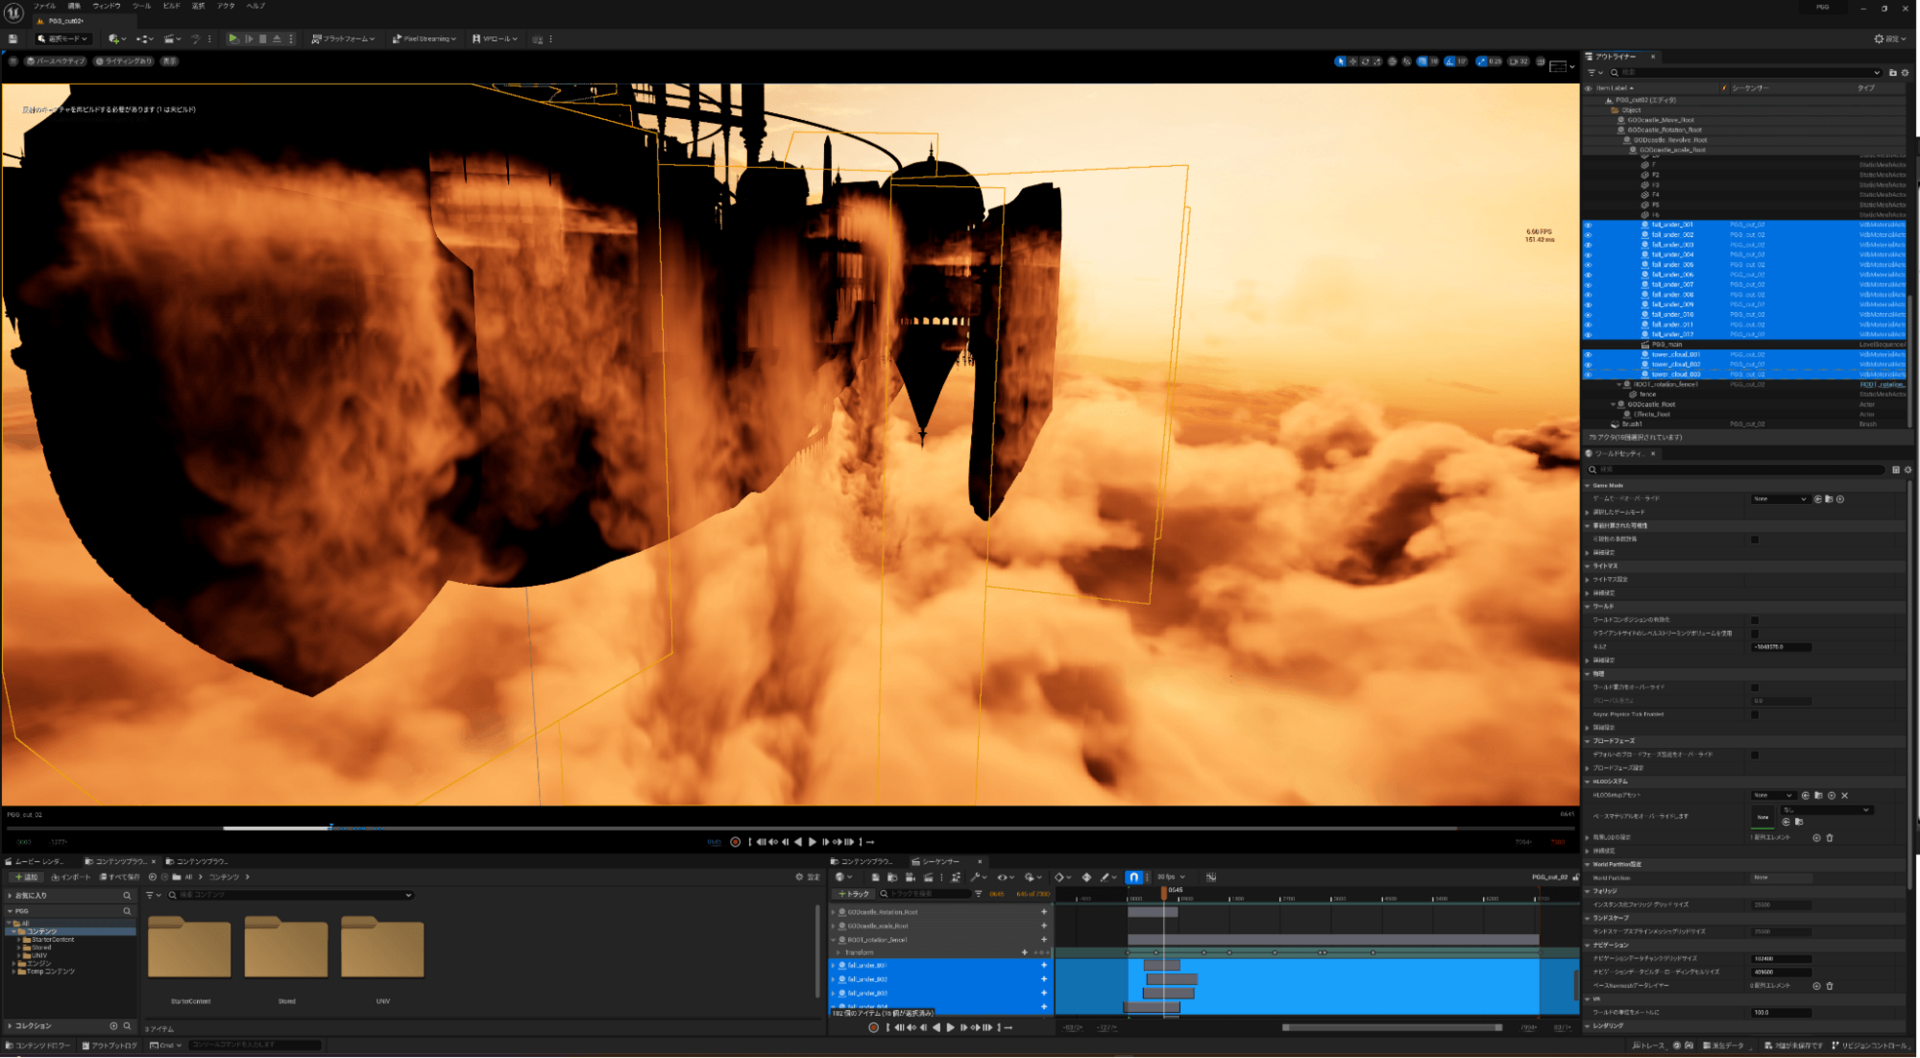
"Kawaii Physics" plugin for natural hair movement
As for the voluminous hair, if it is simply moved by physics simulation, the hair tends to get out of control.
Therefore, the pseudo-physical hone shaking plug-in "Kawaii Physics" (github.com/pafuhana1213/), which can be used in UE4 and was developed by Kazuya Okada, a domestic developer, was used. KawaiiPhysics).
This allows the user to add intentional forces based on realistic physics laws, such as applying a diagonal pulling force when moving at a high speed, and freely produce hair movement.
-
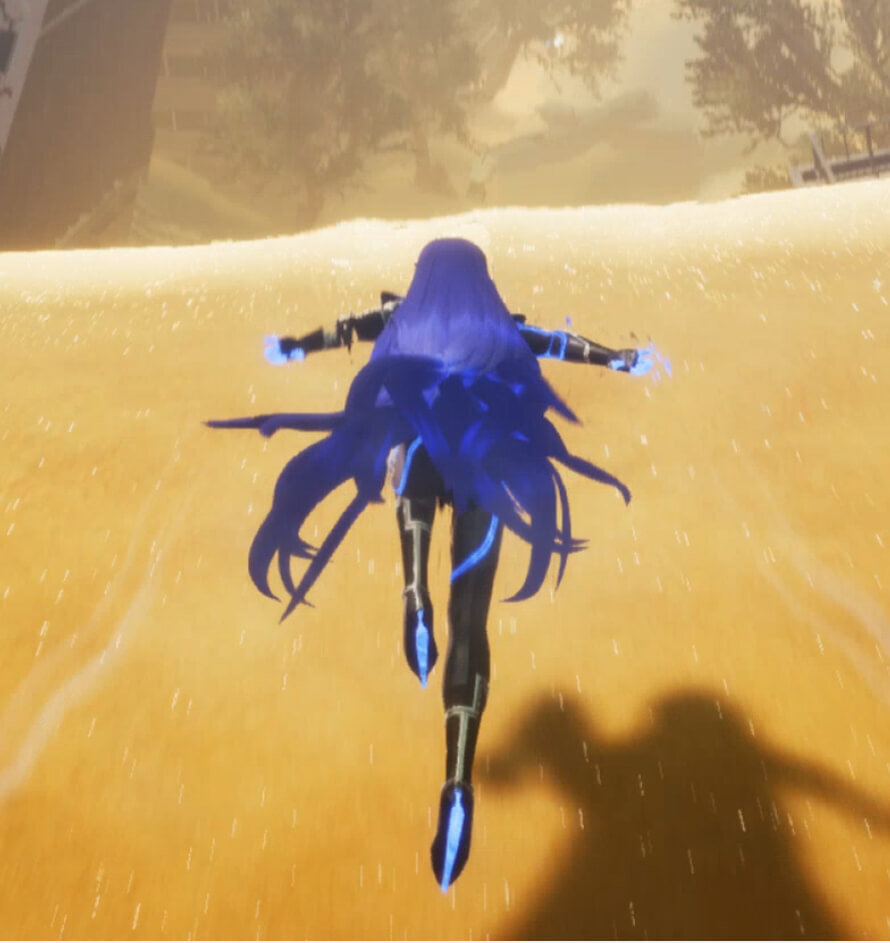
The way the hair behaves when the character is running -
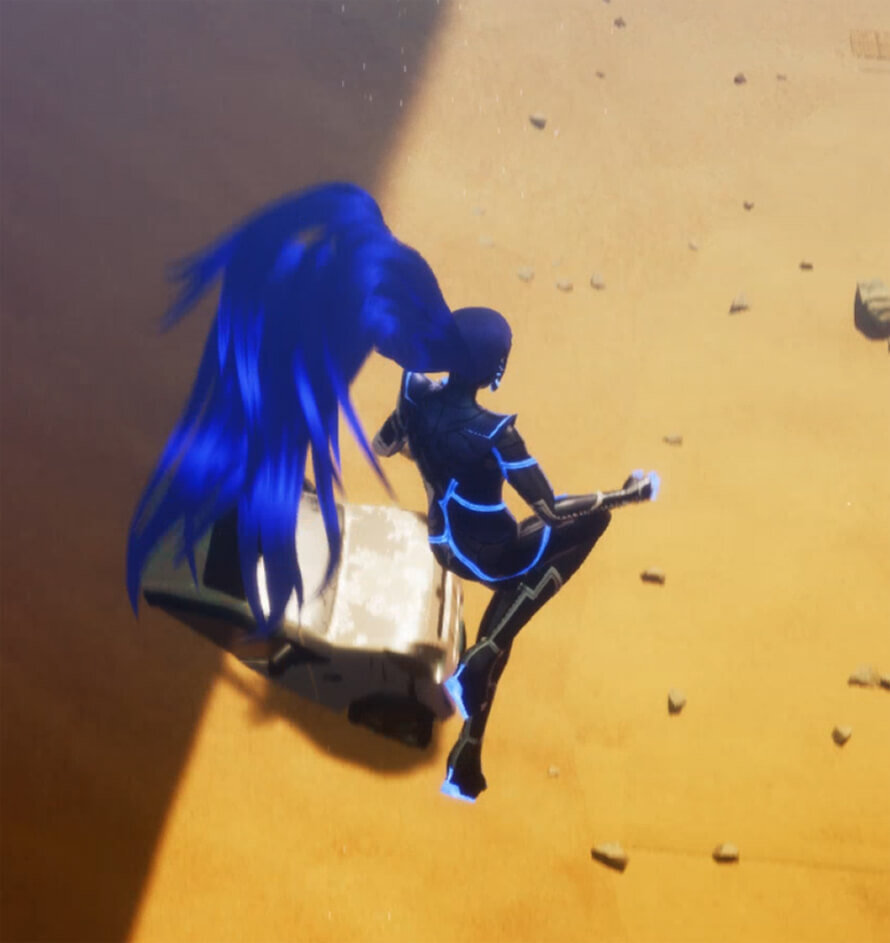
State when jumped
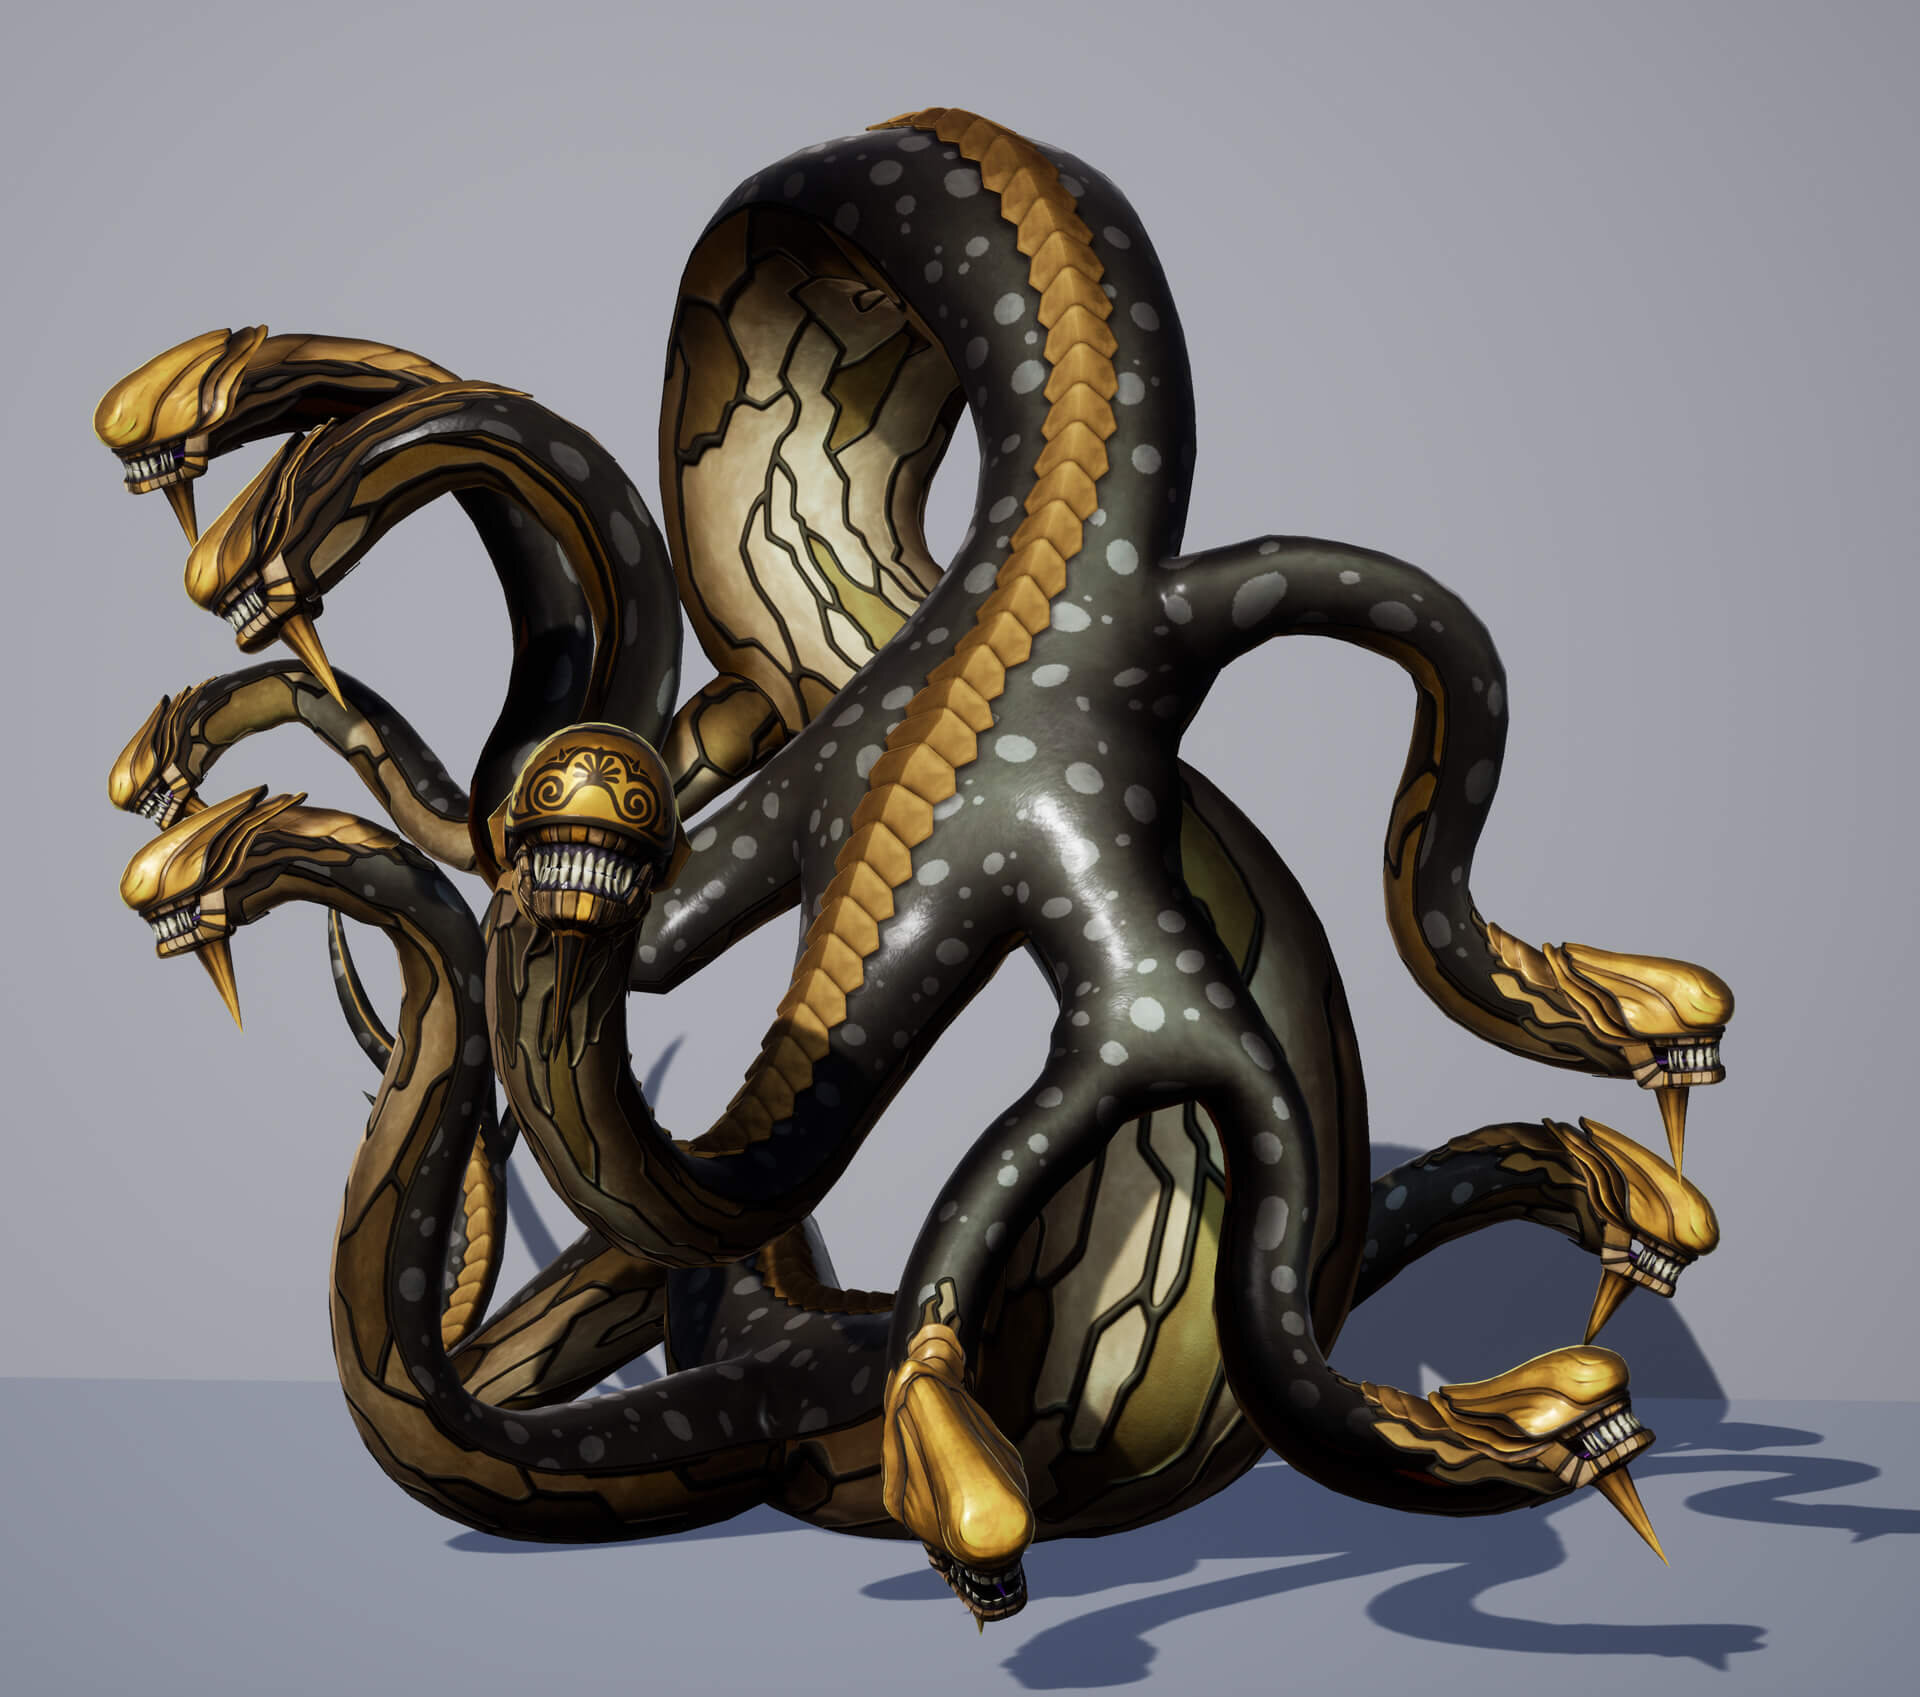
<3>Various and unique demons that you will want to be friends with.
Demons, sometimes enemies and sometimes allies, are an important element of this series.
We went through a process of trial and error and adjustment to find the optimum solution for each demon's unique form and look.
Devil's Production Flow
The production flow for demon characters is basically the same as for the humanoid characters introduced on the previous pages.
However, since demons have many unique and irregular elements, from shape to texture, time was spent in trial and error to find the optimal shape.
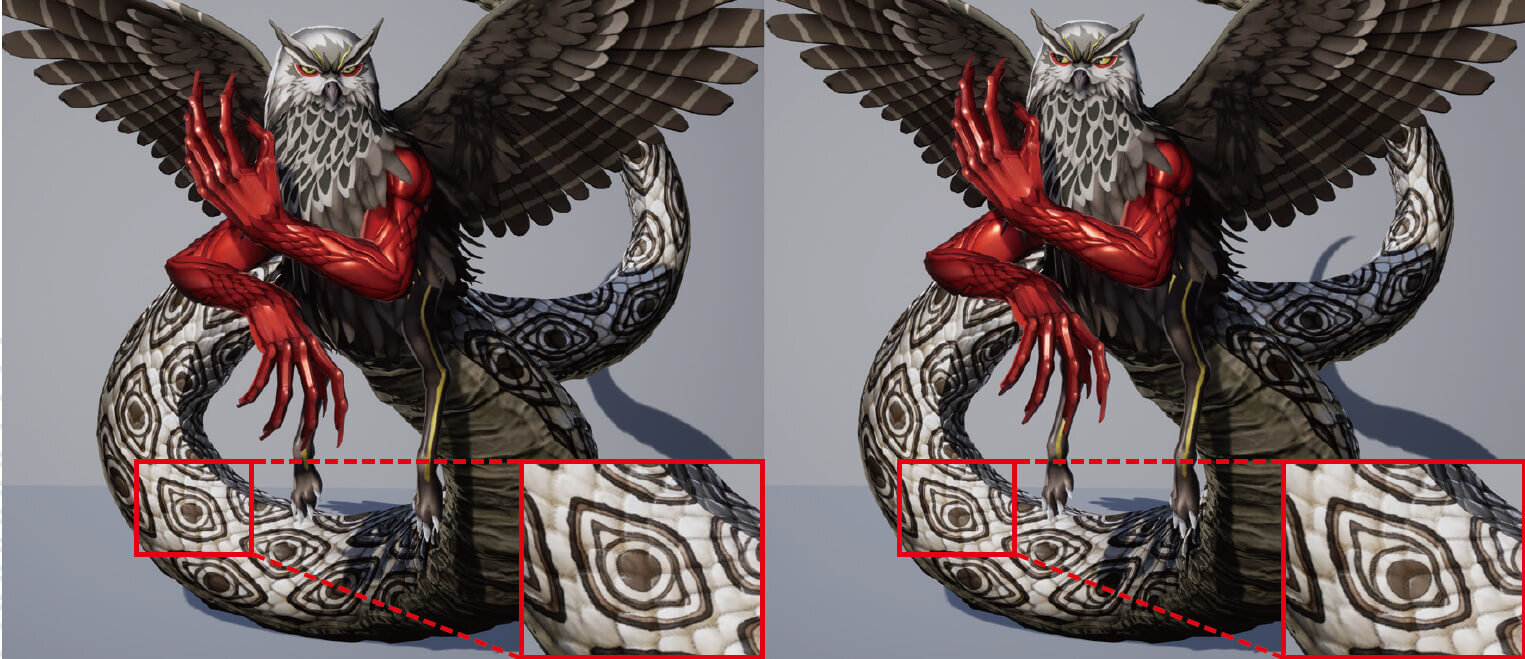
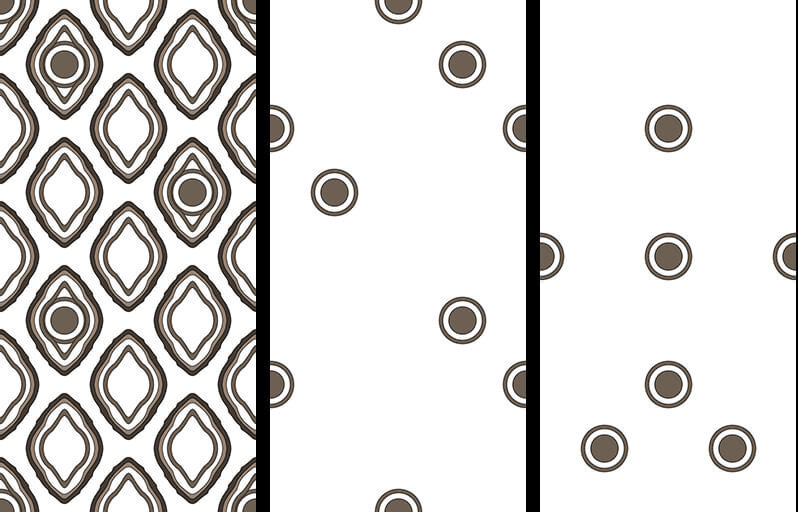
LOD is prepared in one step
High polygon character data is about 40,000 vertices, but partial LOD is also prepared and used.
-
Screen shot of battle with Zeus -
The area indicated in red is the part of the [left image] that has been replaced by LOD. Normally, it is rare to switch to LOD at such a distance, but characters whose appearance does not deteriorate in quality by lowering the LOD by one level are displayed with the LOD lowered even in battle stages such as this one
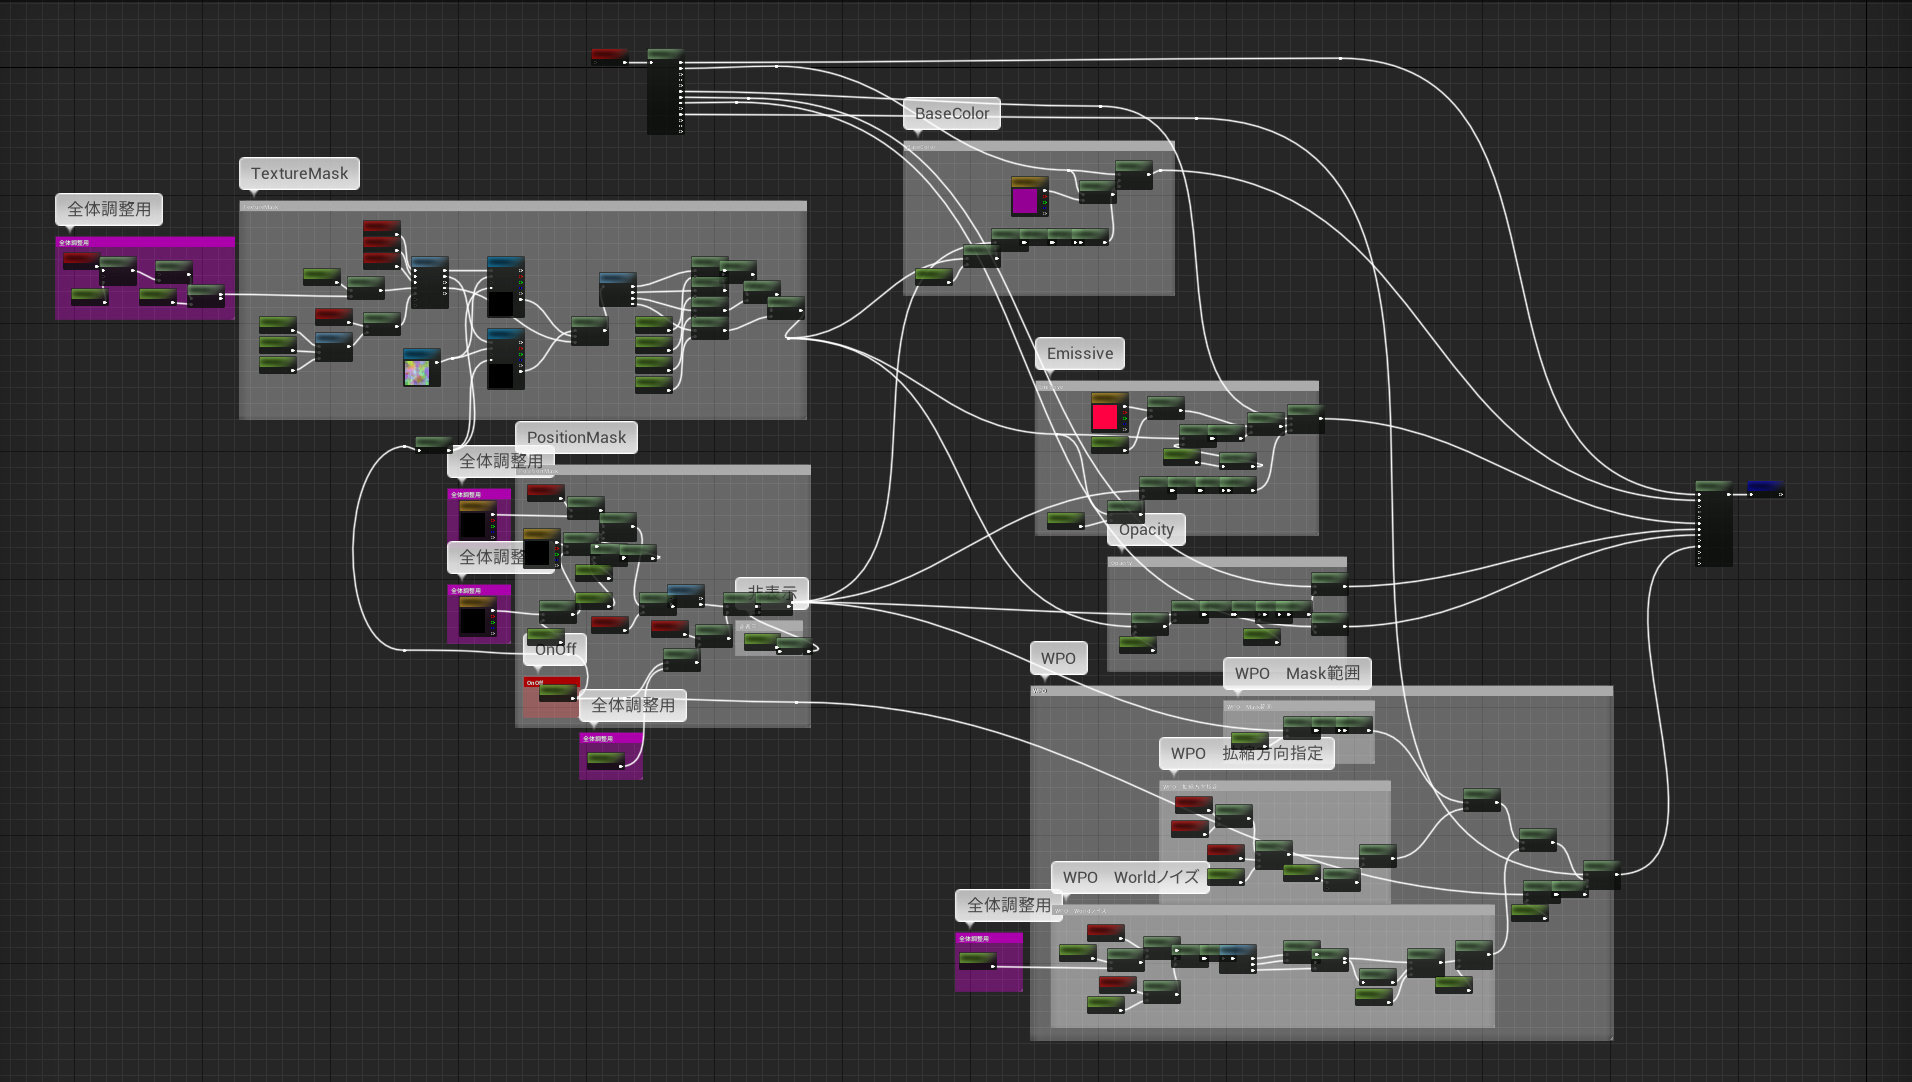
Expression by devil-specific materials
Due to the wide variety of demons, many materials were prepared specifically for each demon.
Shaders are used to represent these materials, and the modelers themselves create these individual shaders with the goal of directly reflecting their ideas on the characters.
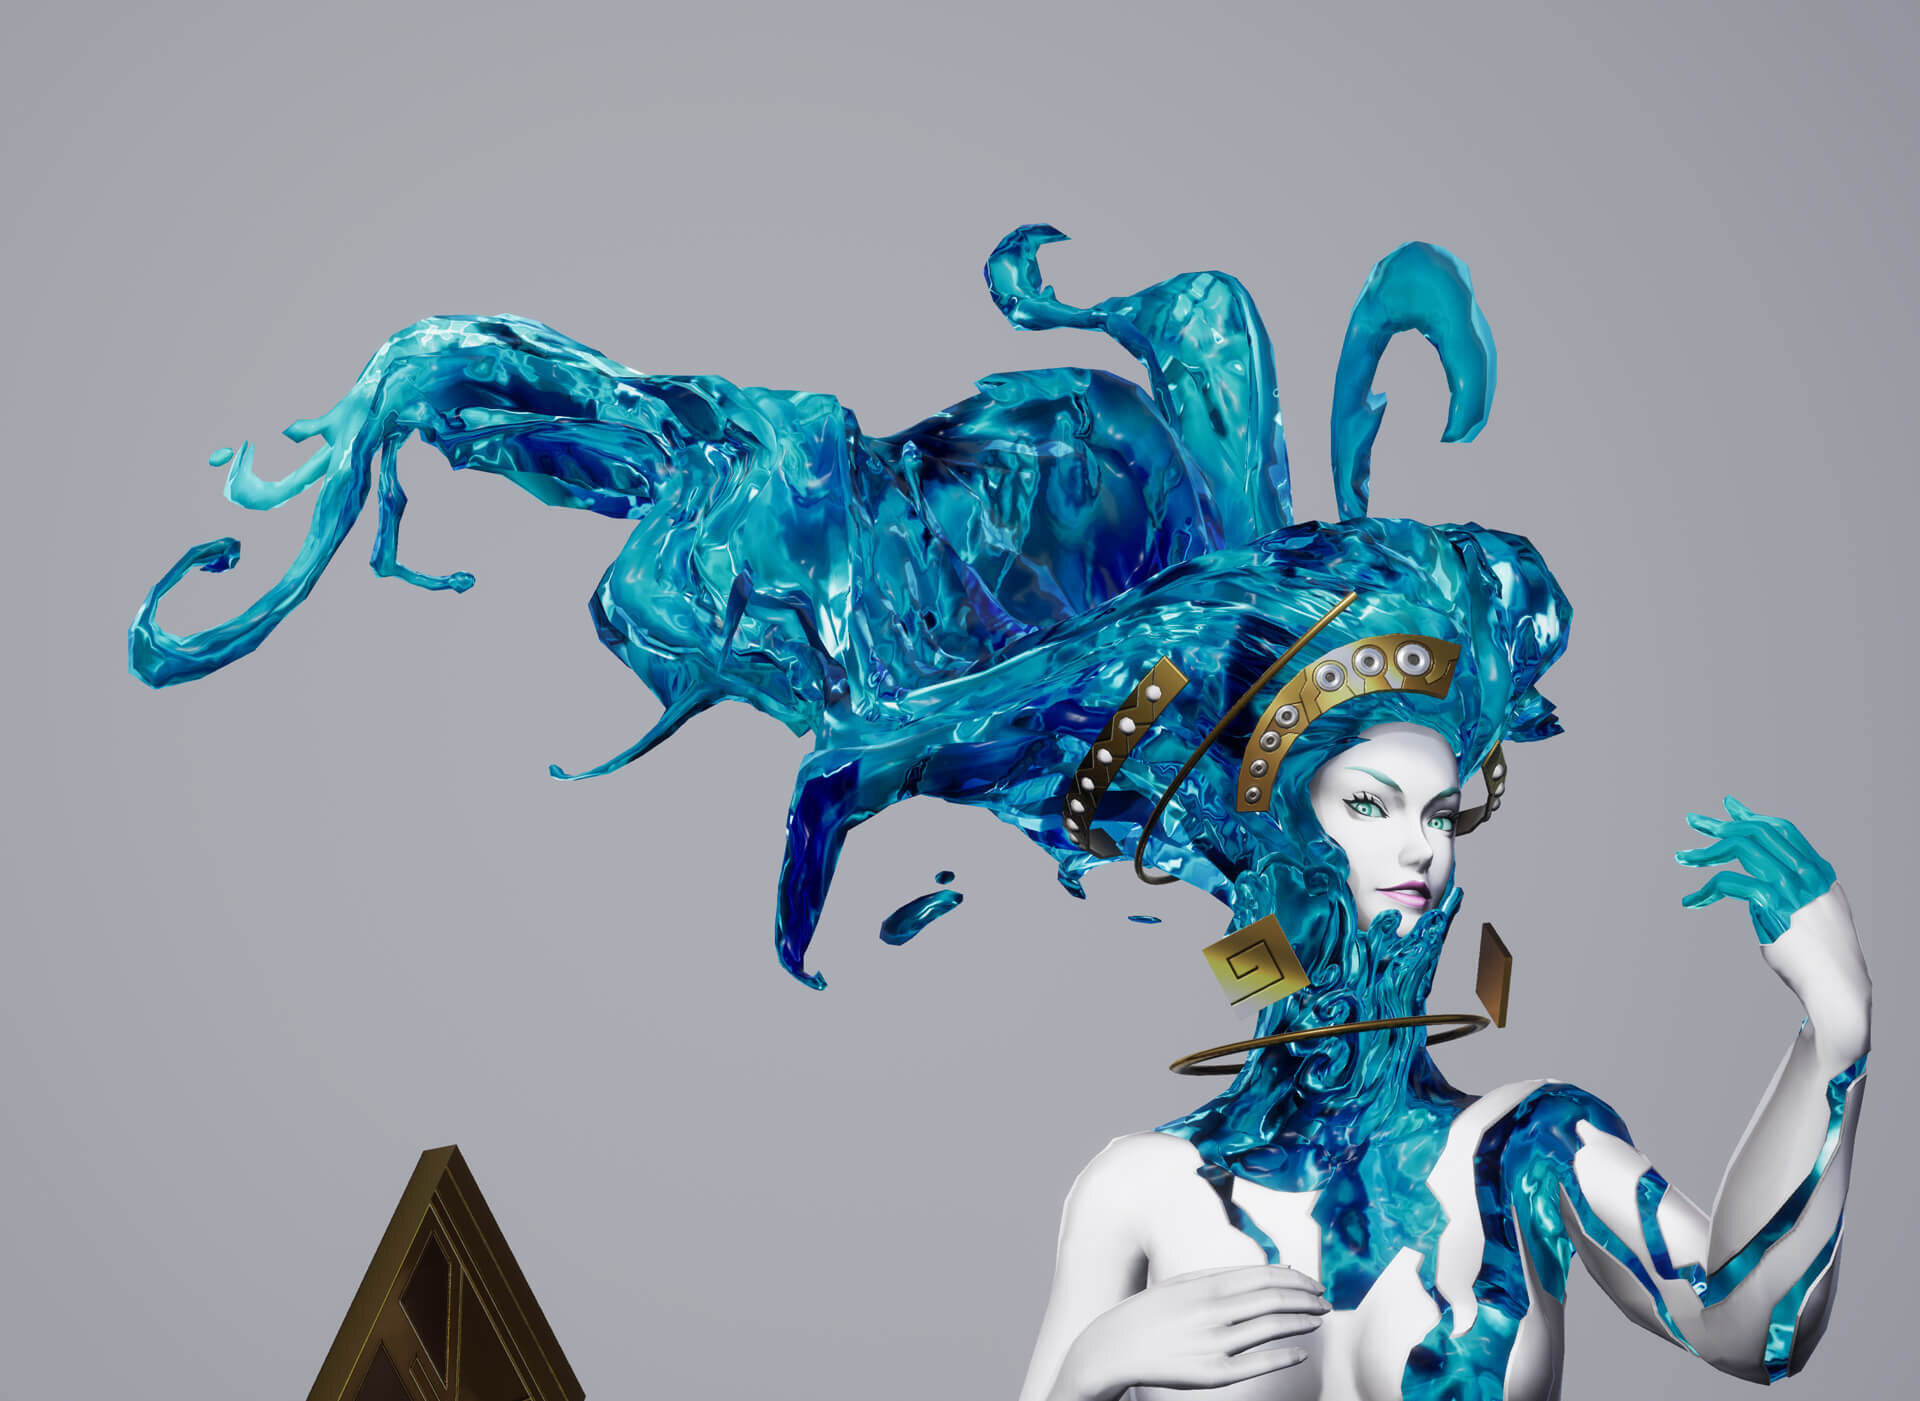
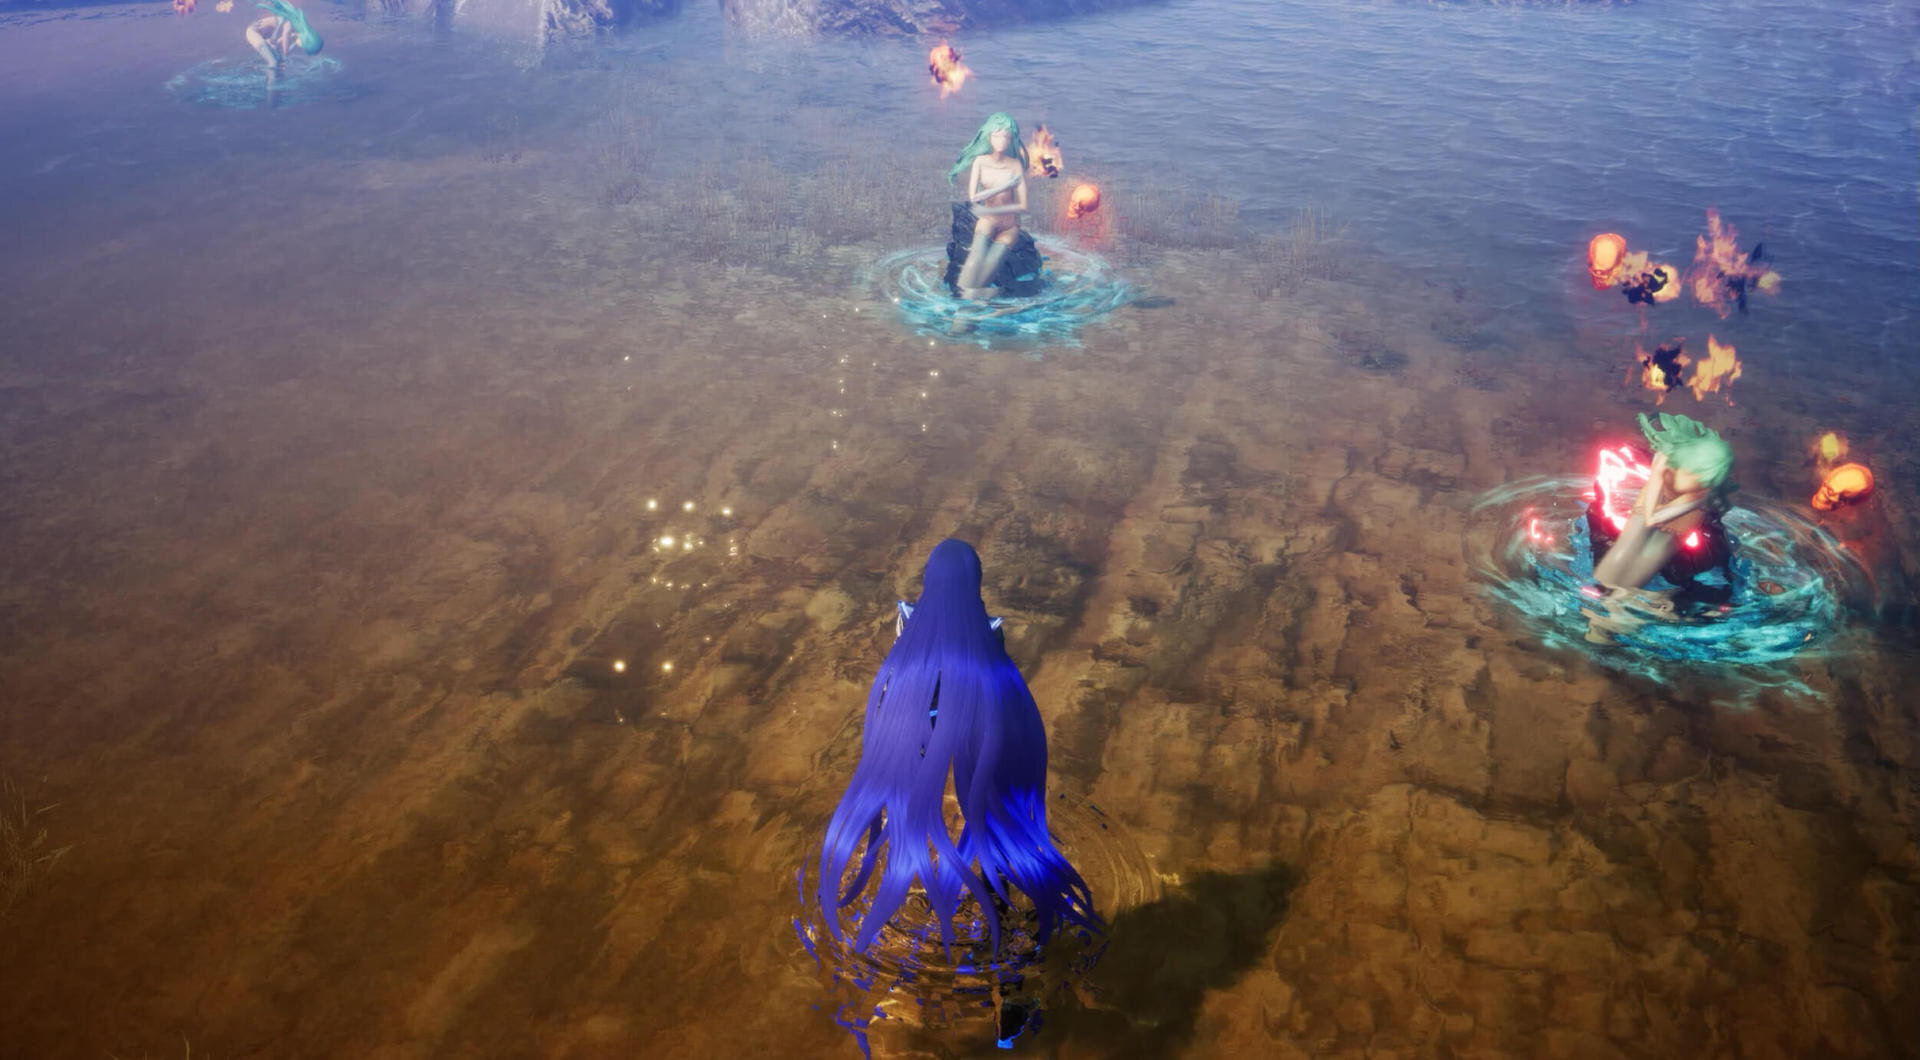
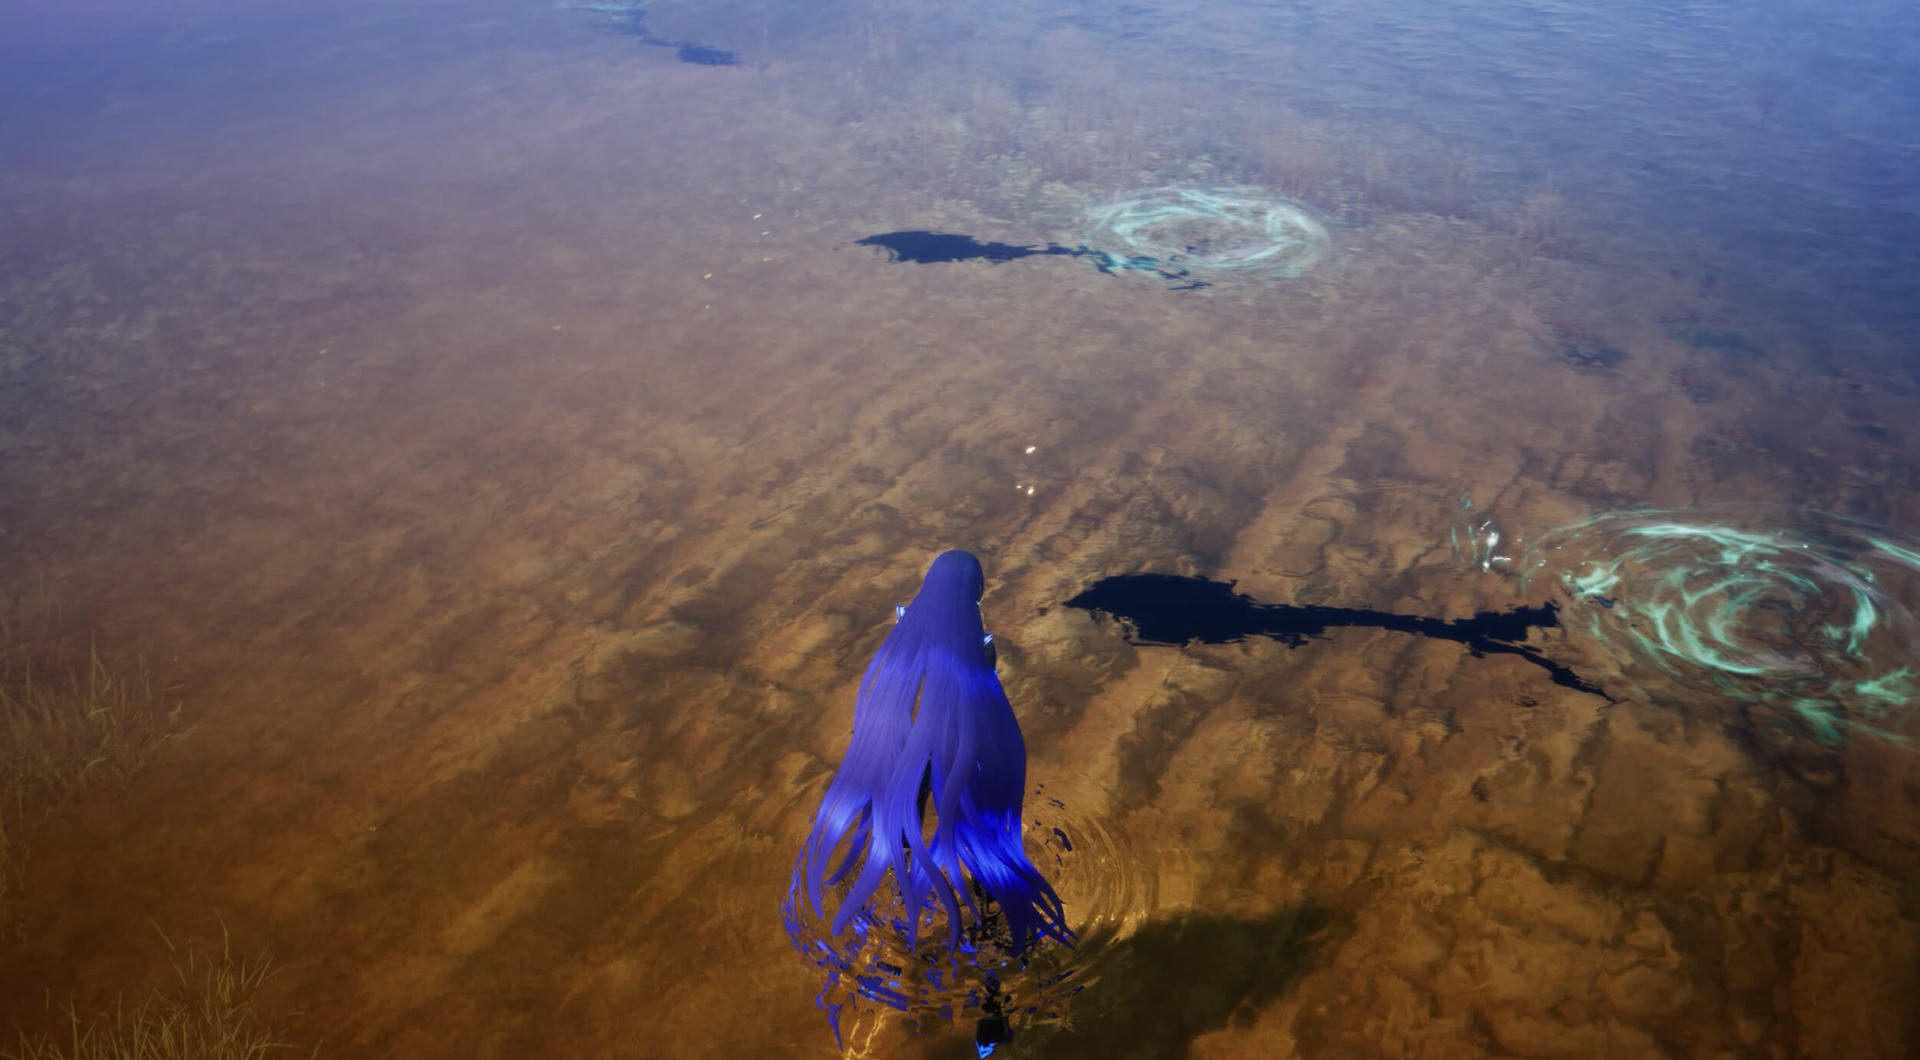
Diving movement is represented by shaders
The "Mermaid" uses a special effect.
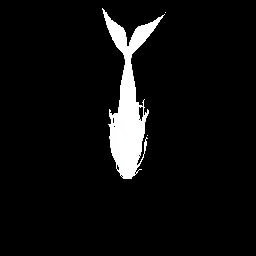
When it appears on the surface of the water, it sits on a rock, but when it moves, the rock disappears and it dives and swims, showing its shadow like a fish.
-
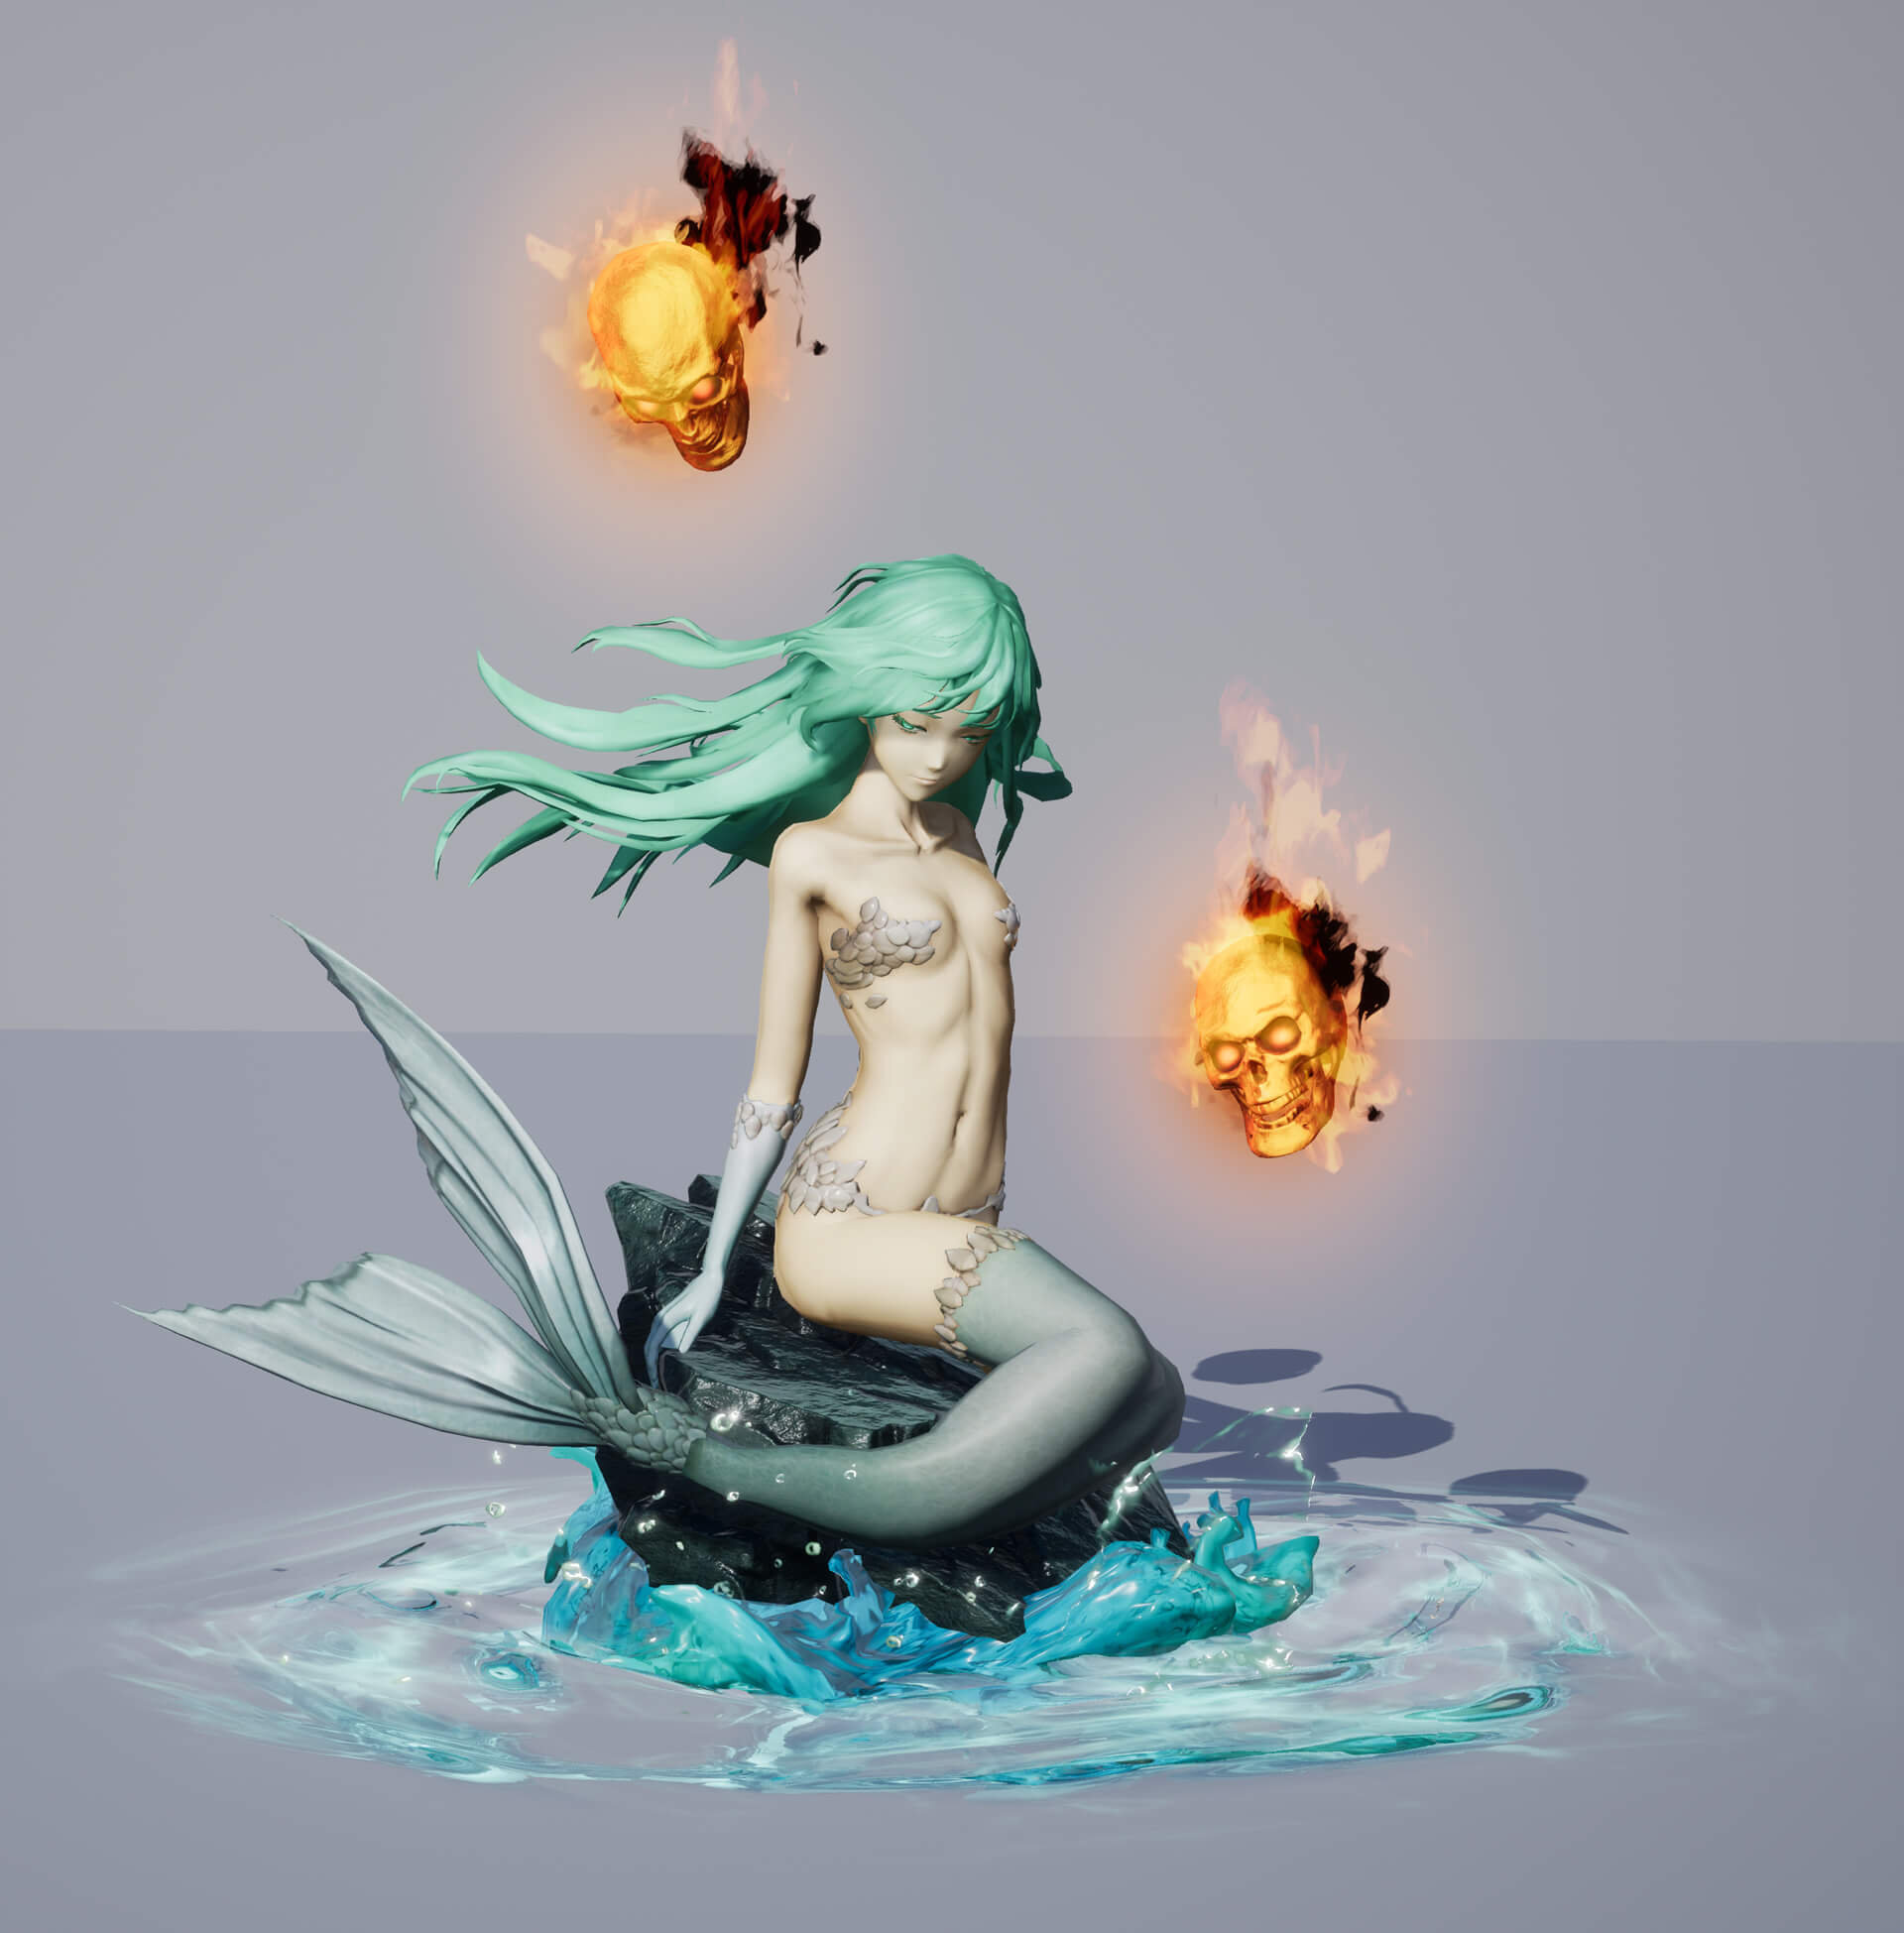
Mermaid is out of the water. Sitting on a rock. -
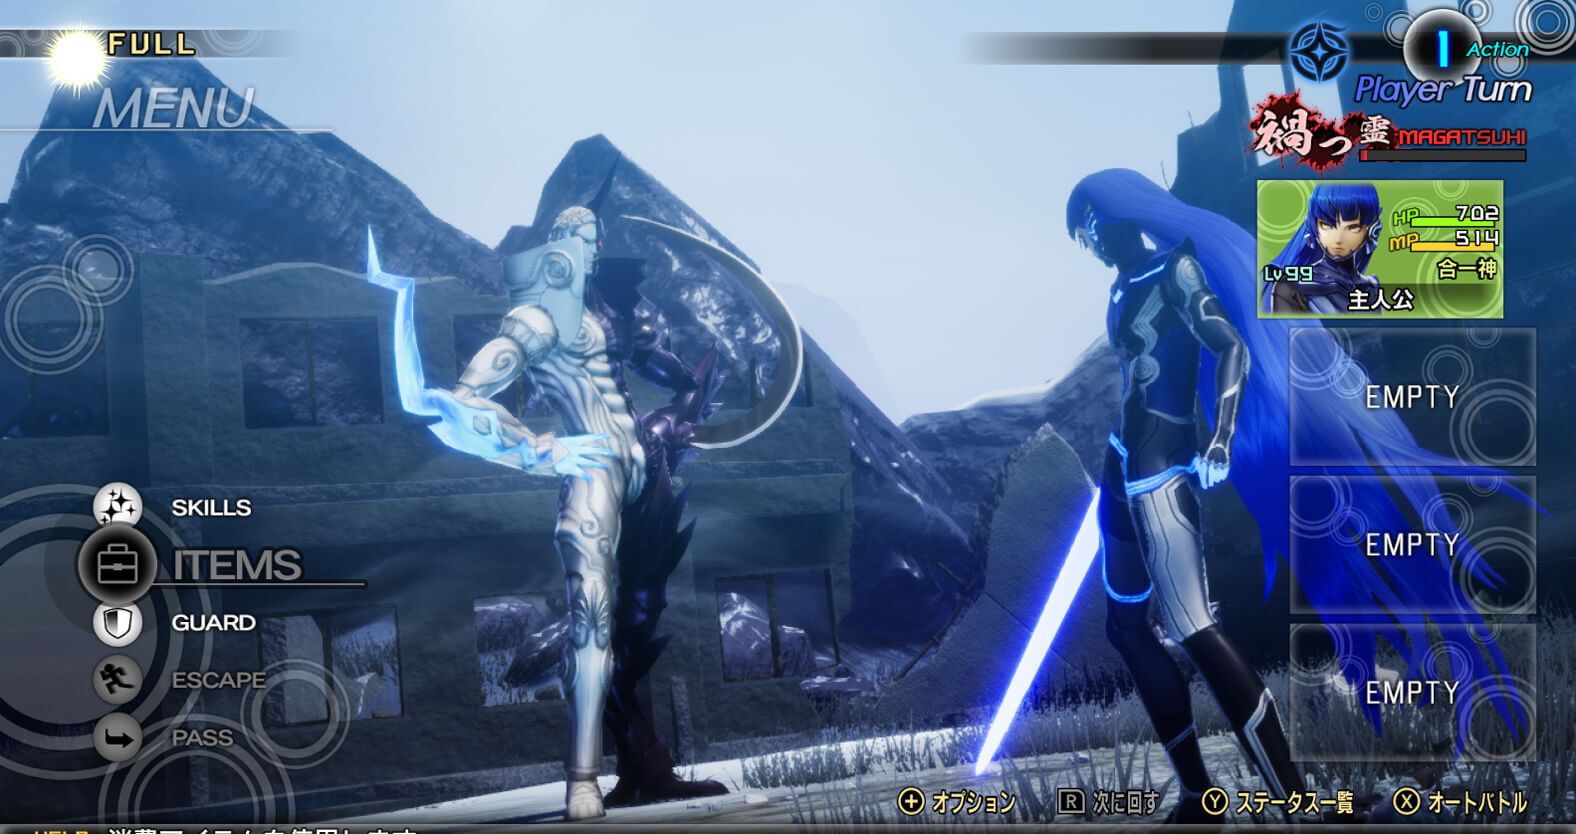
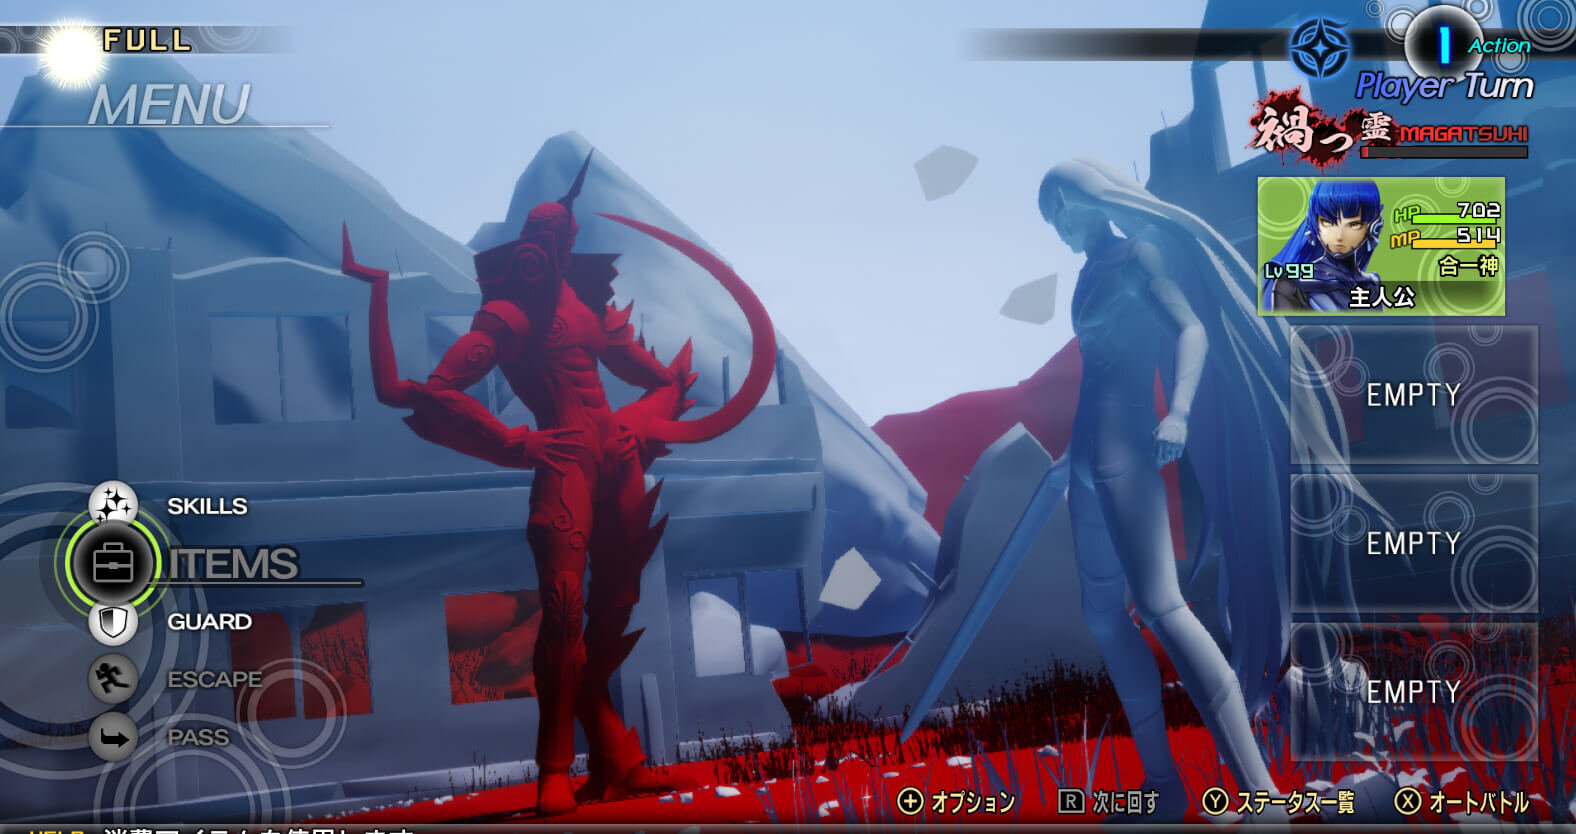
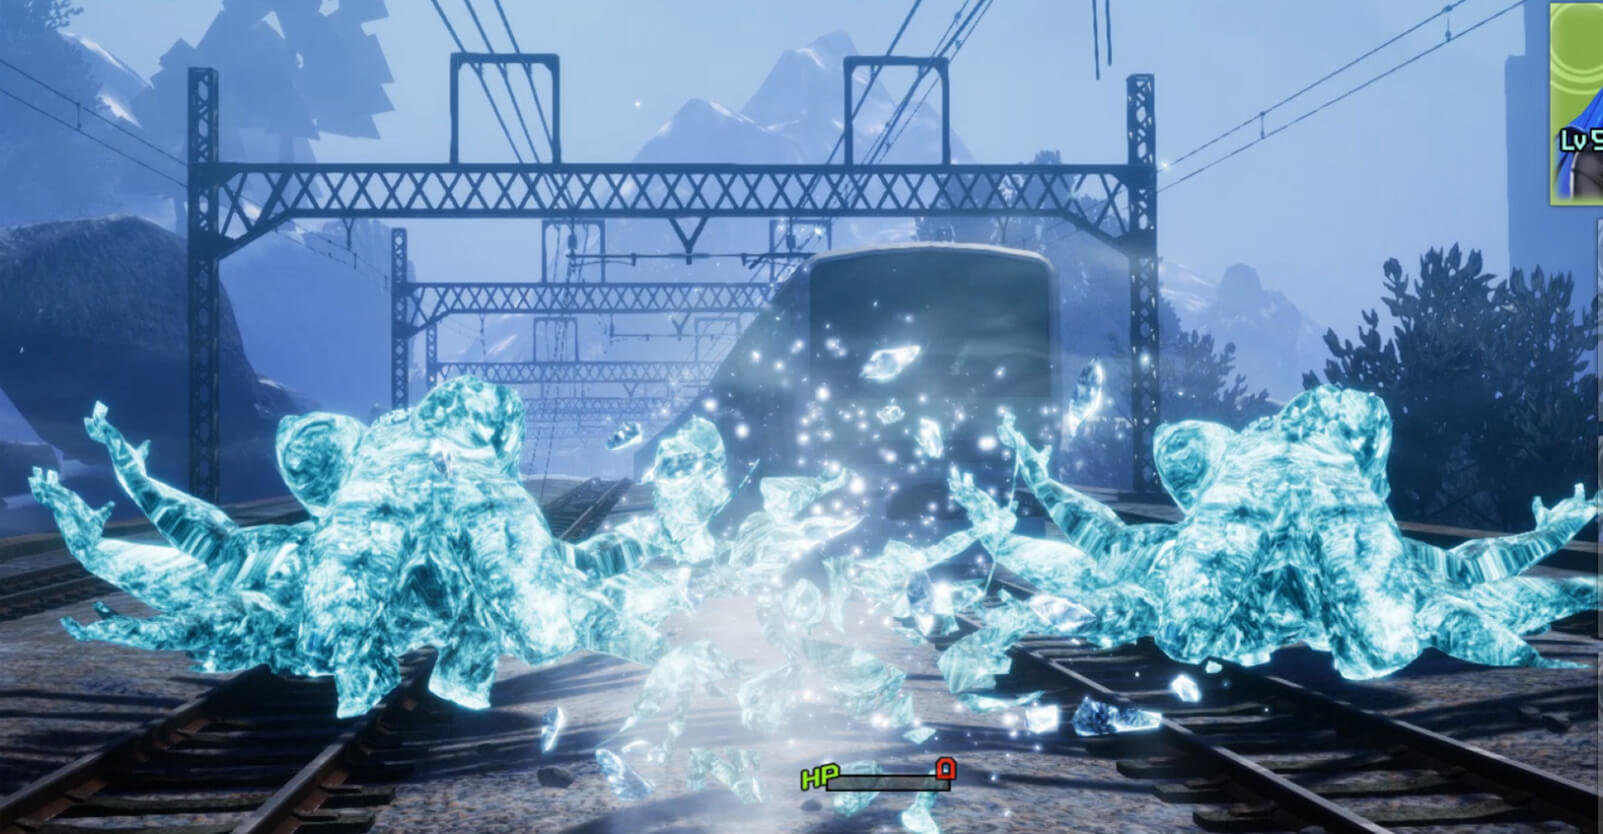
Variety of deaths staged
Eight variations are provided for each character's death during battle.
A single general-purpose effect is provided, and material functions have been incorporated to allow variations to be set by adjusting the position and color of the beginning of the disappearance.
-
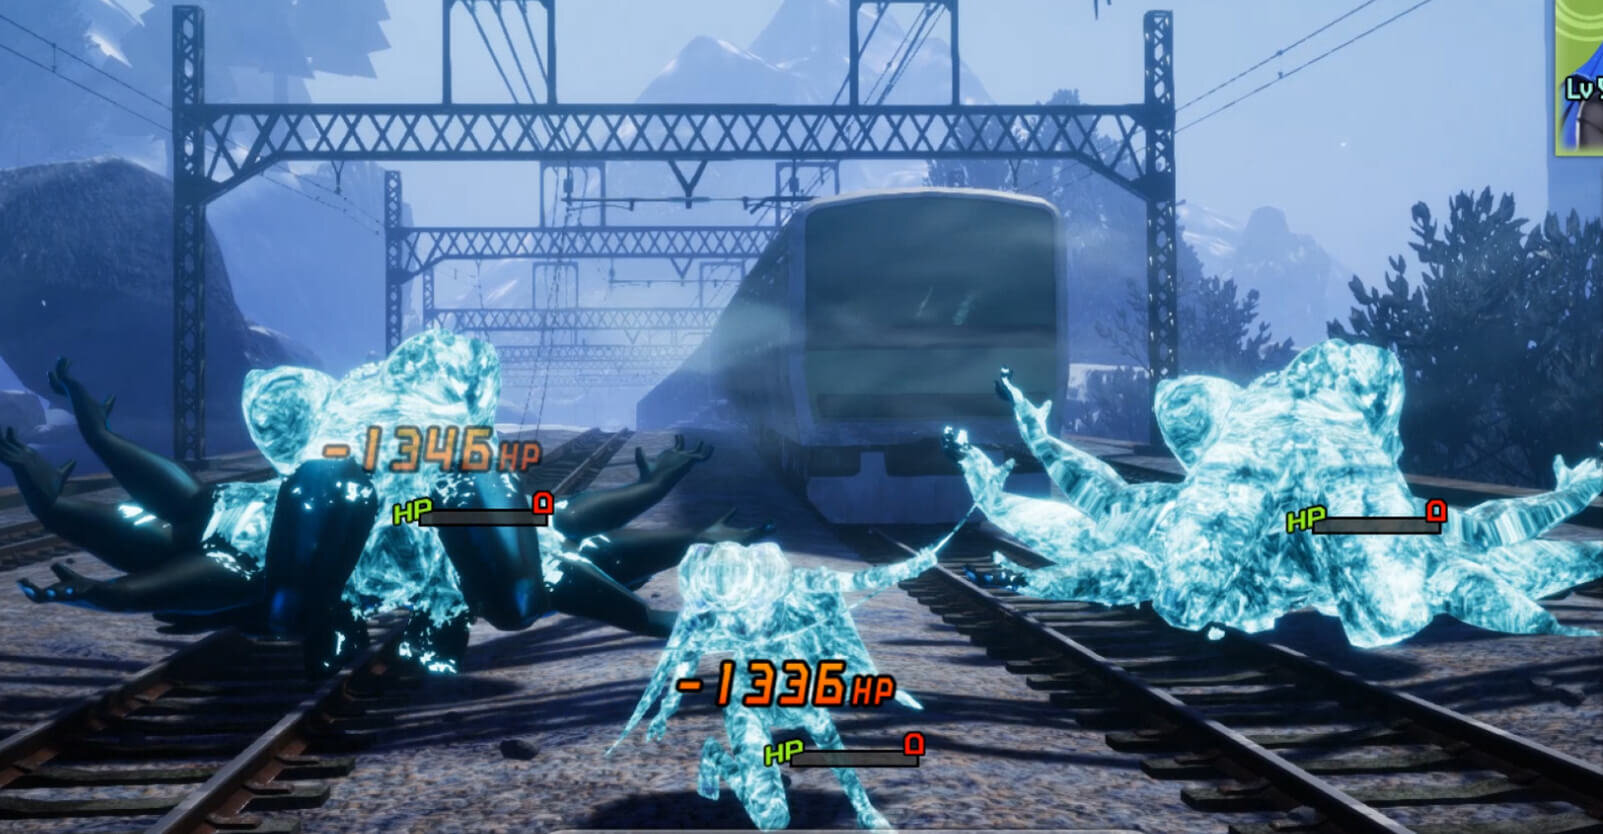
This is a death effect called "freezing. A model of shattered ice is added to the generic effect, and the model is momentarily replaced to create the effect of shattering and disappearing. -
-
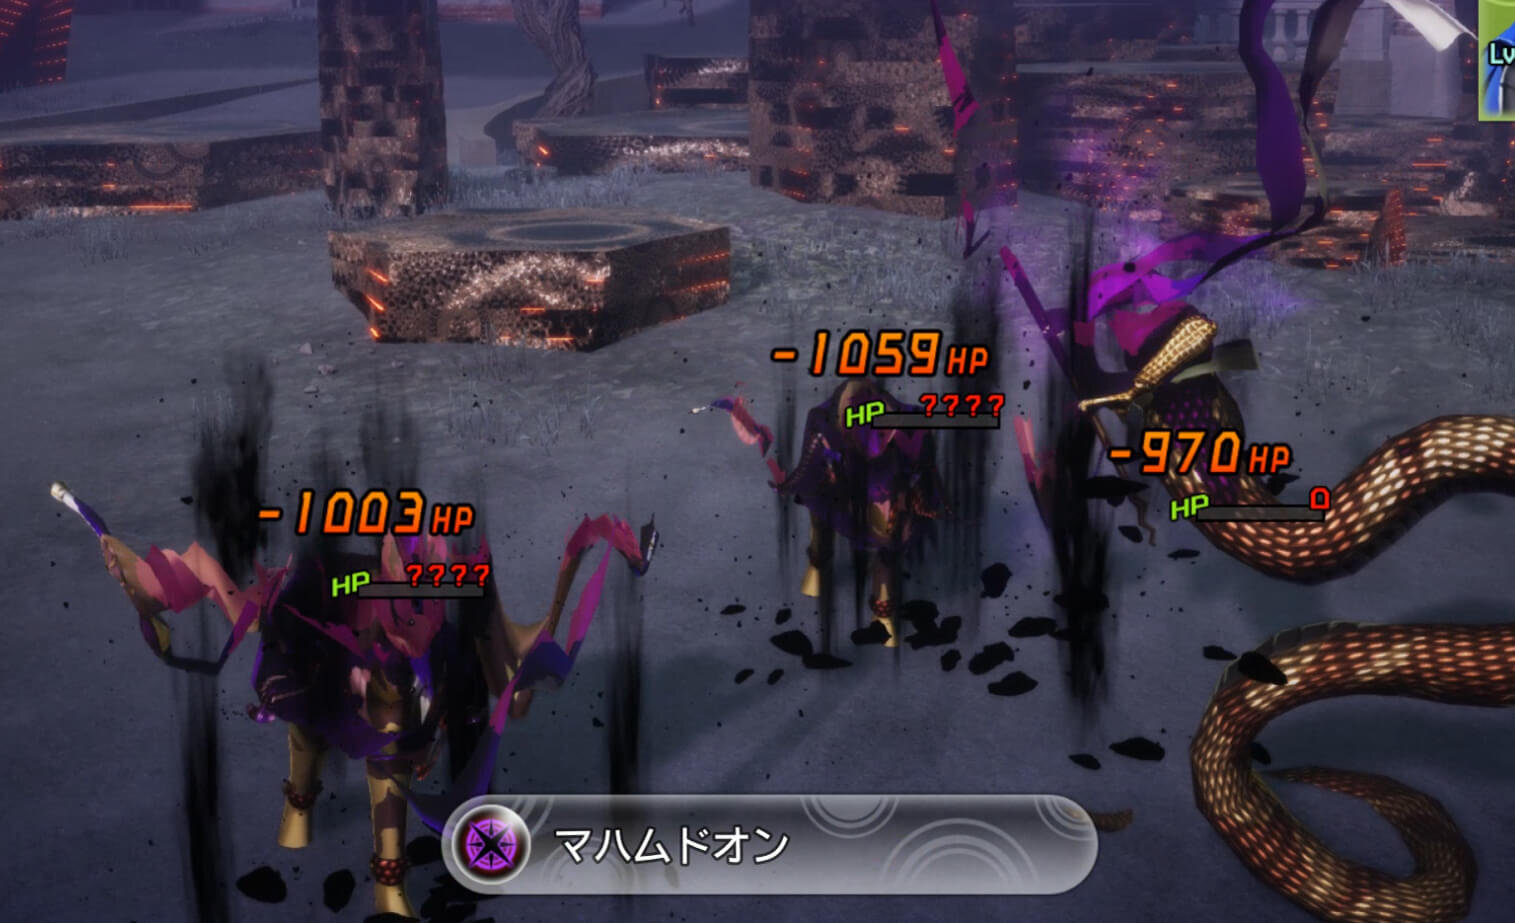
The "curse kill." The character is set to disappear from the top down. -

The "Breaking Demon." The effect is the opposite of the one on the left, as if disappearing from the bottom to the top. The effect settings are changed according to the attribute of each death.
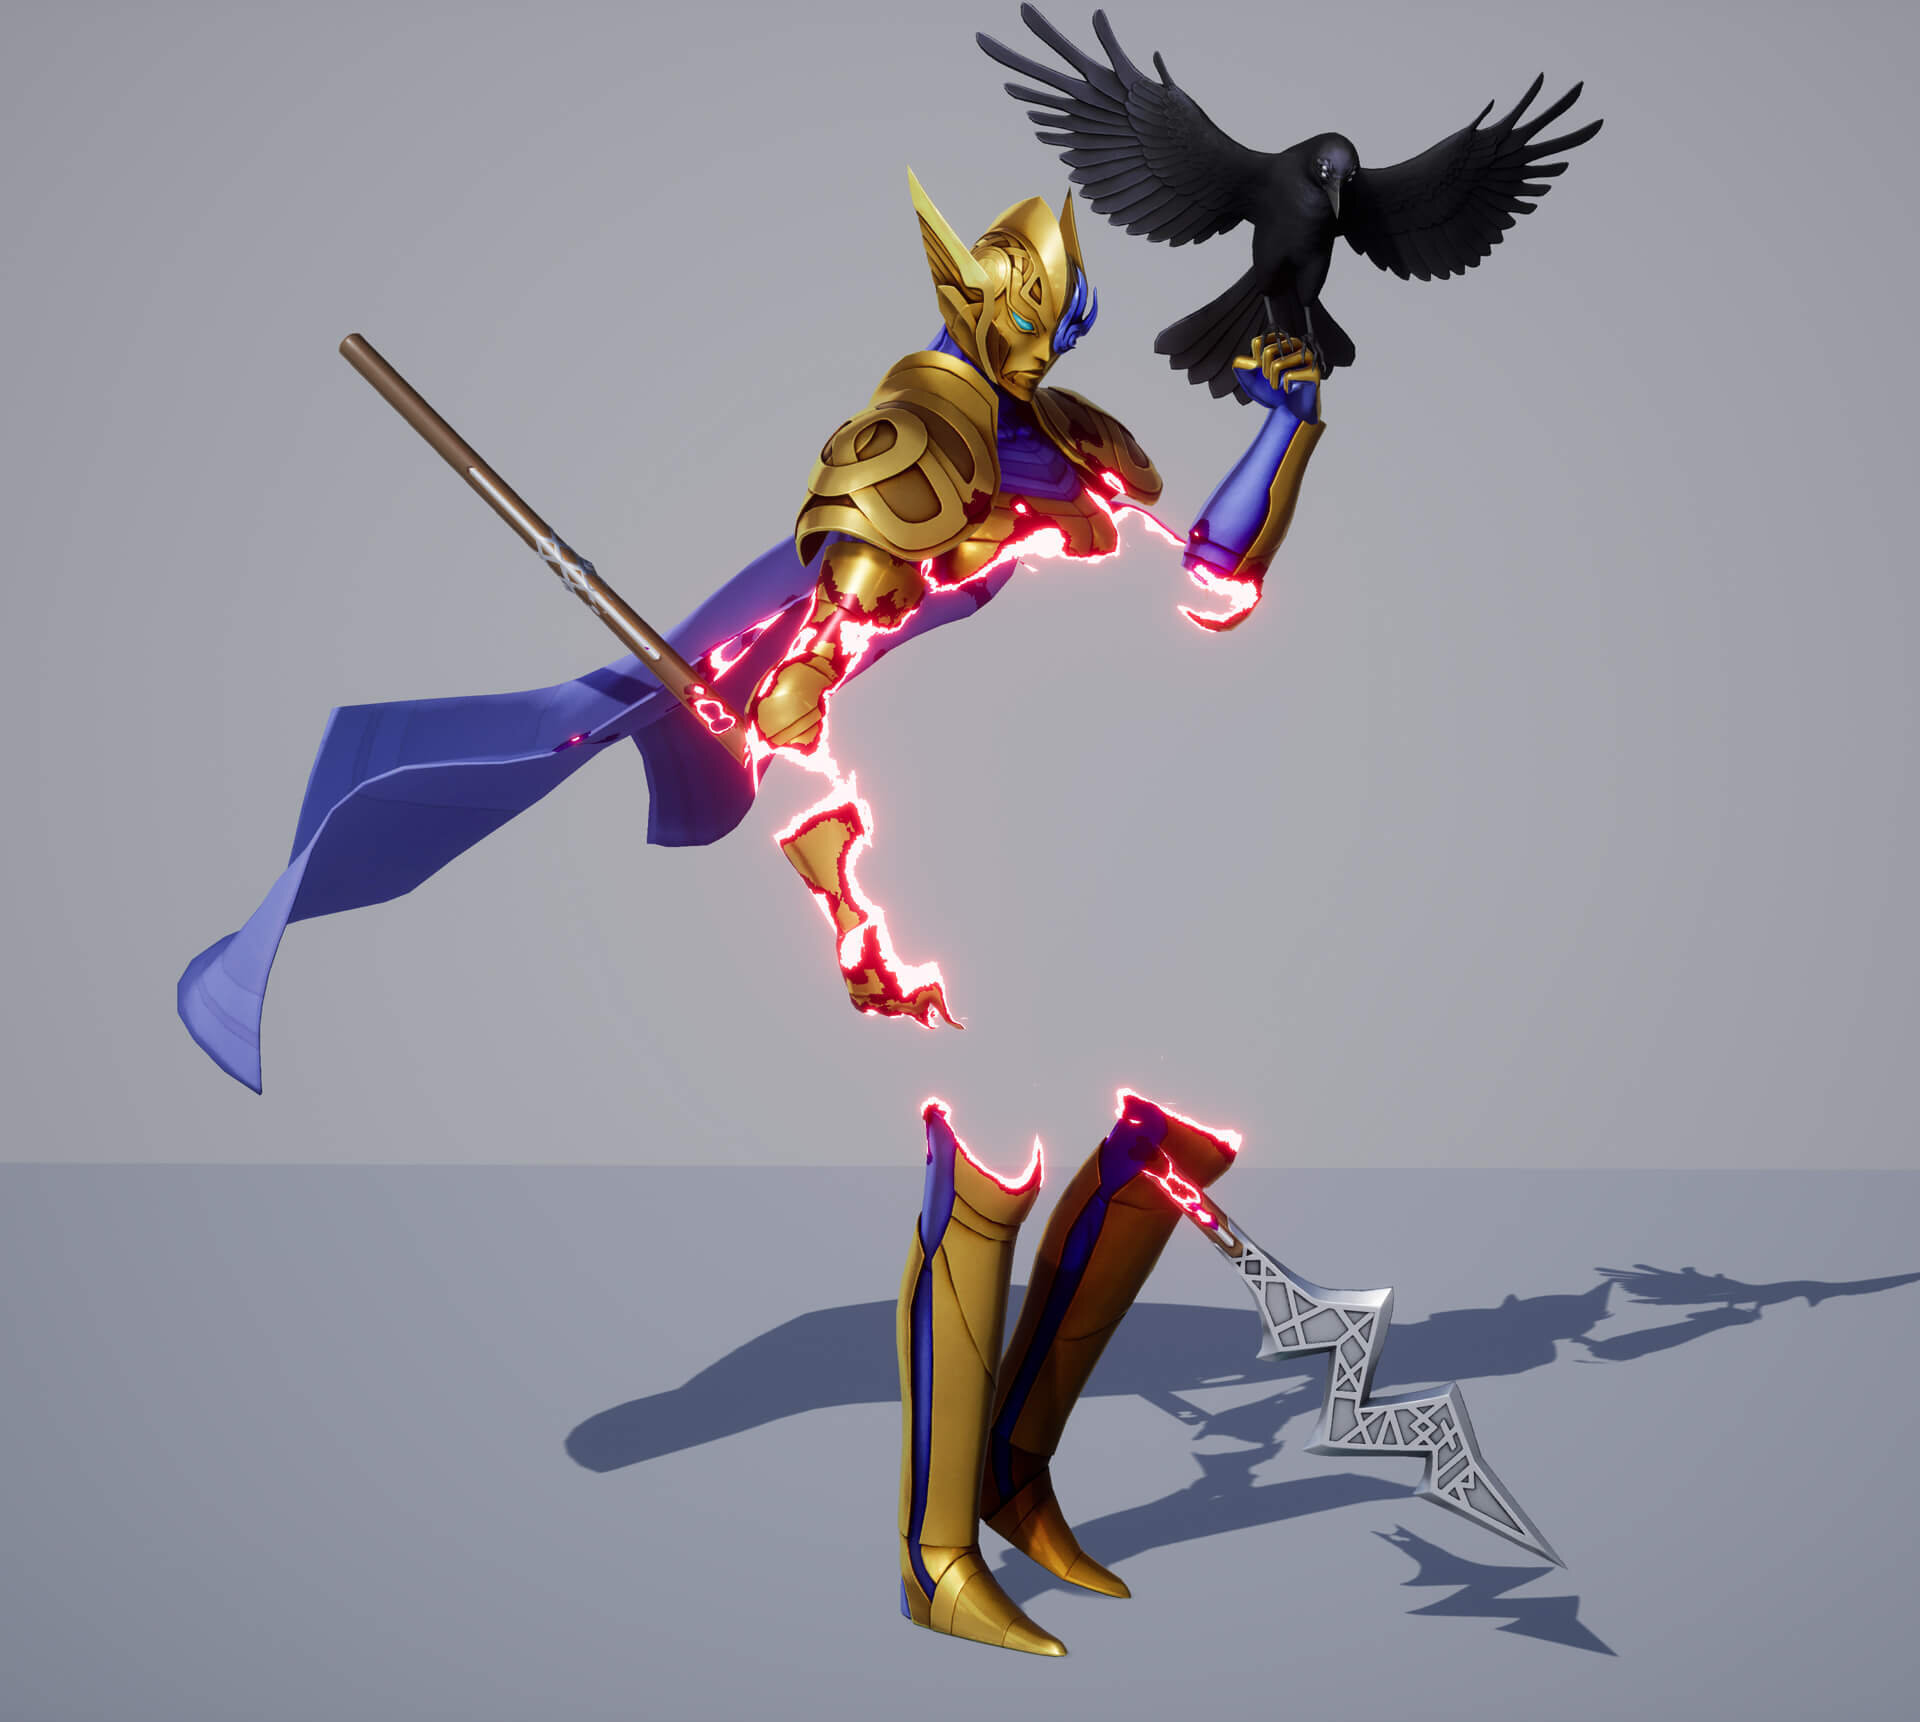
Devil's Attack Evasion Expression
When a demon character quickly evades an attack, a distinctive effect is displayed.
-

Normal condition of "Joca” -

The evasion effect added in the shader is activated.